
Is your laptop failing to charge unless you hold the plug at a strange angle? Does wiggling the charger suddenly bring power back? You’re not alone. A faulty laptop charging port—often called a DC jack or power jack—is one of the most common hardware failures in laptops. Over time, repeated plugging and unplugging weakens the port’s connection to the motherboard, especially when heavy or poorly fitting chargers are used. The result is intermittent charging, complete power loss, or a port that feels loose and wobbly.
The good news is this issue is usually fixable. Whether through a DIY replacement or professional repair, restoring reliable charging is possible without replacing your entire laptop. In this guide, you’ll learn how to diagnose a damaged charging port, identify whether it is repairable, and choose the best solution. We will cover everything from testing your charger to soldering a new port, plus cost-saving tips and prevention strategies.
Confirm the Problem Is the Charging Port
Before opening up your laptop, rule out simpler causes. Many users assume the port is broken when the real issue lies elsewhere.
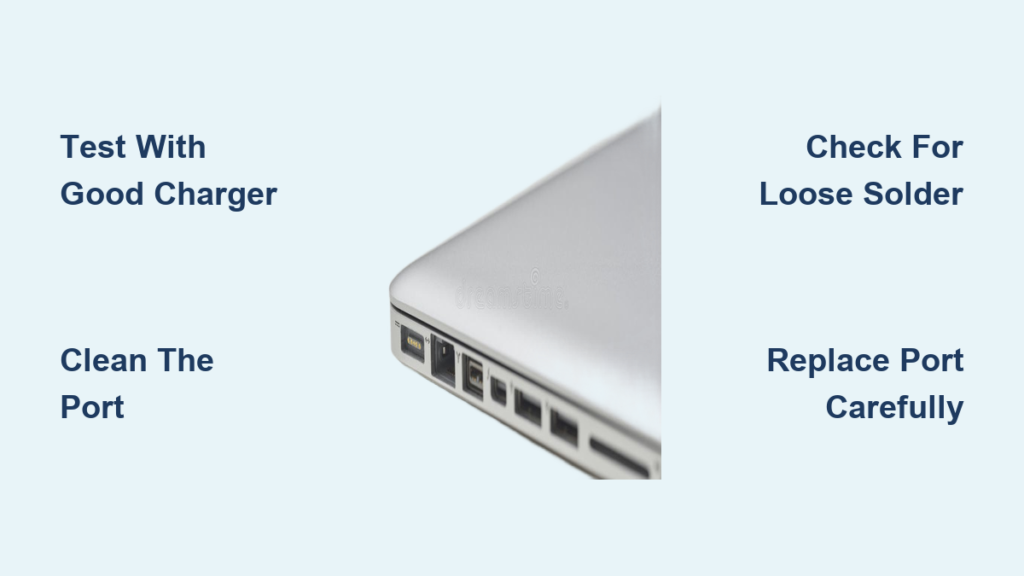
Test with a Known-Good Charger
Use a charger confirmed to work on another device of the same model. If charging remains inconsistent across multiple chargers, the fault likely lies in the port or motherboard. If only one charger fails, the problem may be the adapter itself.
Inspect the Charger Tip
Check for these common issues:
- Bent or corroded pins
- Loose connectors
- Frayed or damaged cables
A warped plug can mimic port issues by failing to make full contact.
Clean the Charging Port
Dust, lint, or pocket debris often block proper connection.
Follow these steps:
- Power off the laptop and unplug it.
- Use compressed air to blow out particles.
- Gently scrape stubborn gunk with a wooden toothpick or plastic probe.
- Avoid metal tools that can scratch contacts or cause shorts.
If cleaning restores charging, the port was not faulty, just dirty.
Perform a Hard Reset
Reset residual power to rule out software glitches.
Steps include:
- Unplug the charger and remove the battery if accessible.
- Hold the power button for 30 seconds.
- Reconnect the battery and charger.
- Try turning it on.
This clears minor firmware hiccups that affect power detection.
Wiggle Test for Loose Connections
Insert the charger and gently rock it side to side. If charging starts and stops during movement, you likely have loose solder joints or a physically damaged port.
Identify the Charging Port Type

Not all ports are repaired the same way. Your fix depends on how the port connects to the system.
Soldered Directly to Motherboard
Most common in budget and older laptops, the DC jack is permanently soldered into plated through-holes on the motherboard. Repair requires desoldering and resoldering, a task for those with soldering experience.
Signs include:
- No visible connector or cable attached to the port
- Metal pins extend through the board
Modular Port on a Separate Board
Found in some Dell, HP, and Lenovo models. The port sits on a small daughterboard connected via a ribbon cable or plug-in connector. The advantage is that it is replaceable without soldering. Simply unplug and swap the board.
Integrated into USB-C or Power Board
Modern ultrabooks and MacBooks use USB-C charging ports built into complex power management boards. These often require full board replacement and precision micros soldering.
Pro Tip: Search your laptop model plus “charging port replacement” on iFixit or YouTube to see teardown videos and determine your port type.
Gather Essential Tools and Parts
Having the right gear makes the difference between success and disaster.
Required Tools
- Precision screwdriver set (#00, #0 Phillips)
- Plastic pry tools or spudgers to avoid scratching
- Anti-static wrist strap or touch grounded metal frequently
- Magnetic parts tray to organize tiny screws
- Tweezers and cutters
- 99% isopropyl alcohol and lint-free swabs
For Soldered Ports Only
- Temperature-controlled soldering iron (20-40W)
- Desoldering braid (solder wick)
- Flux (rosin or no-clean)
- Solder wire (60/40 tin-lead or lead-free)
- Chisel-tip iron tip for better through-hole joints
Replacement Part: DC Jack Assembly
Never buy just the jack. Order the full power plug harness with wiring and motherboard connector.
Key specs to match:
- Laptop model number
- Pin count (4-6 pins typical)
- Polarity (usually center-positive)
- Voltage and amperage (for example, 19V, 3.42A)
- Physical dimensions (barrel size, length, shape)
Example: A Lenovo IdeaPad Yoga 2 Pro needs a DC Jack Power Plug In Charging Port Connector Socket with Wire Cable Harness. These cost $8-$15 online.
Disassemble the Laptop Safely
One wrong move can damage internal components. Follow these steps carefully.
Power Down and Prepare
- Shut down the laptop completely.
- Unplug all cables.
- Remove the main battery if user-accessible.
- Ground yourself to prevent static discharge.
Open the Back Panel
- Unscrew all visible rear screws (some hide under rubber feet).
- Use a plastic pry tool to gently separate the case halves.
- Work around the edges. Do not force any section.
Remove Obstructing Components
Accessing the motherboard often requires removing:
- Hard drive or SSD (unscrew and disconnect)
- RAM modules (push clips outward to release)
- Optical drive if present
- Wireless card (disconnect antenna cables)
Keep screws organized by location.
Disconnect and Remove the Motherboard
- Unplug all ribbon cables (display, touchpad, keyboard).
- Disconnect power and battery connectors.
- Unscrew all motherboard standoffs. Label each screw.
- Carefully lift the board out, watching for hidden connectors.
Warning: Take photos at every step. Reassembly is easier when you know where each cable goes.
Remove the Old Charging Port
This step varies by port type. We will focus on soldered barrel jacks, the most common repair.
Apply Flux and Fresh Solder
- Coat each through-hole pad with flux to improve heat transfer.
- Add a small amount of fresh solder to each joint to help desoldering.
Use Desoldering Braid
- Place solder wick over a joint.
- Press the iron tip onto the braid and pad.
- Heat until solder melts and is absorbed.
- Lift the braid to avoid pulling pads loose. Do not drag.
- Repeat for all pins.
If one side is blocked, heat from the opposite side and push the pin through.
Gently Extract the Port
Once solder is removed:
- Wiggle the port lightly.
- Pull straight out. Never twist or force.
- If stuck, reapply flux and continue desoldering.
Danger Zone: Excessive heat or force can tear through-hole pads, requiring jumper wires or professional microsoldering.
Install the New Charging Port

A clean, secure installation ensures long-term reliability.
Align the New Jack Correctly
- Insert the new port into the chassis opening.
- Ensure it sits flush and matches the original angle.
- Many jacks are asymmetrical. Double-check orientation.
Solder the Connections
- Hold the jack in place with tweezers or a clamp.
- Solder one pin first to lock the position.
- Complete the remaining joints using fresh solder and flux.
- Aim for smooth, concave fillets.
- Ensure solder flows through the hole (visible on both sides).
Avoid these common problems:
- Solder bridges connecting two pads (can cause shorts)
- Cold joints with grainy, dull appearance (weak connection)
Clean the Solder Area
Wipe with isopropyl alcohol and a swab to remove flux residue. This prevents future corrosion and electrical issues.
Reassemble and Test the Laptop
Now put it all back together and see if it works.
Step-by-Step Reassembly
- Reinstall the motherboard and secure all screws.
- Reconnect every ribbon cable and power connector.
- Replace RAM, SSD, and any removed components.
- Snap the back cover into place.
- Reinsert the battery if removed.
Pro Tip: Refer to your photos to ensure cables go to the right ports.
Power-On Test
- Plug in the charger.
- Look for these success indicators:
– Charging indicator light (LED)
– On-screen battery icon showing charging
– No overheating, sparks, or burning smell - Let it charge for 10-15 minutes.
- Unplug and confirm the laptop runs on battery.
Success means charging is stable without wiggling. Failure means rechecking solder joints for continuity, cable connections, and port alignment.
Try Temporary Fixes If Repair Is Not Immediate
Cannot fix it right now? These workarounds buy time but are not permanent.
Tape the Charger in Place
Use electrical tape to secure the plug at the angle that works. This prevents accidental disconnection.
Support the Charger Cable
Hang the cable or use a cable clip to reduce downward strain on the port.
Use a Docking Station
Minimize plugging and unplugging by keeping the laptop docked.
Warning: These are stopgap measures. Continued stress risks permanent motherboard damage.
Weigh DIY vs. Professional Repair
Not every user should attempt this fix. Consider your skill level and laptop value.
DIY Repair: Pros and Cons
Pros:
- Cost is $5-$15 for parts versus $70-$150 for labor
- Learning opportunity
- Faster turnaround if tools are ready
Cons:
- Risk of damaging the motherboard
- Requires precision and patience
- Not feasible for sealed devices like MacBook Air
Professional Repair: When to Choose It
Best for novice users, ultrabooks and MacBooks with glued components, and laptops under warranty.
Typical Cost: $70-$150
Turnaround: 1-3 days
Warranty: 30-90 days on parts and labor
Technician Insight: “Loose solder joints on the DC jack are extremely common. We fix them daily.”
Prevent Future Charging Port Damage
Avoid repeating the same problem with smart habits.
Use the Right Charger
Stick to manufacturer-recommended or high-quality third-party adapters. Avoid heavy universal chargers that strain the port.
Plug and Unplug Properly
- Grip the plug, not the cable
- Avoid yanking the cord
- Insert and remove straight with no twisting
Reduce Mechanical Stress
- Support the cable near the plug
- Use a strain-relief sleeve
- Keep the laptop on a stable surface while charging
Clean the Port Regularly
Every 3-6 months, blow out dust with compressed air. This prevents debris buildup that interferes with connection.
Consider a Docking Station
Ideal for desktop use. One connection point means less wear on the port.
Key Takeaways for Fixing Your Laptop Charger Port
A broken charging port does not mean your laptop is dead. With proper diagnosis and careful repair, you can restore full functionality for a fraction of the cost of replacement. Whether you choose DIY or professional service, the key is acting early, before loose connections escalate into motherboard damage.
For tech-savvy users, this repair is a rewarding project that builds valuable skills. For others, professional help ensures reliability without risk. Either way, matching the correct part, using the right tools, and following safety steps are essential.
And once it is fixed? Protect your investment. Use the right charger, unplug gently, and keep the port clean. With these habits, your laptop can keep running strong for years, even if it is over seven years old.
Bottom Line: You do not need a new laptop. You just need a new charging port.
Frequently Asked Questions About Fixing a Laptop Charger Port
How do I know if my laptop charging port is broken?
Signs include the charger only working when held at a specific angle, intermittent charging, no charging indicator light, visible wobbling when the plug is inserted, and the laptop failing to recognize the charger at all. If multiple chargers behave the same way, the port is likely faulty.
Can I fix a laptop charging port without soldering?
Some laptops have modular ports connected by ribbon cables. These can be replaced without soldering by simply unplugging the old board and plugging in a new one. However, most budget and older laptops have soldered ports that require soldering skills.
How much does professional laptop charging port repair cost?
Professional repair typically costs $70-$150, depending on your location, laptop model, and labor rates. This includes diagnostic fees, parts, and labor with a warranty on the work.
Is it worth fixing an old laptop charging port?
If the laptop is more than seven years old but still functional for your needs, repairing the charging port is often worthwhile. The cost is much lower than buying a new laptop, and the repair can extend the device’s life by several more years.
Can a damaged charging port damage my laptop further?
Yes. A faulty port can cause inconsistent power delivery, which may damage the battery or motherboard over time. It can also cause sparking or overheating. Repairing the port promptly prevents more expensive damage.
What tools do I need to replace a laptop charging port myself?
You need a precision screwdriver set, plastic pry tools, anti-static wrist strap, magnetic parts tray, tweezers, and isopropyl alcohol. For soldered ports, you also need a temperature-controlled soldering iron, desoldering braid, flux, and solder wire.


