
A frayed laptop charger isn’t just an inconvenience. If you’ve noticed exposed copper wires snaking out from your charging cable, you’re looking at a potential safety hazard that demands immediate attention. Thousands of users face this exact problem every year due to repeated bending, poor cable design, or simple wear and tear. The good news: you can often fix a laptop charger with exposed wires yourself, saving the cost of a replacement while preventing dangerous electrical failures.
This guide walks you through diagnosing the exact problem, choosing the right repair method for your situation, and applying fixes that actually last. You’ll learn how to test if the damage is in the cable versus your laptop, which repair approach works best for different severity levels, and how to reinforce weak points so your charger keeps working for years instead of weeks.
Diagnose the Damage Before Repair

Before grabbing tools or tape, you need to confirm where the failure actually lies. A flickering charging light doesn’t always mean the cable is dead. The problem could be your laptop’s charging port or the power brick itself.
Perform the Wiggle Test
Plug in your charger and watch the laptop’s charging indicator. Gently wiggle the cable at three high-stress zones: where the wire meets the power brick, near the laptop connector, and around the ferrite bead (the bulky cylinder on the cord). If the charging light flickers or cuts out during wiggling, you have an internal wire break at that spot. This test detects hidden fractures even when the outer jacket looks perfectly intact.
Swap Chargers to Isolate the Problem
Use your suspect charger on a compatible laptop. If it fails to charge, the charger is faulty. If it works normally, the issue could be your laptop’s charging port. Alternatively, use a known-good charger on your laptop. If charging resumes, your original charger is the culprit. This simple test prevents unnecessary repairs and confirms whether the cable is truly the source of failure.
Inspect for Visual Damage
Look closely at the cable for exposed copper wires, cracks, flattening, or unraveling insulation. Check for discoloration, melting, or a burning smell. Examine the plug tip for looseness or bending. Damage around the ferrite bead is particularly common because the bead adds weight, increasing strain during movement.
Test Voltage with a Multimeter
Set your multimeter to DC voltage. Insert the red probe into the center pin (positive) and the black probe into the outer sleeve (negative). Compare the reading to the rated output printed on your charger. Acceptable range is ±5%. No voltage or inconsistent readings mean an internal break is confirmed. Also test continuity by checking if the center pin connects to the white wire and the outer sleeve connects to ground. No beep means a broken wire.
Can You Safely Use a Damaged Charger?
Copper Wires Not Yet Exposed
If only the outer insulation is cracked but no metal is showing, the risk is low for now. However, mechanical stress will worsen the damage quickly. Monitor the situation closely and repair the cable before wires become exposed. The clock is ticking on this one.
Copper IS Exposed: Stop Immediately
Stop using the charger immediately if copper conductors are visible. Even low-voltage DC (12-20V) poses real dangers including electric shock under damp conditions, short circuits if wires touch metal surfaces, fire hazard from arcing or overheating, and damage to your laptop from voltage spikes. Exposed conductors can cause grounding faults that fry charging circuits inside your laptop. Do not plug it in until repaired or replaced.
Why Laptop Charger Wires Fail
Stress at High-Flex Zones
Most breaks happen within two inches of the connector or right after the ferrite bead. These spots endure constant bending when you plug and unplug the charger or coil the cable for storage. The ferrite bead’s weight amplifies stress, making it a prime failure zone even on premium chargers.
Poor Cable Design Issues
Many OEM chargers use thin insulation and rigid molded connectors that lack flexibility. This design leads to cracking and unraveling, sometimes within just four months of use. Users report early failures even on expensive laptops, with cables damaged right out of the box on some models.
Bad Usage Habits Accelerate Wear
Tight coiling around the power brick, pulling the cable instead of the plug, wiggling the connector to maintain charge, and frequent bending at the same point all accelerate wear. If you find yourself wiggling the connector to get power flowing, that’s a red flag: internal wires are already fatiguing and about to fail.
Use Electrical Tape for Temporary Repairs
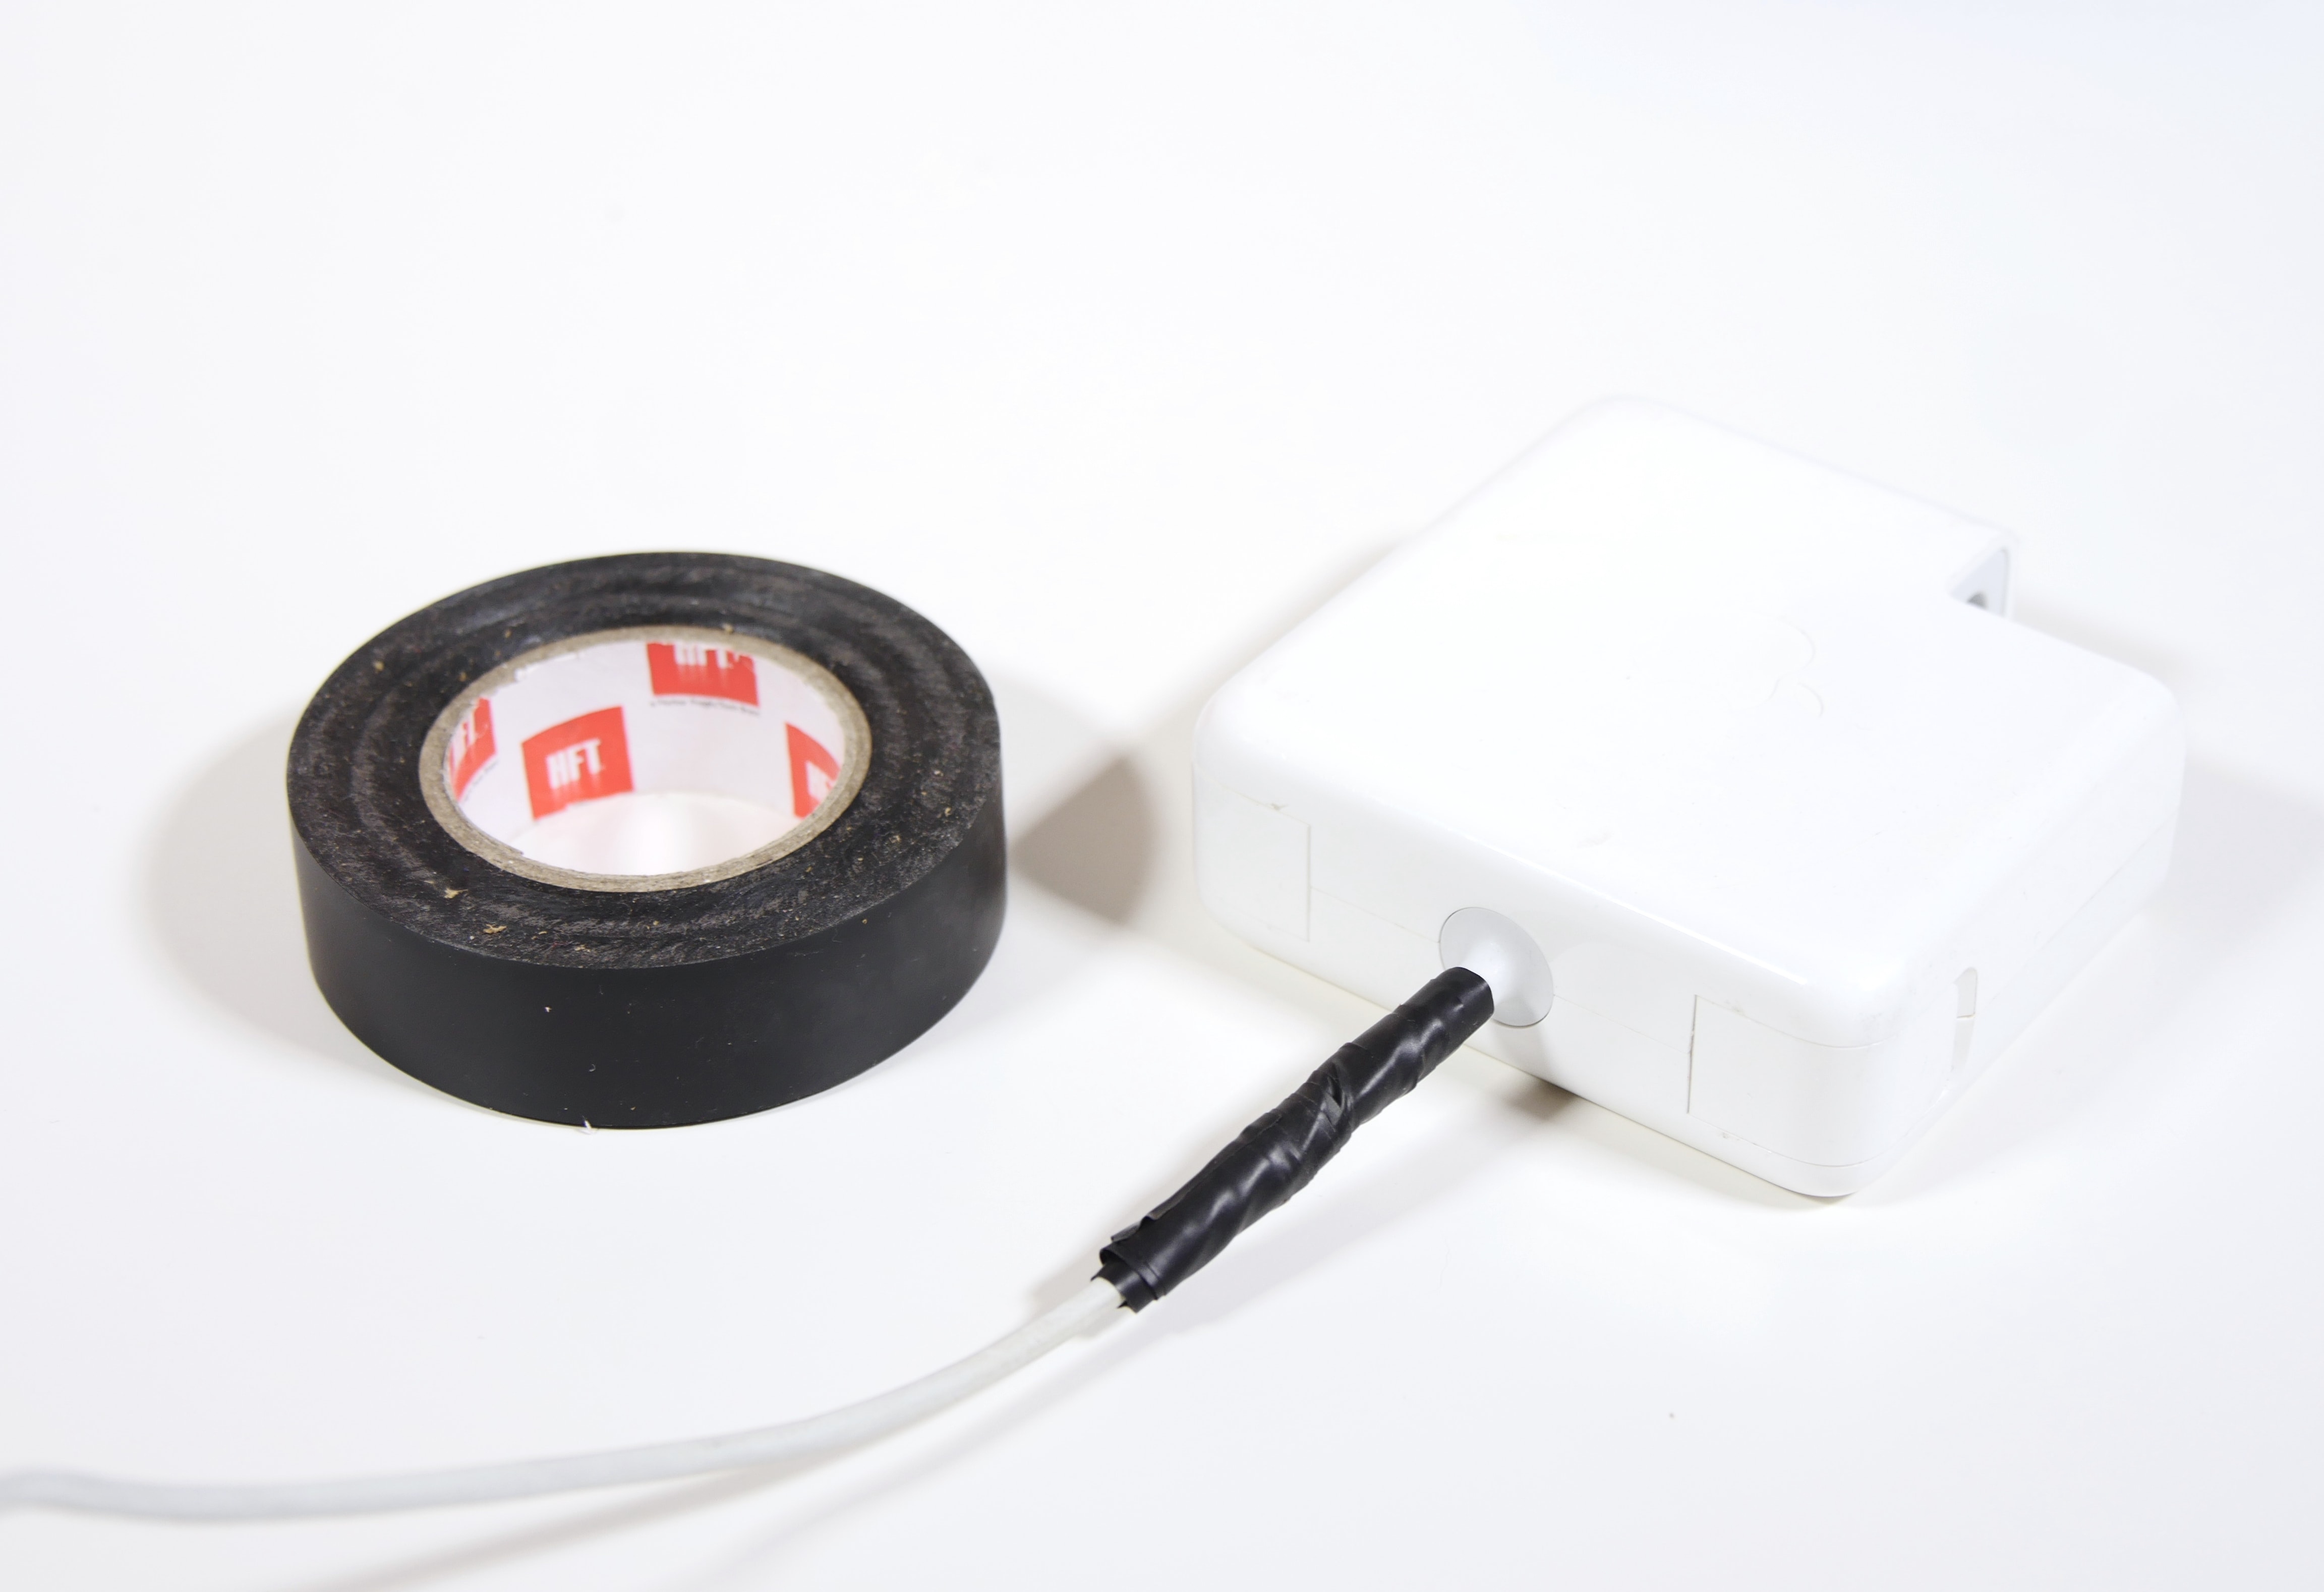
Best for Slight Fraying Only
If wires are intact but insulation is split, electrical tape works as a temporary shield. This is a stopgap solution only, not a permanent fix.
How to Apply It Right
Clean the area with rubbing alcohol first. Straighten all wires so they don’t cross each other. Start wrapping one inch before the damage begins. Overlap each layer by 50% with no gaps exposed. Extend one inch past the break point. Apply at least three layers for adequate thickness. The goal is making the taped section thicker than the original cable to resist further bending.
Add a Pen Spring for Strength
Slide a pen spring (from a disposable pen) over the repaired section. It acts as a flexible sleeve that absorbs stress and prevents sharp bends at the weak point. This simple addition significantly extends the life of a tape repair.
Limitations of Tape
Electrical tape is not suitable for broken wires. It degrades with heat and movement and can peel off over time. User reports confirm this works short-term but is only a temporary solution. Never use tape if copper is exposed.
Try Heat Shrink Tubing for Semi-Permanent Fixes
Ideal for Exposed or Broken Wires
Heat shrink tubing creates a snug, durable seal ideal when splicing wires together. This method resists moisture, abrasion, and bending far better than tape.
What You’ll Need
Gather 4:1 shrink ratio tubing, a heat gun or hair dryer, wire strippers, a multimeter, and electrical tape as backup. The 4:1 ratio tubing contracts more tightly for a better seal.
Step-by-Step Repair
Cut out the damaged section cleanly. Strip about one inch of insulation from both wire ends. Splice matching wires together: white to positive, black or bare to negative. Twist tightly clockwise and fold back for strength. Slide the heat shrink tubing over the cable BEFORE connecting the wires. After splicing, apply heat until the tubing contracts fully. For extra protection, wrap with electrical tape first.
Solder and Reinforce for Permanent Fixes
Best for Severed Wires or Recurring Breaks
This is the gold standard for lasting repairs, especially near connectors where stress is highest.
Tools and Materials Needed
You’ll need a soldering iron, rosin-core solder, heat shrink tubing in multiple sizes, 5-minute epoxy or Sugru, a helping hand tool, wire strippers, and a flush cutter.
Step-by-Step Process
Test charger output first using your multimeter to verify voltage and polarity before cutting anything. Strip and prepare wires by carefully removing the outer jacket and exposing inner wires without damaging insulation. Cut away frayed sections and strip a quarter inch of insulation. Check continuity with your multimeter to confirm broken wires before proceeding. Solder the joints by twisting matching wires together and soldering securely. Insulate each joint with individual heat shrink first, then apply an outer layer. Reinforce with epoxy by mixing 5-minute epoxy and applying generously around the connector base and solder points. Avoid covering electrical contacts. Use a helping hand to hold it steady during the 24-hour cure time. The result is a rigid, stress-resistant joint that won’t flex or fail.
Try Sugru for Flex Zones
Sugru is a self-hardening epoxy putty that molds around repairs for waterproof, flexible strain relief. Users report years of use with this method.
Use Butt Splice Connectors Without Soldering
For Clean Breaks When You Lack a Soldering Iron
Butt splice connectors offer strong, safe connections without requiring heat or special skills.
What You Need
Get 14-gauge butt connectors, a crimping tool, wire strippers, and electrical tape or heat shrink for insulation.
Repair Steps
Cut out the damaged section completely. Strip about 8mm of insulation from each wire end. Insert the wire fully into the connector and crimp firmly with the proper tool. Perform a tug test: if the wire pulls out, re-crimp. Insulate with heat shrink or double-wrap with electrical tape. Offset the splices on each wire so they don’t align, which reduces bulk and improves flexibility. Plug in and check the charging light to verify success.
Replace the Barrel Connector for Advanced Fixes

When the Plug Itself Is Damaged
If the DC jack is bent, loose, or burnt, replace it entirely rather than trying to repair a damaged connector.
Steps
Cut off the old connector and match the specs: voltage (like 19.5V), polarity (center-positive is most common), and plug size (like 5.5mm x 2.5mm). Solder the new connector with the white wire to the center pin and black or bare wire to the outer sleeve. Insulate with heat shrink or tape. Test output and polarity before use. Always double-check polarity: reversing it can destroy your laptop.
When to Stop Repairing and Replace
Signs It’s Time for a New Charger
Replace immediately if there’s no LED light on the power brick, a burning smell or scorch marks, bulging or cracked casing, or inconsistent voltage when tested with a multimeter. These indicate internal brick failure and pose fire hazards. Stop using the charger now.
Best Replacement Options
OEM chargers cost $60-100+ but offer guaranteed fit and long life. Aftermarket chargers run $20-40 and are widely available, though quality varies. Universal chargers cost $30-50 with multiple tips and adjustable voltage. Used or refurbished options run $15-30 as a budget choice but carry some risk.
Wattage Rule: Never Go Lower
Your new charger must have equal or higher wattage than the original. A 65W laptop needs a 65W or 90W charger. Never use a 45W charger on a 65W laptop: it can overheat or underpower, causing damage.
Prevent Future Damage
Adopt Smart Cable Habits
Unplug by the plug, not the cable. Avoid tight bends near connectors. Store the charger loosely coiled, not wrapped tightly around the brick. Use Velcro straps or cable ties for slack management instead of tight wrappings.
Add Strain Relief
Spiral wraps or 3D-printed protectors shield weak points. Clamp-style sleeves available online heat-activate to fit snugly around vulnerable areas. Some users remove the ferrite bead entirely to eliminate a common stress point.
Upgrade to a Durable Cable
Consider replacing with stronger cables like the Anker A8758 (up to 100W, USB-C) or the Framework 180W Adapter for future-proofing. Look for cables with Emarker chips if supporting high-power delivery.
Frequently Asked Questions About Fixing Laptop Chargers
Is It Safe to Use Electrical Tape on a Damaged Charger?
Electrical tape is safe only as a temporary measure when no copper is exposed. If you can see the actual metal wires inside the cable, tape will not provide adequate insulation and poses a shock or fire risk. Replace or properly repair the charger before using it.
How Long Does a Heat Shrink Repair Last?
A properly applied heat shrink repair with good splicing can last for months to years, depending on how the charger is used and stored. The key is ensuring the splice is mechanically strong and the tubing fully contracted. Combining heat shrink with epoxy or Sugru reinforcement extends the repair significantly.
Can I Repair a Charger With Completely Severed Wires?
Yes, you can repair completely severed wires using butt splice connectors, soldering with heat shrink, or replacing the connector entirely. The method depends on your tools and skill level. Butt splices work well for those without soldering experience, while soldered repairs are more permanent.
Why Does My Charger Keep Breaking at the Same Spot?
The same spot keeps breaking because that’s where mechanical stress concentrates, typically near the connector or ferrite bead. To prevent recurring breaks, add strain relief using a pen spring, Sugru, or a cable protector at that weak point after repairing it.
Should I Replace or Repair an Exposed Charger?
Replace the charger if the power brick is dead, smells burnt, shows visible damage, or produces unstable voltage. Repair is worth it for minor fraying or single breaks if you have the tools and want to save money. Safety comes first: when in doubt, replace.
Key Takeaways for Fixing Your Laptop Charger
Repairing a laptop charger with exposed wires is doable, cost-effective, and eco-friendly when done correctly. Always diagnose the problem first using the wiggle test, swap test, and multimeter checks before starting any repair. Choose your method based on damage severity: tape for minor fraying, heat shrink for exposed wires, solder with epoxy for permanent fixes, and butt splices if you lack soldering skills. Never use a charger with exposed copper wires, and replace entirely if the power brick shows signs of failure. Reinforce any repair with strain relief to prevent the same spot from breaking again. Your safety matters more than saving a few dollars: when in doubt, replace the charger.


