
If your Chromebook won’t charge, you know the frustration immediately your screen goes black and you lose access to work, school, or everything in between. The good news? Most charging problems have simple fixes, and you may not need a replacement at all. How to fix a Chromebook charger starts with ruling out the easy culprits: a dead outlet, a loose connection, or debris in the port. From there, the solution could be as straightforward as a reset or as targeted as replacing a frayed cable. This guide walks you through every verified method, from the quickest checks to advanced hardware repairs, so you can get your device powered up and back in action fast.
Test the Power Outlet First
Before assuming your charger is broken, confirm the wall outlet is actually delivering power.
Plug Into a Working Wall Outlet
Move your charger to a different wall outlet that you know works. Test it first with another device, like a phone charger or a lamp, to verify the outlet has power. Skip surge protectors and power strips during this test, as they can silently cut power or fail internally.
🔌 Pro Tip: GFCI outlets in bathrooms and kitchens may have tripped. Look for a “Reset” button and press it if needed.
If your Chromebook charges in the new outlet, the original outlet was the problem. No tools or replacement needed.
Bypass Power Strips and Surge Protectors
Even quality power strips wear out. Internal fuses blow, switches fail, or surge protection activates without you noticing. Plug the charger directly into the wall. If charging starts, replace the power strip.
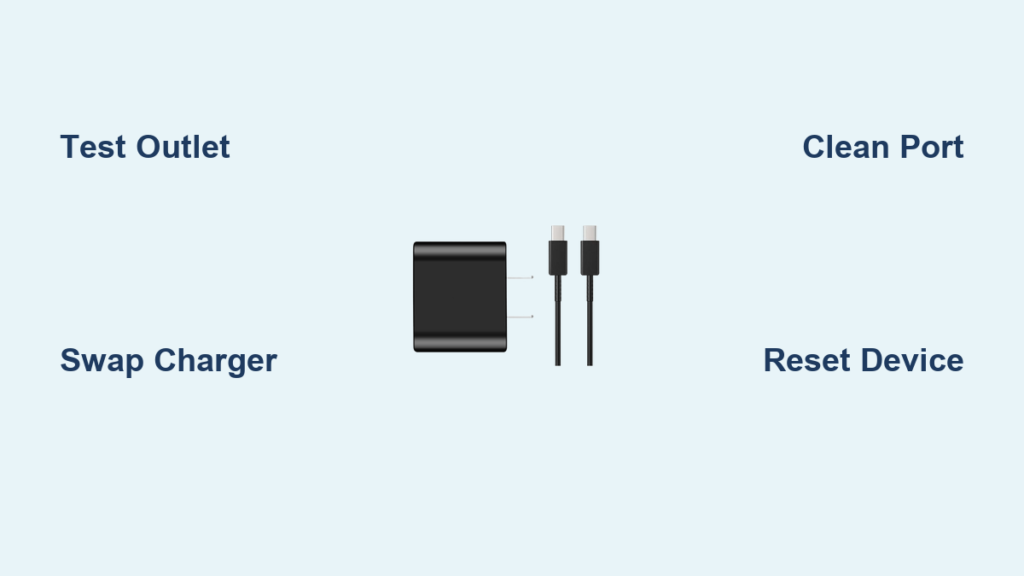
Confirm Charger Functionality

A damaged charger is the most common reason a Chromebook won’t power up. Test yours to know for sure.
Swap Chargers With a Known-Good One
The fastest diagnostic: use your charger on another USB-C device, like a phone, tablet, or a friend’s Chromebook. If it doesn’t power any device, the charger is dead. Alternatively, borrow a working 45W USB-C PD charger and plug it into your Chromebook. If it charges, your original charger is the problem.
⚠️ Warning: Not all USB-C chargers deliver enough power. Phone chargers often put out only 15W, which is too weak for most Chromebooks. Always use 45W or 65W USB Power Delivery (USB-PD) chargers.
Inspect for Physical Damage
Examine your charger and cable closely. Look for frayed or kinked wires near the plug, bent or discolored pins on the USB-C connector, signs of overheating like melting plastic, or a loose connection when plugged in.
✅ Quick Fix: If the cable is damaged near the end, you may be able to splice in a new USB-C plug.
Clean the Charging Port Safely
Lint, dust, or debris in the USB-C port can block the connection completely, even when the charger looks fully inserted.
Use Non-Conductive Tools Only
Power off your Chromebook and unplug the charger. Use a dry soft-bristled toothbrush, compressed air in short bursts, or a wooden toothpick to gently clear debris from the port. Shine a flashlight inside to check for obstructions.
⚠️ Critical: Never use metal objects like paperclips. They can short the pins and damage the motherboard permanently.
Straighten Bent or Misaligned Pins
If the charger only works at a certain angle or wobbles, a pin may be bent. Use a wooden toothpick under bright light to gently nudge pins back into place. Work slowly and carefully, because one broken pin can kill the entire port.
Reset the Charger Properly
Many USB-C chargers have built-in safety circuits that shut down after overloads. A proper reset can revive a seemingly dead charger.
Follow the Correct Plug-In Sequence
✅ Verified Method:
1. Unplug charger from wall and Chromebook.
2. Plug charger into Chromebook first.
3. Then plug into the wall outlet.
4. Wait at least 30 minutes without interruption.
This sequence allows the charger to negotiate power delivery correctly. Reversing the order by plugging into the wall first often fails.
Try the Freezer Method (Last Resort)
Some users report success with this unverified approach. Seal the charger in a plastic bag, freeze it for 30 minutes, then let it return to room temperature completely before attempting to charge.
⚠️ Risks: Condensation can cause shorts. Never use a cold or damp charger. Try this only after all other methods fail.
Perform Software and Firmware Resets
Sometimes the hardware works fine but software blocks charging. Clear those glitches with a reset.
Hard Reset Your Chromebook
This non-destructive reboot clears firmware hiccups that may be blocking power. Press and hold the Power button + Refresh key (↻) for 10 seconds until the screen goes black. Release and let it restart, then reconnect the charger.
✅ Outcome: Fixes intermittent charging, flickering lights, or no response. Your data stays safe.
Run Battery Health Test in Crosh
Check if the battery itself is failing. Press Ctrl + Alt + T to open Crosh, then type battery_test and press Enter. The device must be unplugged for this to work.
✅ Interpretation:
– Health above 80% means the battery is fine.
– Low health suggests battery degradation.
Powerwash as Last Software Fix
If everything else fails, eliminate deep software corruption. Go to Settings, then Advanced, then Reset settings. Choose Powerwash and confirm.
⚠️ Warning: This erases all local data. Back up to Google Drive first.
❌ Reality Check: One user confirmed Powerwash did not fix charging, pointing to hardware failure instead.
Perform a Hardware Reset (Internal Power Discharge)

When software resets don’t work, residual power in the system may be blocking charge.
Disconnect the Battery
Remove the back cover (often hidden under rubber feet), locate the battery connector on the motherboard, and unplug it. Press and hold the power button for 30 seconds to discharge remaining power. Reconnect the battery, reassemble, and test.
✅ Result: This method restored charging in a confirmed HP Chromebook 13 G1 case.
Replace or Repair the Charging Port
If the port itself is damaged, you may need to repair or replace it.
Straighten Bent USB-C Pins
Use a wooden toothpick or plastic spudger to gently realign pins under good lighting. Too much force can break the pin or damage the circuit board.
📌 User Case: One fix succeeded temporarily but failed within an hour, suggesting internal solder damage.
Replace the Port (Advanced)
For cracked ports or broken pins, full disassembly is required. Remove the back cover, detach shielding and motherboard screws, desolder the old USB-C port, and solder in a new one.
🛠️ Skill Level: High. Requires soldering experience. Search eBay or iFixit for parts matching your model number.
Workarounds for Weak Ports
Use a short USB-C extension adapter permanently inserted into the port. When the cable gets yanked, the adapter detaches instead of damaging the port. This is common in school environments where cables get pulled frequently.
Choose the Right Replacement Charger
When replacement is necessary, pick wisely to avoid repeat problems.
Use 45W USB-C Power Delivery
Most Chromebooks need 45W USB-C PD. Premium models may require 65W.
❌ Avoid:
– 5V/3A (15W) phone chargers
– Non-PD USB-C chargers
– Cheap, uncertified adapters
These cause slow charging, boot issues, or battery degradation.
OEM vs. Aftermarket Comparison
| Type | Pros | Cons |
|---|---|---|
| OEM | Guaranteed compatibility, stable voltage | Expensive |
| Aftermarket | Affordable, widely available | Quality varies |
📌 User Experience: A $13 Amazon charger lasted over a year, while a $30 one failed quickly. Buy from reputable sellers with return policies.
Repair a Damaged Cable (Advanced)
If only the cable end is frayed, you can splice in a new USB-C tip.
Solder a New Connector
Cut off the damaged end, strip the wires (red for V+, black for GND, white/green for data), and solder them to a new USB-C plug matching the correct polarity. Insulate with heat shrink tubing.
⚠️ Critical: Reversed polarity can destroy your Chromebook. Test with a multimeter before use.
Prevent Future Charging Issues
Avoid repeat problems with smart habits.
Protect the Charger
Don’t yank the cable from the wall or device. Store it loosely coiled, not tightly wrapped. Keep plugs dry and clean, and unplug during storms.
Shield the Charging Port
Clean the port every few months. Align the plug straight before inserting. Use a protective case and add a strain relief clip or elastic band near the plug to reduce tug stress.
💡 Pro Tip: Tape the charger cord to your desk or wall to reduce strain when someone walks by.
When to Seek Professional Help
DIY fixes won’t solve everything. Get expert help when the port is cracked or pins are broken off, internal components show burn marks or corrosion, soldering or motherboard repair is needed, you’ve tried all fixes with no success, or the device is under warranty.
🛠️ Options: Contact the manufacturer with your model and purchase date, or visit a local repair shop that offers free diagnostics.
📄 Warranty Note: Most Chromebooks have a one-year limited warranty. Charger failure within that time may be covered.
Frequently Asked Questions About Fixing a Chromebook Charger
Why won’t my Chromebook charge even when the charger is plugged in?
The issue could be a dead outlet, damaged charger, debris in the port, software glitch, or hardware failure. Start by testing a different outlet and a different charger to isolate the cause.
How do I know if my charger is bad?
Test your charger on another USB-C device. If it doesn’t power any device, the charger is likely dead. Alternatively, try a known-good 45W USB-C PD charger on your Chromebook.
Can I fix a frayed Chromebook charger cable?
Yes, you can splice in a new USB-C plug by cutting off the damaged end, stripping the wires, and soldering them to a new connector. Use a multimeter to verify polarity before use.
What does the hard reset do on a Chromebook?
The hard reset (Power + Refresh held for 10 seconds) clears temporary firmware glitches that may be blocking charging. It doesn’t erase your data.
Is my Chromebook battery dead if it won’t charge?
Not necessarily. Run the battery_test command in Crosh to check battery health. If it shows above 80%, the battery is fine and you should focus on the charger or port.
Should I use OEM or aftermarket chargers?
OEM chargers offer guaranteed compatibility and stable voltage. Aftermarket options work but vary in quality. Stick to reputable sellers and look for UL, CE, or FCC certification.
Key Takeaways for Fixing Your Chromebook Charger
Most Chromebook charging problems are fixable without replacing the device. Start with the simplest checks: test a different outlet, try the charger on another device, and clean the USB-C port with a soft brush or compressed air. If those don’t work, reset the charger using the correct plug-in sequence (device first, then wall), perform a hard reset on your Chromebook, and test the battery health in Crosh. Only progress to hardware-level repairs like battery disconnection or port replacement when software fixes fail. For replacement chargers, stick with 45W or 65W USB-C PD options from reputable sources. With systematic troubleshooting, you can restore charging for under $20 or even free.
Fix it fast. Save money. Get back to work.


