
A dead car battery is one of the most common vehicle issues—and one of the easiest to fix with the right knowledge. Knowing how to hook up a car battery charger properly ensures your battery gets a safe, full charge without risking damage to your vehicle’s electronics or creating dangerous sparks. Whether you’re reviving a drained battery after a cold snap or maintaining a stored vehicle, following the correct connection process protects both your car and yourself. This guide walks you through every step, from safety preparations to long-term battery maintenance.
Safety First: Prepare Before Connecting
Before touching any battery or charger cables, you must prioritize safety. Car batteries produce hydrogen gas during charging, which is highly flammable. Incorrect handling can lead to sparks, chemical burns, or even explosions.
Essential Safety Gear and Environment
• Work in a well-ventilated area away from enclosed spaces
• Wear safety glasses and rubber gloves to protect against acid splashes
• Remove all metal jewelry including rings, watches, and bracelets
• Keep open flames, cigarettes, and sparks far from the battery area
Never allow any tool to touch both battery terminals simultaneously. This creates a direct short circuit that can cause violent sparks or battery explosion.
Inspect the Battery for Damage
Look for cracks, leaks, bulging sides, or white-green corrosion on the terminals. If the battery shows any signs of physical damage or leaking acid, do not attempt to charge it. Replace the battery immediately instead.
For non-sealed flooded batteries, check the electrolyte levels and top up with distilled water only if the plates are exposed. Never use tap water since minerals can damage internal components.
Gather Tools and Choose the Right Charger
Using the appropriate equipment ensures a smooth, safe charging session without damaging your battery or vehicle systems.
Required Tools and Equipment
• 12V battery charger (smart charger recommended)
• Safety glasses and rubber gloves
• Wire brush or baking soda solution for cleaning terminals
• Wrench (8mm to 10mm) for terminal connections
• Distilled water for flooded batteries if needed
• Grounded extension cord (12-gauge, three-prong) only if necessary
Select the Right Charger for Your Battery
Confirm your charger is rated for 12-volt lead-acid batteries, which are standard for most vehicles. Match the charger to your specific battery type, whether it’s flooded lead-acid, AGM (Absorbent Glass Mat), Gel, or lithium-ion (which requires a specialized charger).
Smart chargers like CTEK or NOCO models automatically detect battery condition and chemistry, making them ideal for beginners. These units prevent overcharging and can safely remain connected for months during vehicle storage.
Locate and Access Your Car Battery

Most batteries sit under the hood, but some vehicles hide them in the trunk or under rear seats. Consult your owner’s manual if you cannot locate the battery.
Identify the Positive and Negative Terminals
The positive terminal (+) is marked with a plus sign and usually has a red cap. The negative terminal (-) is marked with a minus sign and typically has a black cap. Getting these two terminals confused can damage your vehicle’s electronics, so double-check before connecting.
If the battery is difficult to reach, look for remote charging points in your owner’s manual. Some cars have under-hood power posts or trunk-mounted terminals that provide easier access.
Clean Corroded Terminals Properly
Corrosion appears as white or green powdery buildup and blocks electrical flow, preventing your charger from working effectively.
Safe Cleaning Method
Mix one tablespoon of baking soda with one cup of water. Apply the solution using an old toothbrush or battery terminal brush. Scrub until the terminals shine clean, then wipe dry with a cloth. Wash your hands thoroughly afterward since corrosion is caustic.
Do not let cleaning solution enter the battery cells, as this can damage internal plates.
Connect the Charger Clamps in the Correct Order

This step is the most critical part of learning how to hook up a car battery charger. Following the correct connection sequence prevents sparks and protects sensitive electronics.
Step 1: Attach the Red Positive Clamp
Connect the red clamp to the positive (+) battery terminal. If your vehicle has a designated positive connection point (like an under-hood power stud), use that instead. Ensure the connection is tight and secure by gently wiggling the clamp.
Step 2: Attach the Black Negative Clamp to Ground
For modern vehicles with Battery Management Systems (BMS), do not connect the black clamp directly to the negative battery terminal. Instead, clip the black clamp to a clean, unpainted metal part of the engine block or chassis, such as a bolt or bracket.
This grounding method allows the BMS to detect charging activity and reduces spark risk near the battery where hydrogen gas may accumulate. Avoid aluminum engine parts since they corrode and create poor connections.
Plug In and Start Charging
With clamps securely attached, you can now power up the charger safely.
Power Up the Charger
Place the charger away from the battery (never directly above or below it). Plug into a grounded three-prong wall outlet, then turn on the charger (some models activate automatically).
Select Charging Mode
If your charger requires manual settings, choose the appropriate mode based on your battery type (AGM, flooded, gel) and desired charge level (maintenance, recondition, full charge). Smart chargers handle this automatically with no input needed.
Monitor Charging Progress
Let the charger do its work while keeping an eye on the indicators.
Understanding Charging Stages
Smart chargers typically progress through four stages. Desulfation clears sulfate buildup on the plates. Bulk delivery provides maximum current to raise voltage. Absorption holds voltage steady as charge completes. Float/maintenance mode trickle charges to prevent self-discharge.
How Long Does Charging Take
Trickle chargers at 2 to 3 amps take 12 to 24 hours for a fully dead battery. A 5-amp charger needs roughly 12 hours, while a 10-amp charger completes the job in about 6 hours. For deeply discharged batteries, use low amperage overnight for gentler charging that preserves battery life.
Disconnect the Charger Safely
Always reverse the connection order to prevent sparks.
Step-by-Step Disconnection
Turn off and unplug the charger from the wall first. Remove the black (negative) clamp whether it’s connected to the chassis or battery terminal. Remove the red (positive) clamp last. Inspect terminals for tightness and cleanliness before closing the hood.
Never start the engine with the charger still connected unless your charger has an engine-starting assist mode.
Alternative Charging Methods
Not all vehicles require direct terminal access.
12V Socket Charging
Some chargers can plug into the cigarette lighter or 12V accessory port. This only works if the socket circuit is always live (not disabled when the ignition is off) and requires a smart charger that automatically detects the battery.
Permanent Eyelet Terminals
Install eyelets or comfort leads on battery posts for repeated charging without handling clamps. Apply dielectric grease to prevent corrosion on these permanent connectors.
Troubleshoot Common Charger Problems

Charger Won’t Start
If your charger fails to detect the battery, it may be too deeply discharged. Use a smart charger with boost or wake-up mode, or try briefly using higher amperage.
Red Light or Beeping
This usually indicates reversed polarity or poor connection. Verify red clamp is on positive and black clamp is on a clean ground point. Clean terminals if corrosion is present.
Sparks When Connecting
Sparks mean the charger was live during connection. Always connect clamps with the charger unplugged and turned off.
Battery Won’t Hold Charge
Repeated failure to hold charge suggests an old battery, internal damage, or parasitic electrical drain. Have the battery professionally load-tested at an auto shop.
Charging vs. Jump-Starting: Know the Difference
Jump-starting provides a quick boost to start the engine but does not fully recharge the battery. The alternator must then do the work, which strains the system. Battery charging uses a dedicated charger to fully restore the battery over hours or overnight, preserving battery and alternator life.
Never rely on the alternator alone to recharge a dead battery after jump-starting.
Long-Term Battery Care and Storage
For vehicles stored for extended periods, use a smart trickle charger (like Battery Tender or CTEK) to maintain optimal charge and prevent sulfation. These chargers can stay connected indefinitely on smart models.
Batteries discharge faster in cold weather. Check charge levels monthly if your vehicle is stored outdoors during winter.
Frequently Asked Questions About Hooking Up a Car Battery Charger
Can I charge a car battery while it’s still connected to the vehicle?
Yes, you can leave the battery connected when charging. Simply follow the proper connection sequence (red first to positive, black to chassis ground) and ensure all vehicle electrical systems are turned off before charging.
What happens if I connect the clamps in the wrong order?
Connecting positive to negative creates reverse polarity, which can damage your vehicle’s electronics and potentially cause the charger to fail or spark excessively. Most modern chargers have protection circuits, but always double-check clamp positions before plugging in.
Is it safe to charge a battery in my garage?
Charging in a garage is generally safe if the area is well-ventilated and free from flames or sparks. Open the garage door if possible, and never charge in an enclosed room without airflow.
How do I know when the battery is fully charged?
Smart chargers display their status through indicator lights or a screen showing the charging stage. The charger will typically switch to float or maintenance mode when complete. Traditional chargers may require you to check the voltage with a multimeter (12.6V or higher indicates full charge).
Can I use any charger for AGM batteries?
No, AGM batteries require chargers specifically designed for them. Using a standard charger can overcharge or undercharge AGM batteries, reducing their lifespan. Look for a charger marked as AGM-compatible or automatic for multiple battery types.
Why should I ground the negative clamp to the chassis instead of the battery terminal?
Grounding to the chassis allows modern vehicles’ Battery Management Systems to detect charging activity properly. Connecting directly to the negative terminal can bypass this system, causing communication errors or delayed recognition that the battery is charging.
Key Takeaways for Hooking Up a Car Battery Charger
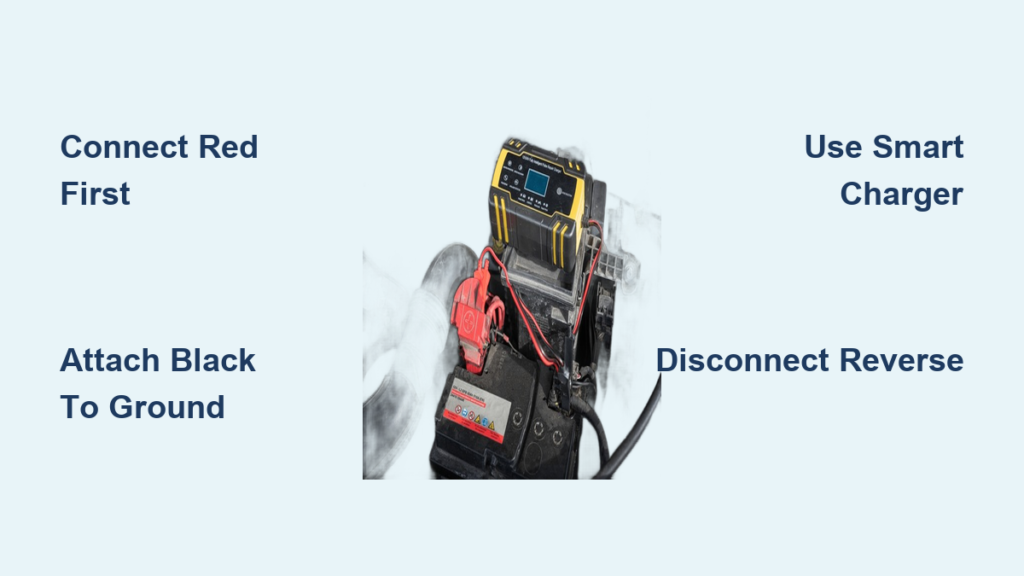
Following proper procedure when charging your car battery protects both you and your vehicle. Always work in a ventilated area wearing safety gear, and inspect the battery for damage before connecting. Connect the red positive clamp first, then attach the black negative clamp to a chassis ground point rather than directly to the battery terminal. Use a smart charger for automatic detection and overcharge protection, and charge dead batteries slowly at low amperage overnight. Disconnect in reverse order, removing the black clamp first, and never start the engine with the charger still connected.
By mastering how to hook up a car battery charger correctly, you extend battery life, prevent electrical system damage, and ensure your vehicle is always ready to start. Keep this guide handy for reference whenever you need to charge a battery or maintain one during storage.


