
A broken charger tip stuck in your iPad’s charging port is a frustrating and common problem. Whether it’s the plastic center or the entire metal shell left behind, this issue can render your device unchargeable and threaten your daily productivity. The good news? In most cases, you don’t need to replace your iPad. With the right tools, techniques, and patience, you can safely remove the broken piece without damaging internal components. This guide walks you through the most effective, user-tested methods so you can get your iPad charging again quickly and affordably.
Immediate Safety Steps Before Removing a Stuck Charger
Before attempting any removal, protect your iPad and yourself with these essential precautions. Working carefully prevents permanent damage to the charging port’s delicate internal components.
Power Off the iPad
Always turn off your iPad completely before starting. A powered-on device increases the risk of short circuits if metal tools accidentally touch internal contacts. This simple step protects both you and your device from electrical damage.
Avoid Force and Liquids
Never push the fragment deeper into the port. Doing so can damage the charging port’s delicate pins or even the logic board. Also, do not spray liquids like alcohol or water directly into the port. Moisture can cause corrosion or electrical damage that may be irreversible.
Work Upside Down and Under Good Lighting
Keep the iPad upside down during removal attempts to prevent dislodged debris from falling further into the port. Use bright LED lighting, ideally with a magnifying glass, so you can clearly see the tiny internal components. Working blind increases the chance of damaging pins.
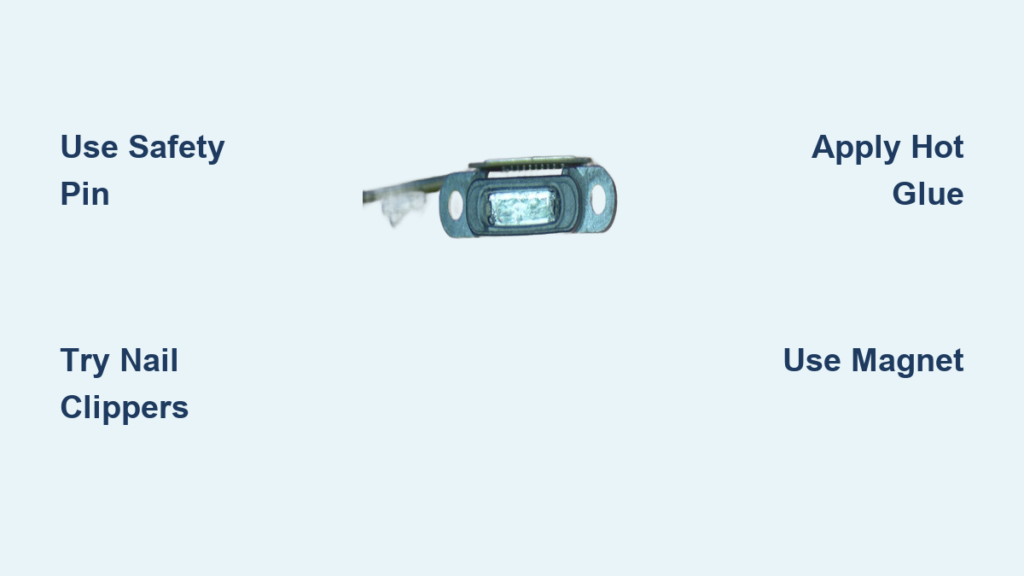
Best Tools for Extracting a Broken Charger Tip

Use the right tool for your situation. Some methods are beginner-friendly while others require more precision and experience.
Start With Basic Household Tools
These tools are accessible and low-risk for your first attempts:
Fine-tipped tweezers provide grip on protruding fragments. Use non-metallic tips if possible to avoid scratching internal components. A safety pin or sewing needle works well for prying and releasing the locking mechanism. A SIM card eject tool is thin and non-conductive, ideal for beginners. Bobby pins, broken in half, create sharp hooks for catching edges. Tiny flathead screwdrivers from eyeglass repair kits wedge into side gaps effectively.
Upgrade to Precision Tools if Needed
For stubborn fragments that won’t budge with basic tools, consider these options:
Dental picks allow precise chiseling of plastic housing. Surgical micro tweezers provide better grip than standard tweezers. Strong neodymium magnets can pull exposed metal parts. Jeweler’s magnifiers with LED lights are critical for seeing tiny internal components.
Avoid pliers, metal toothpicks, or anything too thick. These tools can widen the port or bend the internal pins permanently.
How to Use a Safety Pin to Release Locking Tangs
This is the most common and successful method for partially exposed fragments. The broken tip locks into the port using two small metal tangs on the sides.
Target the Side Latch Mechanism
Your goal is to release these tangs to free the broken piece. Work slowly and carefully to avoid damaging the internal components.
Follow these sequential steps:
- Straighten a safety pin or use a sewing needle
- Insert it along the side gap between the broken tip and port wall
- Gently push inward to disengage one tang
- Repeat on the opposite side to release the second tang
- Wiggle the pin while applying outward pressure to rotate the piece
- Use tweezers or fingers to pull the fragment out
Removing the white plastic center first often loosens the entire assembly. Users report success within 30 minutes using this method with no port damage.
Using a Tiny Screwdriver or SIM Tool
When the fragment has a visible edge, leverage works better than grip. This method works well for shallowly embedded pieces.
Wedge and Lift Gently
Use a tiny flathead screwdriver from a glasses repair kit. Carefully slide it under the edge of the broken piece. Apply upward pressure while pulling back gently. If resistance is felt, stop immediately and reposition. Never force the tool.
Users have successfully used spectacle screwdrivers to remove both broken tips. The key is working slowly and patiently.
Nail Clippers Method: High-Grip Solution

This underrated method offers superior grip where tweezers fail. Many users report success after failing with other tools.
Why Nail Clippers Work Better
Nail clippers and staple removers provide lateral pressure. They grip the side of the fragment instead of trying to pull from the top, which gives much better leverage.
Follow these steps:
- Open the nail clippers or staple remover
- Insert one arm into the port, gripping the side of the broken tip
- Squeeze gently and pull straight out
One user struggled for 45 minutes with tweezers without success. Nail clippers removed the fragment in one try. Another user reported that a 5-year-old’s suggestion of using a staple remover popped it out instantly.
This method works best when any part of the metal shell is exposed.
Hot Glue Technique for Deep Fragments
For flush or recessed pieces where nothing protrudes, hot glue can create a handle for extraction. Use this method only after simpler techniques have failed.
Bond, Cool, and Pull
Heat one end of a hard glue stick with a lighter until soft but not dripping. Press it onto the broken piece inside the port. Hold steady for 10 to 15 seconds to bond. Let it cool completely, which takes 1 to 2 minutes. Pull straight out without twisting.
Attach a toothpick to the glue before it hardens for better pulling leverage. Users report success with this method multiple times. The risk is that glue can seep into the port, so use this as a last resort only.
Magnet Method for Metal Shells
If the metal shell is still inside and partially accessible, a strong magnet may do the trick quickly.
Use a Neodymium Magnet
Hold a strong rare-earth magnet near the port opening. Move it slowly to engage the metal casing. Pull straight out once it lifts.
One user removed her fragment in under 10 seconds using a scribe tool and magnet together. This method won’t work if only plastic is stuck or if the tangs are locked in place. The good news is that magnets do not affect iPad internals, so there’s no risk to your data or device function.
When to Use a Dental Pick (Advanced Users Only)
When the plastic housing is jammed and blocking access, removing it exposes the metal shell underneath. This method requires precision and is best left to experienced users.
Chip Away Plastic Safely
Use a sharp dental pick or scalpel. Carefully cut or chip the white plastic center in small pieces. Work from the sides toward the center to avoid internal pins. Once plastic is gone, bend the metal tangs inward with the pick. Slide the shell out.
A 6-year repair shop technician confirms this method works when others fail. You must use a 6X magnifier with LED light because precision is critical. This is the highest-risk method and should only be attempted by those comfortable working with small electronics.
What NOT to Do When Removing a Stuck Charger
Avoid these common mistakes that cause permanent damage to your iPad.
Never Use Excessive Force
Pushing or prying aggressively can bend internal pins or break the port’s solder joints. If you feel resistance, stop and try a different approach.
Avoid These Dangerous Methods
Do not apply super glue directly into the port. One user reported success gluing an intact cable and pulling, but this is high-risk and can cause permanent blockage. Never use heated needles, as overheating can melt plastic or ignite residue. Avoid spraying alcohol directly into the port, as moisture can damage internal circuits.
Don’t Skip Magnification
Working without a magnifier increases the chance of damaging pins. Always use proper magnification to see what you’re doing.
When to Seek Professional Repair
Some situations require expert help rather than continued DIY attempts.
Signs You Need a Professional
The fragment is deeply embedded and inaccessible. Internal pins are bent or broken. You’ve tried multiple methods with no success. The port feels loose or wobbly after attempts.
Where to Get Professional Help
Local repair shops charge $50 to $130 for extraction and port cleaning. Apple Store may charge $30 to $305 and sometimes requires full device replacement. Independent technicians use micro-tools and endoscopes for precision extraction.
One user reported receiving a $30 credit and new iPad after visiting Apple, effectively covering the repair cost. If your iPad still powers on, backup your data immediately before seeking professional help.
Testing Your iPad After Removal
Once the fragment is out, verify that your port works properly before regular use.
Inspect and Clean the Port
Shine a light inside the port and check for debris or bent pins. Use a dry, soft-bristled toothbrush to sweep out lint. Optionally, wipe with a cotton swab dampened with 70% or higher isopropyl alcohol. Squeeze it dry first to avoid excess moisture. Wait at least 30 minutes for full drying.
Test Charging and Data Transfer
Plug in a known-good cable and look for the charging symbol or battery indicator. Connect to a computer and verify the iPad appears in Finder or iTunes. If it doesn’t charge, the port may need professional cleaning or replacement.
Preventing Future Charger Breakage
Avoid this frustrating problem with better habits and quality accessories.
Use Cables Properly
Insert and remove cables straight, not at an angle. Never yank the cable from the port. Feel for the slight click when the cable is fully seated.
Choose Quality Charging Accessories
Avoid cheap third-party chargers with loose connectors. Replace frayed or worn cables immediately. High-quality cables last longer and are less likely to break inside the port.
Keep the Port Clean
Use a case with a port cover to block debris. Clean monthly with a dry brush or compressed air. Avoid charging in dusty or humid areas like pockets or bathrooms.
Cost Comparison: DIY vs. Professional Repair
Save money by choosing the right approach for your situation.
DIY tools cost $5 to $15 for tweezers, screwdrivers, and bobby pins. Local repair costs $50 to $130 for extraction and port cleaning. Apple repair ranges from $30 to $305 depending on model and damage. Full iPad replacement can cost up to $250 or more.
Most users successfully resolve this issue with basic tools and patience, avoiding professional repair costs entirely.
Frequently Asked Questions About Getting a Broken Charger Out of an iPad
Can I use tweezers to remove a broken charger tip?
Yes, fine-tipped tweezers work well for protruding fragments. Use non-metallic tweezers to avoid scratching internal components. Grip the exposed part firmly and pull straight out. If the fragment is flush or deeply embedded, tweezers may not provide enough grip.
Does the broken charger damage my iPad permanently?
In most cases, no permanent damage occurs if you remove the fragment carefully. The main risks are bent internal pins or a damaged port that prevents future charging. Working slowly and using magnification significantly reduces these risks.
What is the most effective method for removing a stuck charger?
Nail clippers or a staple remover provide the highest success rate according to user reports. These tools grip the side of the fragment better than tweezers. Many users report success after other methods failed.
Should I use super glue to extract the broken piece?
Super glue is risky and should be a last resort. Glue can seep into the port and permanently block it. If you must try this method, apply a tiny amount to an intact cable, insert it, wait 60 seconds, then pull. This is high-risk and not recommended.
How much does professional iPad charger removal cost?
Professional extraction typically costs $50 to $130 at local repair shops. Apple Store charges $30 to $305, sometimes requiring full device replacement. Many users successfully avoid these costs with DIY methods.
Can I prevent my charger from breaking in the future?
Yes. Use quality cables and insert them straight without forcing. Replace worn or frayed cables immediately. Keep the port clean and avoid charging in dusty environments. A protective case with port covers helps block debris.
Key Takeaways for Getting a Broken Charger Out of Your iPad
A broken charger stuck in your iPad is stressful, but almost always fixable without professional help. Start with the simplest methods like tweezers, safety pins, or bobby pins before moving to more advanced techniques. The nail clipper method offers the highest success rate with low risk. Always work under good lighting with magnification to protect internal pins. If you attempt glue methods, use extreme caution to avoid blocking the port. Backup your data immediately if the iPad still powers on before attempting any removal. With patience and the right approach, you can avoid costly repairs and get your iPad charging again.


