
A flickering charging icon. A phone that won’t power up no matter how long it’s plugged in. You grab your Android charger, only to find the cord frayed near the plug, wires peeking out like loose threads. It’s a frustratingly common scene, and one that millions face every year. The good news? You can often fix a broken Android charger cord using simple tools and techniques. But more importantly, you need to know when repair isn’t worth the risk and when replacement is the smarter, safer choice.
This guide walks you through every step: how to diagnose the real problem, distinguish between a faulty cable, adapter, or phone port, and apply proven fixes from quick tape patches to advanced soldering. We’ll cover safety risks, cost-effective solutions, and long-term prevention so you never waste money on constant replacements again.
Diagnose the Real Problem Before Repair
Before grabbing tape or a soldering iron, confirm the cable is actually the culprit. Many charging issues mimic cable failure but stem from elsewhere.
Test the Power Source First
Start with the outlet. Plug in another device like a lamp or phone to verify power flows correctly. If using a power strip or surge protector, bypass it and plug directly into the wall. Check your circuit breaker. A tripped switch often sits in the middle position. Flip it fully off, then back on. For kitchens or bathrooms, test GFCI outlets by pressing the Reset button before plugging in.
Swap Components to Isolate the Fault
Use the swap method to pinpoint the exact issue. Try a known-working cable with your adapter and phone. Then test your faulty cable with a different adapter and outlet. If the phone charges with a new cable, your original cable is dead. If it still won’t charge, the issue may be your adapter, port, or battery.
Pro Tip: Some older Android devices stop charging due to battery calibration issues. Try a full discharge and recharge cycle before concluding hardware failure.
Inspect the Cable Visually
Physical damage is the most common cause of charger failure. A thorough visual inspection often reveals the problem immediately.
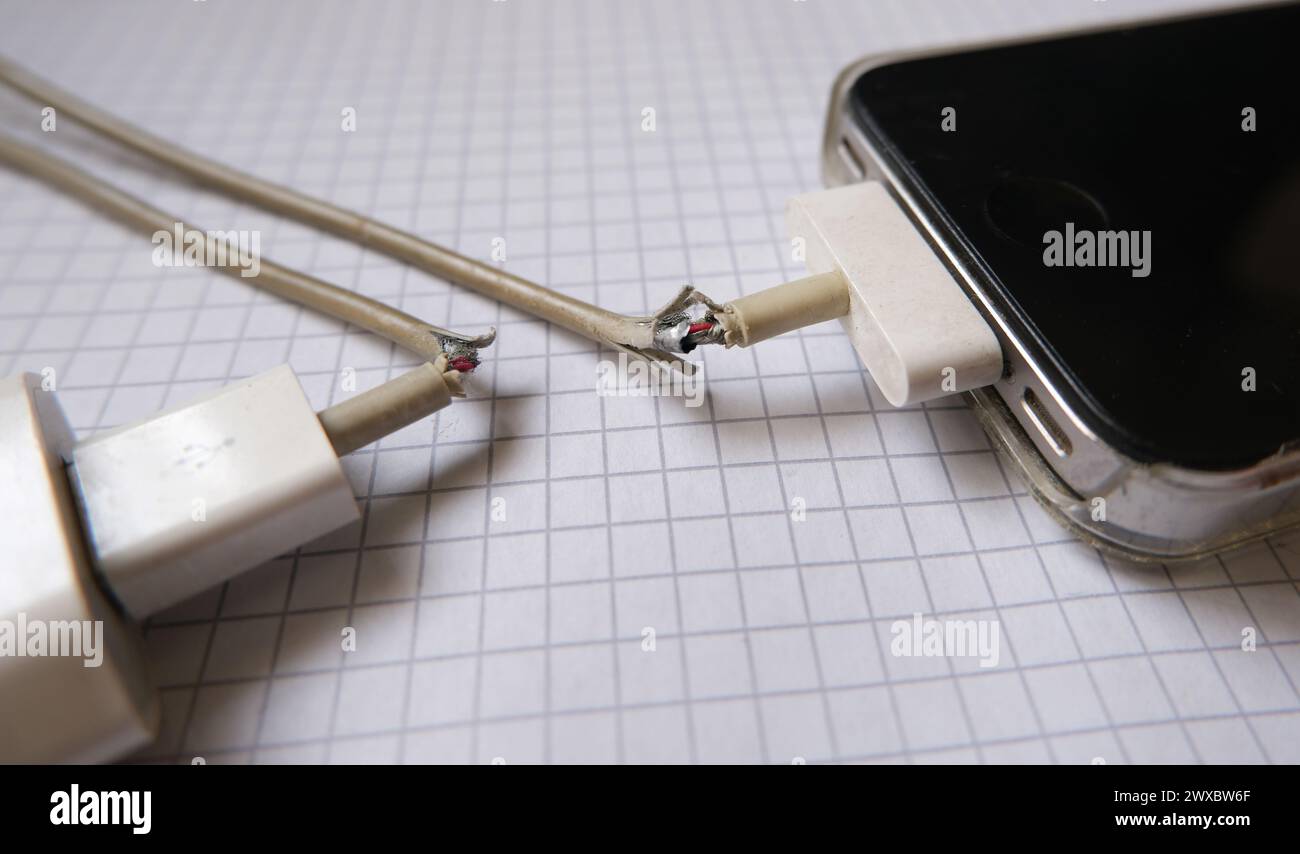
Look for These Warning Signs
Check your cable for these indicators of damage. Frayed insulation, especially within 2 inches of the USB or device end, is a red flag. Exposed copper wires mean the internal conductors are compromised. A loose or wobbly plug when inserted suggests internal breakage. Bent, melted, or discolored connectors indicate heat damage or physical trauma. Kinks or crushing marks from being stepped on or pinched create weak points.
Perform the Wiggle Test Safely
Unplug everything first. Then gently bend the cable near both ends while watching your phone’s charging indicator. If charging starts or stops during movement, you have an internal wire break. This usually happens due to repeated flexing at stress points near the connectors.
Fact: Over 80% of intermittent charging issues are caused by micro-fractures in the power (red/black) wires near the plug.
Check the Charging Port
A clogged port can block contact, making a good cable seem dead. Don’t overlook this often-overlooked component.
Clear Debris Safely
Use only soft tools to clean the port. A wooden toothpick, plastic tweezers, soft-bristled brush, or cotton swab with 70% isopropyl alcohol works well. Avoid metal objects like paperclips. They can scratch contacts or cause shorts. Shine a flashlight into the port to spot lint or dust. Some users use their phone’s macro camera mode for a close-up view. Let the port dry for 5 to 10 minutes after cleaning.
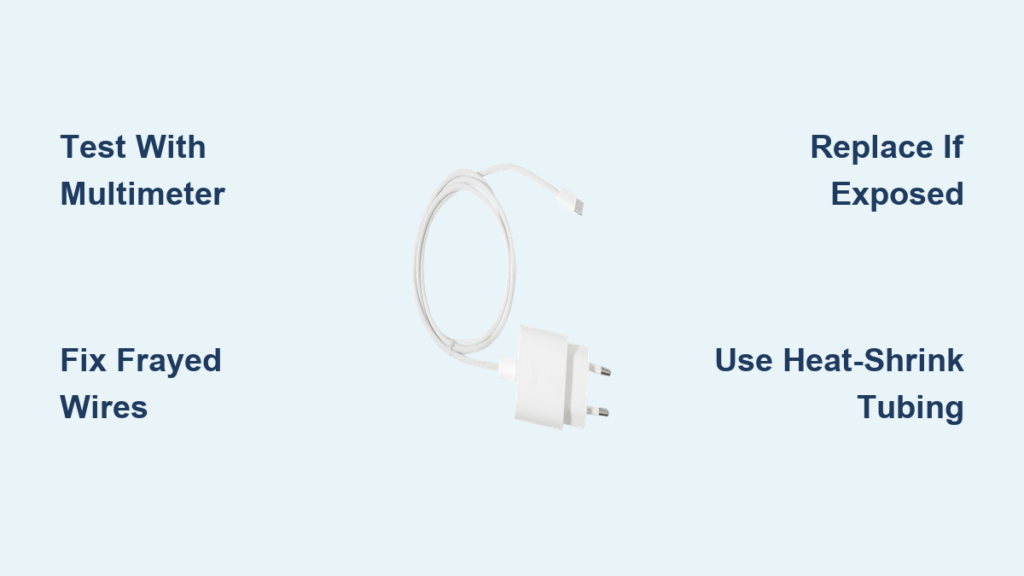
Test with a Multimeter
For definitive diagnosis, use a multimeter to test continuity. This takes the guesswork out of troubleshooting.
Check the Cable for Breaks
Set your multimeter to continuity mode (beep) or resistance (Ω). Touch the probes to the 5V (red) pins on both ends. You should hear a beep. Repeat for the GND (black) pins. No beep or OL reading means the wire is broken. Note that data lines (D+/D-) cannot be fully tested without specialized tools.
Test the Charging Brick
Set to DC voltage (V⎓). Insert the red probe into USB V+, black into GND. You should read approximately 5.0V. Less than 4.5V or fluctuating output indicates the adapter is failing.
Reinforce Frayed Cords Without Soldering
If wires are intact but insulation is splitting, prevent further damage with these temporary solutions.
Use Electrical Tape Properly
Electrical tape works best for early-stage fraying. Clean the area with isopropyl alcohol first. Wrap tightly with self-amalgamating electrical tape, not standard vinyl. Overlap each layer by 50%. Extend 1 to 2 inches beyond the damage on both sides.
Pro Tip: Seal edges with clear nail polish to prevent peeling. This temporary fix lasts days to weeks.
Try Cotton Thread and Super Glue
This method is stronger than tape and great for weak spots. Clean the area with alcohol. Wrap tightly with cotton thread. Secure ends with a knot or drop of glue. Apply a thin layer of cyanoacrylate (super glue). Let cure 5 to 10 minutes. This forms a rigid, durable patch. It’s best used before wires break, ideal for preventive reinforcement.
Apply Heat-Shrink Tubing
Heat-shrink provides long-lasting protection and strain relief. Slide 6mm heat-shrink tubing (3:1 ratio) over the cable first. If repairing, solder wires before positioning the tubing. Use a hair dryer or heat gun to shrink evenly.
Pro Tip: Use adhesive-lined tubing for waterproof sealing. Applying heat-shrink to new cables at stress points can extend life from 6 months to 2+ years.
Repair Broken Wires With Soldering
For complete breaks, re-soldering is the only real fix. This method requires skill and proper tools.
Solder a New Connector
You will need a soldering iron, rosin-core solder, wire strippers, replacement USB connector (micro-USB or USB-C), heat-shrink tubing, and a multimeter. Cut off the damaged end, leaving 2 to 3 inches of cable. Strip the outer jacket to expose four inner wires. Red is V+ (5V), Black is GND, Green is D+, White is D-. Solder each to the matching terminal on the new plug. Insulate with heat-shrink. Test continuity before use.
Warning: Reversing V+ and GND can damage your phone. Double-check all connections.
Know the Limitations
USB-C cables may contain e-markers (chips) for fast charging. These cannot be replicated without special parts. Thin wires (approximately 28 AWG) are fragile and hard to solder. Without proper strain relief, the repair will fail quickly.
Reality Check: Many users spend hours soldering only to have the fix last days. One Reddit user reported spending two hours on a repair that died after one week.
Use Sugru for a Flexible Permanent Fix
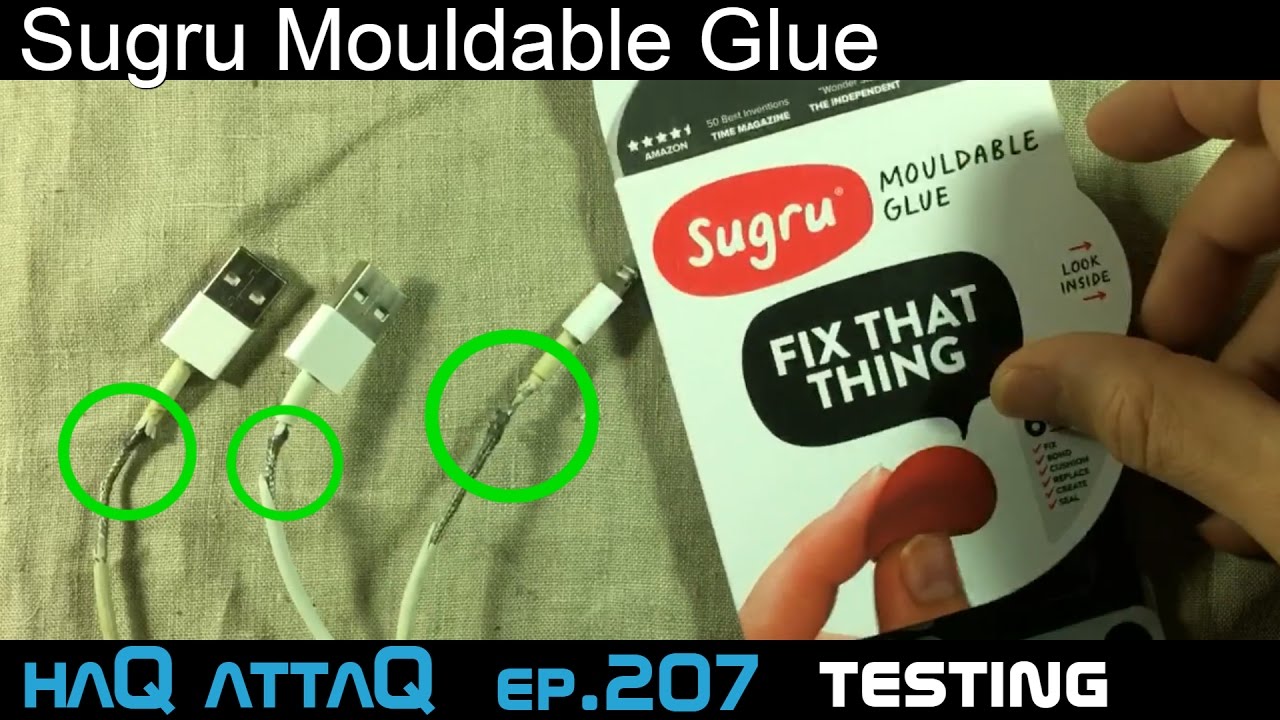
Sugru is moldable glue that cures into a rubber-like seal. It’s waterproof, slightly flexible, and bonds well to rubber and plastic.
Fix with Sugru in Four Steps
Clean the area with isopropyl alcohol. Knead Sugru until soft. Mold around the damaged section, overlapping by 1 inch. Let cure for 24 hours. The result forms a second skin that protects the cable.
Expert Insight: Philip Le Riche from St Albans Fixers says Sugru is ideal for reinforcing stress points before failure occurs.
Safety Risks You Can Not Ignore
Repairing chargers is not just technical. It can be dangerous if done wrong.
Fire and Shock Hazards
Exposed wires can arc or overheat during charging. Poor insulation increases fire risk, especially on beds or couches. Charging near flammable materials multiplies the danger.
User Warning: One Reddit user advised, “Better to buy a new one than burn your house down.”
When to Stop and Replace Immediately
Replace immediately if wires are exposed. Replace if the connector is melted or deformed. Replace if the cable sparks or smells burnt. Replace if you are unsure about polarity or connections.
Prevent Future Damage
Stop replacing cables every few months. Protect them from day one.
Reinforce New Cables
Apply heat-shrink or Sugru to stress points immediately after purchase. Wrap ends with electrical tape in a tapered shape for added protection.
Use Cables Correctly
Always pull by the plug, not the cord. Avoid sharp bends. Store loosely coiled, never wrap tightly. Keep cables away from foot traffic and pets.
Upgrade to Durable Cables
Invest in braided nylon cables (resistant to fraying). Consider magnetic charging cables (detach safely when pulled). Choose reinforced connectors with rubber strain relief. Look for USB-IF certified models for safety and performance.
User Win: One user reported, “Magnetic cables for $11 on Amazon saved me from constant replacements.”
Repair vs Replace: The Smart Choice
Time to face the facts and make the right call.
| Factor | Repair | Replace |
|---|---|---|
| Cost | $0 to $10 | $2 to $15 |
| Time | 10 to 60 minutes | Less than 5 minutes |
| Durability | Days to months | 6 months to 3 years |
| Safety | Risk of poor insulation | Factory-tested |
| Convenience | Needs skill and tools | Ready to use |
User Consensus: A new cable costs $5. Unless you are choosing between that and food, just replace the fire hazard.
Bottom Line: Treat charger cords as disposable consumables, like batteries or light bulbs.
Buy Reliable Replacements
When it is time to replace, choose wisely.
Trusted Brands and Stores
Amazon offers Anker, Belkin, and AmazonBasics. Dollar Tree has basics for $1.25. AliExpress and Temu have bulk deals but require 2 to 4 weeks shipping. Buy Nothing Groups offer free cables from e-waste.
What to Look For
Choose USB-IF certification (especially for USB-C). Look for braided nylon jacket. Select reinforced ends. Ensure fast charging support matches your device. Check for warranty (some offer 18 to 24 months).
Avoid ultra-cheap, no-name cables. They often lack fuses and safety features.
When the Problem Is Not the Cable
If a good cable still will not charge your phone, the fault may be internal.
Common Device Issues
Bent pins in the charging port cause connection problems. Loose internal connections interrupt power. Battery management failure can prevent charging entirely.
Seek Professional Help
For Infinix, TECNO, itel, or Syinix phones, visit Carlcare, the official service provider in Africa. Book online for faster service. Get genuine parts and warranty-backed repairs.
Warning: Third-party shops may use fake parts that fail quickly or cause damage.
Final Recommendations at a Glance
| Issue | Action |
|---|---|
| Frayed insulation, no exposed wires | Use Sugru or heat-shrink |
| Exposed or broken wires | Replace immediately |
| Intermittent charging | Perform wiggle test, then replace |
| Blocked port | Clean with plastic tool |
| Dead outlet | Test, reset breaker |
| Faulty adapter | Test voltage, replace |
| Persistent issues | Check device port professionally |
Frequently Asked Questions About Fixing Broken Android Charger Cords
Can I fix a broken Android charger cord without tools?
Yes, for minor fraying you can use electrical tape or Sugru as a temporary fix. These methods require minimal tools. However, for broken wires, you need at least a multimeter for testing and potentially soldering equipment for proper repair.
How long does a repaired charger cord last?
It depends on the method. Electrical tape lasts days to weeks. Sugru and heat-shrink can last months. Soldered repairs often fail within days to weeks without proper strain relief. For lasting results, replacement is usually better.
Is it safe to repair a charger cord myself?
It can be safe if done correctly. Always unplug from power before working. Ensure no exposed wires remain after repair. However, if you lack proper tools or experience, replacement is safer. Poor repairs can cause fire hazards or damage your phone.
Why does my charger only work when I hold it at a certain angle?
This indicates internal wire breakage, typically near the connector. The wiggle test confirms this. Micro-fractures in the power wires cause intermittent contact. This is a common issue from repeated flexing. The cable should be replaced rather than repaired.
What is the best way to prevent charger cord damage?
Reinforce new cables immediately with heat-shrink at stress points. Pull by the plug, never the cord. Avoid tight coiling and sharp bends. Store cables loosely. Consider upgrading to braided or magnetic cables for durability.
Final Verdict: Repair or Replace
Yes, you can fix a broken Android charger cord with tape, glue, or solder. But here is the truth: it is rarely worth the effort. Repairs are temporary, risky, and often not safer than tossing it. For less than the cost of a sandwich, you can buy a new, certified, durable cable that will not threaten your phone or home.
Best strategy? Replace the broken cord now. Reinforce your new one immediately. Handle it right to avoid repeating the cycle. As one user wisely concluded, have a great day and charge your phone safely.


