
A dead car battery is one of the most common automotive setbacks, striking without warning and leaving you stranded. Whether it’s from accidentally leaving the lights on overnight or prolonged inactivity during winter, a discharged battery creates immediate stress. Fortunately, knowing how to use a car battery charger lets you restore power safely, extend battery life, and avoid expensive replacements. This guide delivers a complete, safety-first approach tailored for beginners and experienced drivers alike.
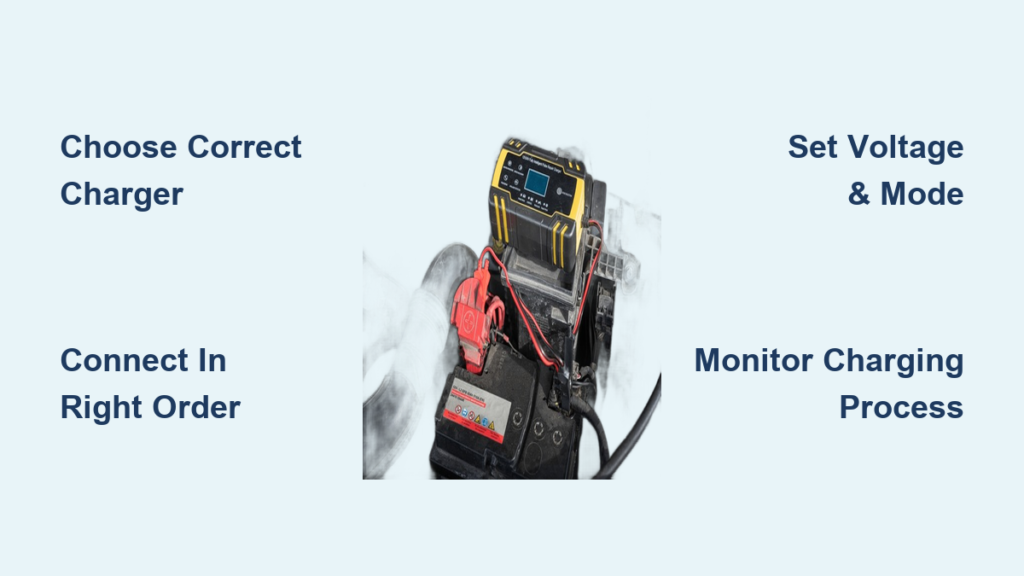
You’ll learn how to select the right charger for your battery type, connect it properly, monitor the charging process, and perform post-charging diagnostics to ensure your vehicle’s electrical system stays healthy. By the end, you’ll have the confidence to handle dead batteries without calling for roadside assistance.
Choose the Right Charger Type for Your Battery
Match Charger to Your Needs
Not all chargers serve the same purpose. Selecting the correct type ensures safe, effective charging without damaging your battery.
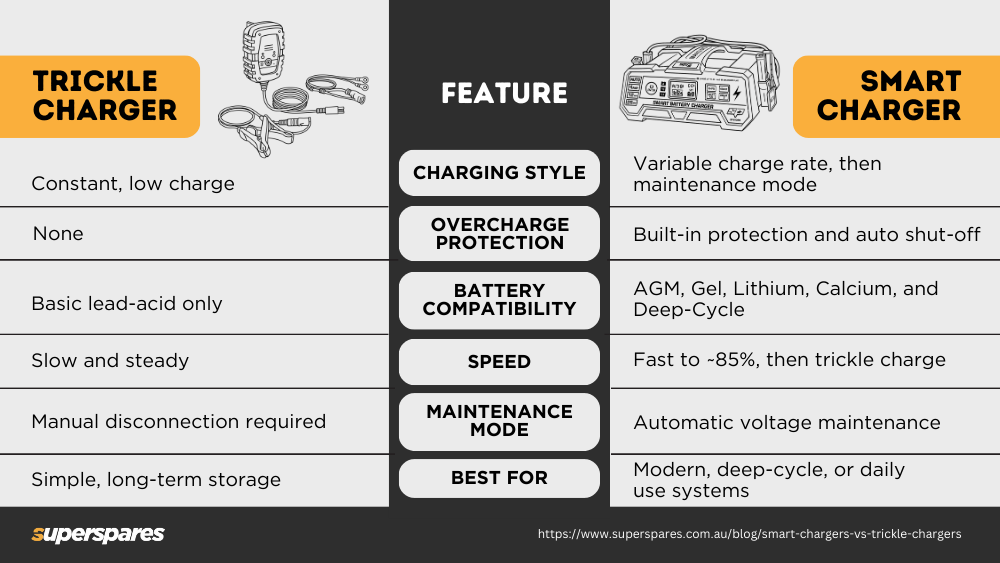
• Smart chargers: Automatically detect battery state and type, ideal for most drivers
• Trickle chargers: Deliver 1-2 amps, perfect for long-term storage or seasonal vehicles
• Manual chargers: Require user input for settings, best for experienced users
• Portable jump starters: Emergency tools that provide a quick boost but don’t fully recharge
• Heavy-duty chargers: High-output units for trucks or deeply discharged batteries
Best for most drivers: A smart charger with multi-stage charging, AGM compatibility, and reverse polarity protection.
Verify Battery and Charger Compatibility
Using the wrong charger chemistry can ruin your battery. Always match the charger to your battery type.
| Battery Type | Required Charger Setting |
|---|---|
| Flooded Lead-Acid | Standard 12V lead-acid mode |
| AGM | AGM-specific voltage profile |
| Gel | Low-voltage gel mode |
| Lithium-Ion | Lithium-only charger |
Never use a lead-acid charger on a lithium battery—it can cause fire or explosion.
Prepare the Battery and Work Area Safely
Work in a Ventilated Space
Car batteries release hydrogen gas during charging, which is highly flammable. Always charge in a well-ventilated garage, driveway, or outdoor area. Never charge in an enclosed space like a closed garage or basement.
Turn Off All Vehicle Systems
Ensure the engine is off and all accessories including lights, radio, and climate control are switched off. This prevents electrical surges during the charging process.
Inspect the Battery Before Charging
Before connecting anything, visually check the battery for these issues:
• Cracks, leaks, or bulging → Do not charge; replace the battery
• Corrosion on terminals → Clean before charging
• Frozen appearance → Do not charge; thaw slowly at room temperature first
Charging a damaged or frozen battery risks explosion.
Clean the Terminals
Corrosion blocks electrical flow and slows charging. Use a wire brush or battery terminal cleaner to scrub both positive (+) and negative (-) terminals until shiny metal appears. Wipe away residue with a dry cloth before proceeding.
Connect the Charger Cables in the Correct Order
Follow the Proper Connection Sequence
Connecting in the wrong sequence can cause dangerous sparks, especially near hydrogen gas. Always follow this exact order:
-
Attach red clamp to positive (+) terminal
– Clip the red (positive) clamp firmly onto the battery’s + terminal
– Ensure full metal contact with no paint, grease, or corrosion between clamp and terminal -
Attach black clamp to a ground point
– Clip the black (negative) clamp to an unpainted metal part of the engine block or chassis
– This grounding practice keeps sparks away from the battery
Why ground instead of negative terminal? It reduces spark risk near the battery where hydrogen gas may be present.
Exception: Some manual chargers require direct negative terminal connection—check your manual.
Double-Check All Connections
• Clamps must be secure and not touching each other
• Cables should not drape over moving engine parts
• Positive (red) and negative (black) must never cross or touch
Set Charger Mode and Voltage Settings
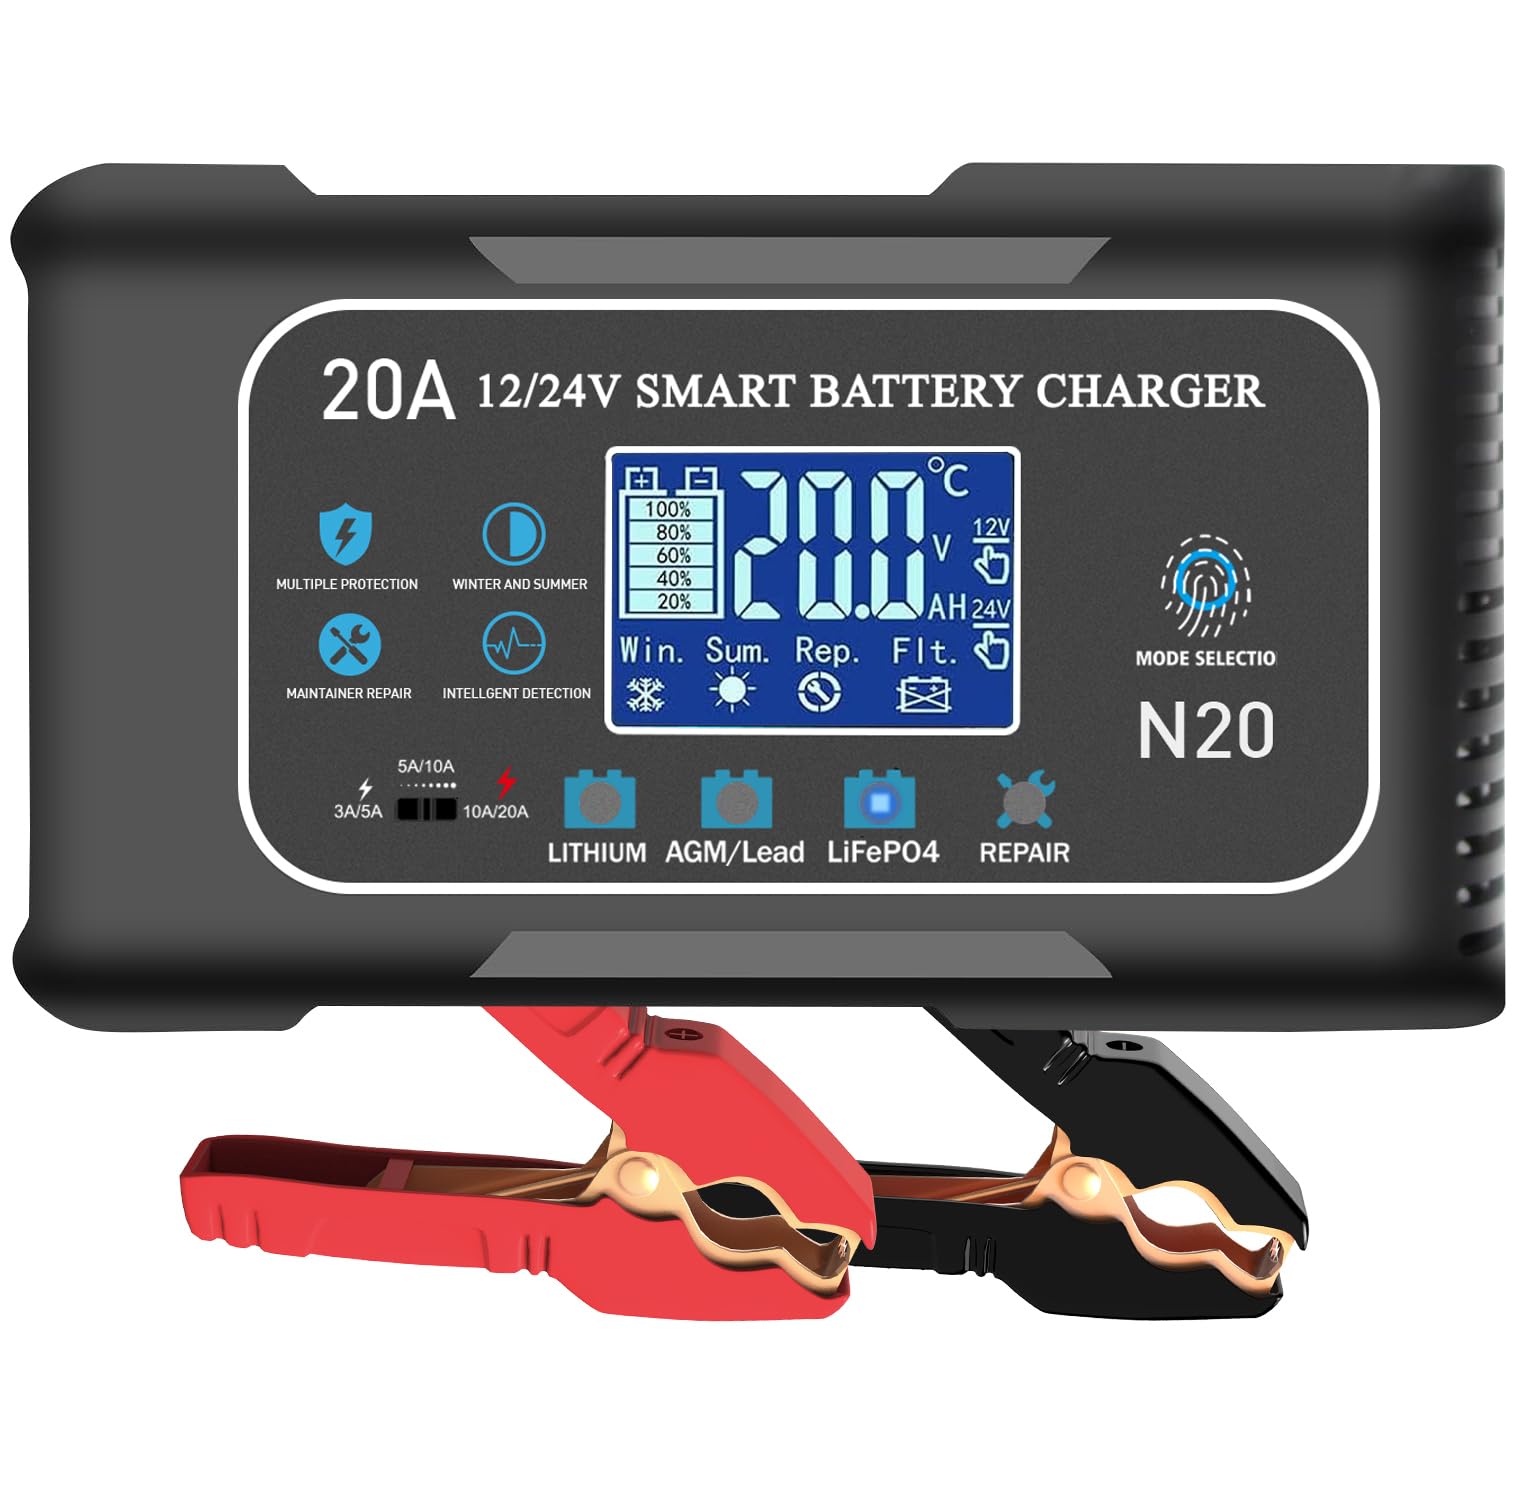
Select 12V for Standard Cars
Most car batteries operate at 12 volts. Confirm your charger is set to 12V, not 6V. Some smart chargers auto-detect voltage—verify the display shows “12V” before proceeding.
Choose Battery Type on Smart Chargers
Modern chargers let you select the specific battery chemistry:
• Flooded lead-acid
• AGM (common in vehicles with start-stop systems)
• Gel cell
• Lithium-ion
Pick the correct type. AGM batteries require a higher voltage profile than flooded batteries and can be damaged by incorrect charging.
Pick the Right Charging Mode
• Trickle / 2A: Slow, gentle charge ideal for deep discharges or long-term battery health
• Standard / 6-12A: Faster recharge acceptable for routine use
• Boost / Start mode: Provides temporary high current to help start the engine (if supported)
Smart chargers often auto-select the best mode—review settings to confirm.
Start Charging and Monitor the Process
Plug In and Power On
- Plug the charger into a grounded 120V outlet
- Turn on the charger if it has a power switch
- Observe indicator lights or display:
– Red: Charging in progress
– Yellow/amber: Absorption or maintenance phase
– Green: Fully charged; may be in float mode
Monitor the Charging Process
• Smart chargers: Can be left unattended; they auto-shift to float mode when full
• Manual chargers: Must be watched closely; check every 30-60 minutes for:
– Overheating (hot to touch means stop immediately)
– Bubbling, hissing, or swelling (signs of overcharging)
– Sulfur smell (rotten eggs) indicates gassing or battery failure
Typical charge times: 2A trickle takes 12-24 hours, 6A takes 6-12 hours, 10-12A takes 4-8 hours. Deeply discharged batteries may need 12+ hours at low amperage.
Overnight charging is safe with smart chargers only.
Disconnect the Charger Properly
Reverse the Connection Order
Always disconnect in reverse to prevent short circuits:
- Unplug the charger from the wall outlet
- Remove the black (negative) clamp from the ground point
- Remove the red (positive) clamp from the battery terminal
Never remove the red clamp first—this risks shorting the electrical system.
Reinstall Terminal Covers
If you removed plastic caps from terminals during cleaning, replace them to prevent accidental contact or future corrosion.
Test Battery Health After Charging
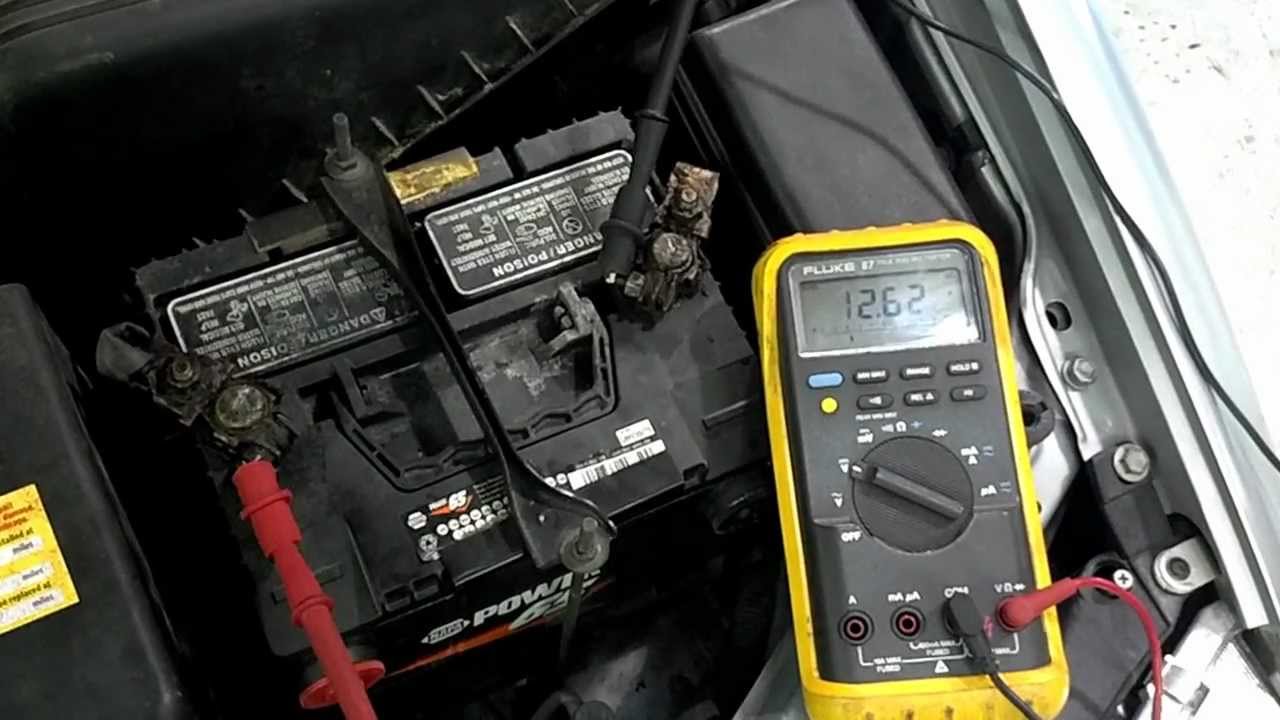
Check Resting Voltage
After charging, let the battery rest with no load for at least one hour. Then use a digital multimeter set to DC volts. Touch red probe to (+), black to (-).
| Voltage | State of Charge |
|---|---|
| 12.6-12.7V | 100% (fully charged) |
| 12.4V | 75% |
| 12.2V | 50% (recharge recommended) |
| Below 12.0V | Discharged |
A healthy battery should read 12.6V or higher after a full charge.
Perform a Load Test
A voltage check alone isn’t enough. A battery may show 12.6V but fail under engine load. Use a battery load tester to simulate cranking. A healthy battery should maintain above 9.6V for 15 seconds under half its CCA rating.
Many auto parts stores offer free load testing.
Diagnose Alternator and Charging System Issues
Test Alternator Output
A recurring dead battery often points to a faulty charging system. Start the engine and measure voltage across terminals:
• 13.8-14.7V: Alternator working normally
• Below 13.5V: Undercharging (failing alternator)
• Above 15.0V: Overcharging (voltage regulator issue)
Overcharging damages batteries and vehicle electronics.
Check for Parasitic Draw
If the battery dies again after sitting overnight:
- Turn off all systems
- Connect multimeter in series (amps mode) between negative terminal and cable
- Normal draw should be below 50mA
- Higher than 100mA indicates a device staying on (stuck glovebox light, faulty module, aftermarket accessory)
Avoid Common Charging Mistakes
Never Reverse the Clamps
Connecting red to negative or black to positive causes reverse polarity—a serious hazard that can blow fuses, fry the ECU, or destroy the alternator. Many smart chargers have reverse polarity protection and will beep or refuse to charge if connected incorrectly.
Always double-check: Red to (+), Black to ground.
Don’t Use Extension Cords
Extension cords reduce power delivery and may overheat. If unavoidable, use a heavy-duty 12-gauge outdoor-rated cord no longer than 15 feet. Never use coiled cords—unroll completely.
Never Charge While Driving
The alternator recharges the battery while driving. A battery charger is designed for stationary use only.
Best Practices for Battery Longevity
Use Float Mode for Storage
For vehicles stored over 30 days (winter vehicles, RVs), keep a smart charger connected. It will charge as needed and prevent sulfation, a major cause of battery failure. Sulfation occurs when crystals form on battery plates during discharge.
Charge AGM Batteries Correctly
AGM batteries are sensitive to overvoltage. Use only chargers labeled “AGM-safe” with a dedicated AGM mode. Incorrect charging can reduce lifespan by up to 50%.
Replace Old Batteries
Most car batteries last 3-5 years. Replace if the battery fails a load test, cannot hold a charge, or shows physical damage. Note the manufacture date stamped on the case—batteries degrade even when unused.
Emergency Charging Alternatives
Portable Jump Starters
These compact lithium devices can jump-start your car in minutes and recharge phones via USB. However, they provide a quick boost, not a full battery recharge.
They are not substitutes for proper battery chargers.
Charger Rental Programs
Many auto parts stores offer free charger rentals:
• AutoZone (PowerBuilt)
• O’Reilly (Battery Tender)
• Advance Auto Parts (DieHard)
Bring ID and a deposit to take home a smart charger for 24-72 hours.
Frequently Asked Questions About Using a Car Battery Charger
Can I leave a car battery charger on overnight?
Smart chargers with automatic shut-off and float mode are safe for overnight charging. Manual or trickle chargers require manual disconnection to prevent overcharging and should never be left unattended.
Do I need to remove the battery to charge it?
No, in most cases you can charge with the battery still in the vehicle. Removal is only necessary if the battery is damaged, leaking, or being charged at very high amperage.
How long does it take to fully charge a car battery?
Charging takes 4-24 hours depending on charger amperage, battery capacity (typically 40-70Ah), depth of discharge, and battery age. A 2A trickle charger needs 12-24 hours; a 10A charger needs 4-8 hours.
What happens if I connect the clamps backward?
Reverse polarity can blow fuses, damage the ECU, radio, or alternator, and cause permanent battery failure. Modern smart chargers have reverse polarity protection and will not operate if clamps are reversed.
Can a car battery charger fix a completely dead battery?
Yes, if the battery is simply discharged from leaving lights on. No, if the battery has internal shorts, severe sulfation, or failed cells. After charging, test battery health with a load tester to assess condition.
Is there a difference between a jump starter and a battery charger?
Yes. A jump starter provides instant power to start the engine in seconds. A battery charger replenishes energy over hours and restores full battery capacity. Both serve different purposes.
Key Takeaways for Safely Using a Car Battery Charger
Knowing how to use a car battery charger properly protects your vehicle, saves money on replacements, and eliminates roadside stress. Always prioritize safety by working in ventilated areas, inspecting batteries before charging, and following the correct connection sequence. Select a smart charger with multi-stage charging and compatibility for your specific battery type—whether flooded lead-acid, AGM, gel, or lithium. Match the charger settings to your battery chemistry to avoid damaging sensitive modern batteries. Use float mode for long-term storage to prevent sulfation and extend battery life. With the right tools and knowledge, you can keep your battery healthy for years and handle dead battery situations confidently without professional assistance.


