
A dead car battery can leave you stranded, but knowing how to properly connect a battery charger lets you revive it safely without a tow truck. Unlike jump-starting which only provides a temporary boost, charging a dead battery fully restores its capacity and protects your vehicle’s electronics. This guide covers every step from safety preparation through final testing so you can bring a dead battery back to life.
Safety First: Avoid Sparks and Damage
Before touching any cables, proper safety measures are essential. Even a dead battery can produce hydrogen gas and deliver enough current to cause sparks or a short circuit.
Essential Safety Steps
Work in a well-ventilated area since hydrogen gas released during charging is flammable. Turn off the vehicle completely by removing the key and shutting down all electronics including radio, lights, and climate control. Wear safety glasses and gloves to protect against sparks or acid exposure. Inspect the battery for cracks, leaks, or bulging, and check charger cables for fraying or exposed wires. Keep flames and sparks away by avoiding smoking or open flames near the battery.
Never connect or disconnect clamps while the charger is powered on. Always plug in after connections are secure and unplug before removing clamps. This critical sequence prevents sparks near battery gas.
Locate and Inspect the Battery
Finding and preparing the battery ensures a clean, safe connection for charging.
Find the Battery Position
Most car batteries sit under the hood, but some models like BMW, Mercedes, or newer sedans place them in the trunk or under seats. Consult your owner manual if the battery is not immediately visible.
Clean Terminals for Better Contact
Corrosion blocks conductivity and can prevent charging entirely. Remove plastic covers from terminals and use a wire brush to scrub off white or green corrosion from both terminals. Wipe clean with a dry rag until metal is visible and dry.
Poor connections may cause the charger to show no battery detected even when properly hooked up.
Choose the Right Charging Method
Modern vehicles use smart electronics that can be disrupted by outdated charging techniques.
Why Not to Connect to Negative Terminal
Many people still connect the black clamp directly to the battery negative terminal, but this can interfere with the Battery Management System in newer cars. The BMS monitors charge levels and optimizes performance, and clamping directly to the negative terminal bypasses these sensors. The result can be inaccurate readings, delayed recalibration, or warning lights appearing on your dashboard.
Use an alternate grounding point instead of the direct negative terminal connection.
Connect the Charger in the Correct Order
Following the right sequence prevents sparks and protects your vehicle electronics.
Attach Red Clamp to Positive
Clip the red positive clamp onto either the battery positive terminal or a designated positive jump-start terminal under the hood marked with a red cap or POS label. Ensure a firm, metal-to-metal connection.
Attach Black Clamp to Ground
Clip the black negative clamp onto a clean, unpainted metal surface on the engine block, chassis, or strut mount. Avoid aluminum parts, fuel lines, or moving components.
Never attach the black clamp to the negative battery terminal unless your manual specifically allows it.
Plug In and Start Charging
With clamps secure, power up the charger properly.
Power On Sequence
Plug the charger into a grounded wall outlet first. Turn on the charger if it has a manual switch, then select the appropriate charging mode.
Some chargers recommend turning them off before plugging in to avoid electrical surges.
Select the Correct Charging Mode

Choosing the right setting affects battery health and charge speed.
Trickle Charge for Deep Discharge
Use 1 to 2 amps in trickle or maintenance mode for a severely depleted battery. This is safer for weak or old batteries and prevents overheating while extending lifespan.
Standard or Smart Charging
A 5 to 10 amp standard mode provides balanced charging for routine situations. Smart or automatic mode is the best choice because it automatically adjusts through bulk, absorption, and float stages before shutting off.
Smart chargers are ideal since they prevent overcharging and adapt to battery condition automatically.
Avoid Fast Charging Unless Necessary
High amperage charging at 15 amps or more charges quickly but stresses weak cells. Use fast charging only in emergencies and never overnight.
Monitor Charging Progress

Keep an eye on the process to ensure everything works correctly.
Watch Indicator Lights
A red light indicates charging in progress. A green light means fully charged, though this varies by model. Flashing or error lights mean you should check connections or battery condition.
Estimate Charging Time
| Charger Output | Time to Full Charge |
|---|---|
| 2A | 24 to 48 hours |
| 5A | 8 to 12 hours |
| 10A | 4 to 6 hours |
| 50A | 1 to 2 hours |
Lower amps equal safer, more complete charging. If the charger does not start, confirm clamps are tight and clean, verify polarity, and try a partial boost since some smart chargers need minimum voltage to activate.
When to Use a Battery Maintainer
If your car sits unused for more than two weeks, a trickle charger or battery maintainer prevents deep discharge.
These devices automatically switch to float mode when full. They are ideal for seasonal vehicles, classic cars, or winter storage. They also prevent sulfation, which is a major cause of battery failure.
Disconnect the Charger Safely
Removing clamps in the wrong order can create sparks near hydrogen gas.
Follow This Order
Turn off the charger first. Unplug from the wall next. Remove the black clamp first from the ground point. Remove the red clamp second from the positive terminal.
Never remove the red clamp first because this increases the risk of short-circuiting against grounded metal.
Test the Battery After Charging
Verify success before assuming the battery is good.
Check Voltage with a Multimeter
Set the multimeter to DC volts. Touch the red probe to the positive terminal and black to negative. Wait 10 minutes after disconnecting the charger for an accurate reading.
A reading of 12.6 volts or higher means fully charged. At 12.4 volts, the battery is about 75 percent charged and may need more time. Below 12.0 volts indicates the battery is still weak or failing.
Attempt to Start the Vehicle
Turn the key or press start and listen for smooth cranking. If the engine turns slowly or dies immediately, the battery may not hold a charge.
If the battery fails again, get a load test at a service center.
Know When to Replace the Battery
Charging will not fix every problem. Some batteries are beyond revival.
Signs You Need a New Battery
The battery will not hold charge overnight. Voltage drops below 12.0 volts quickly. The case is swollen or cracked. The battery is over 3 to 5 years old. The battery repeatedly dies despite charging.
Common Internal Failures
A dead cell means one of six internal cells is damaged, and the battery reads below 10.5 volts. Sulfation occurs when hardened sulfate crystals prevent charging, common in long-unused batteries. Parasitic drain means a faulty module like an alarm or radio draws power when off. A failing alternator does not recharge while driving, which drains the battery over time.
Bring the battery to a shop like Meineke or AutoZone for a free load test to confirm health.
Charging vs. Jump-Starting: Key Differences
| Feature | Jump-Starting | Charging |
|---|---|---|
| Power Source | Another car or jump pack | Wall outlet via charger |
| Charging Time | Instant start | Hours for full restoration |
| Battery Recovery | Temporary | Complete |
| Risk to Alternator | High | Low |
| Best For | Emergency restarts | Long-term battery care |
Do not rely on jump-starting alone. Driving after a jump forces the alternator to recharge a dead battery, which can overheat and shorten its life.
Frequently Asked Questions About Charging a Dead Battery
Can a completely dead battery be recharged?
Yes, most batteries with voltages as low as 10 to 11 volts can be revived. However, those left dead for weeks or with internal damage may not recover.
How do I know if the battery is charging?
The charger display shows current flow, the LED changes from red to green, and voltage increases over time on a multimeter.
Can I overcharge a car battery?
Yes, especially with non-smart chargers. Overcharging causes electrolyte loss, plate warping, and overheating. Use a smart charger with auto shut-off to prevent this.
Is it safe to charge indoors?
Only charge in a well-ventilated space. Never charge in a sealed room or near open flames.
What type of charger should I buy?
Look for a smart 12V charger with automatic shut-off, reverse polarity protection, spark-proof technology, and AGM or lead-acid compatibility if needed.
How often should I charge a stored battery?
If unused for over two weeks, connect a trickle charger to maintain charge and prevent sulfation.
How do I know if my battery is healthy?
Test voltage with a multimeter. 12.6 volts or higher means good, 12.4 volts is fair, and below 12.0 volts indicates poor or failing condition.
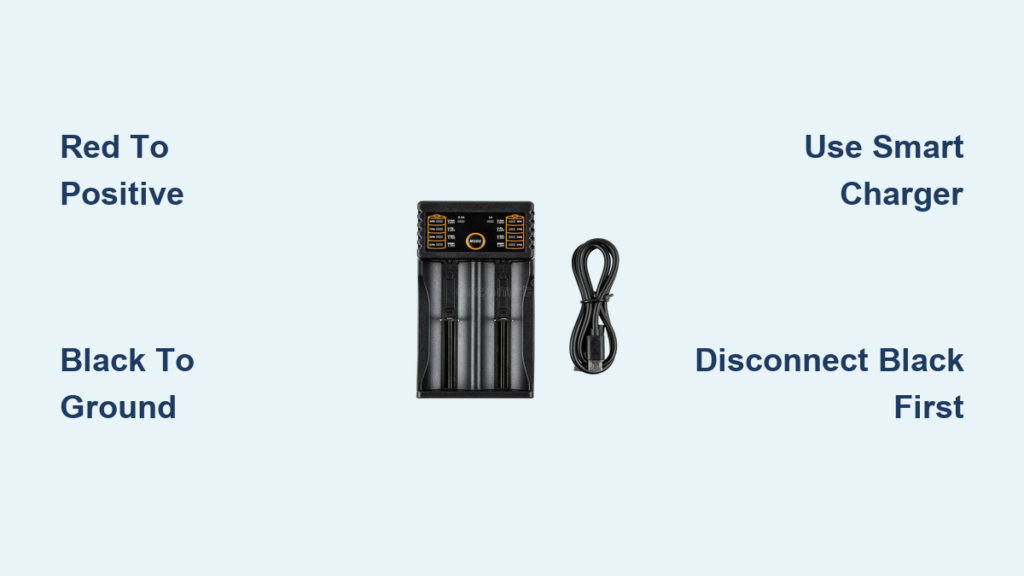
Key Takeaways for Hooking Up a Battery Charger
Properly connecting a battery charger to a dead battery requires attention to safety, correct cable order, and appropriate charging mode selection. Always connect the red clamp to the positive terminal first, then attach the black clamp to a grounding point rather than directly to the negative terminal to avoid bypassing your vehicle Battery Management System. Use a smart charger with automatic shut-off to prevent overcharging, and monitor the process through indicator lights or a multimeter. When disconnecting, always remove the black clamp first followed by the red clamp to prevent sparking. Test the battery voltage after charging and perform a load test if the battery fails to hold charge, as this indicates the battery needs replacement rather than recharging.


