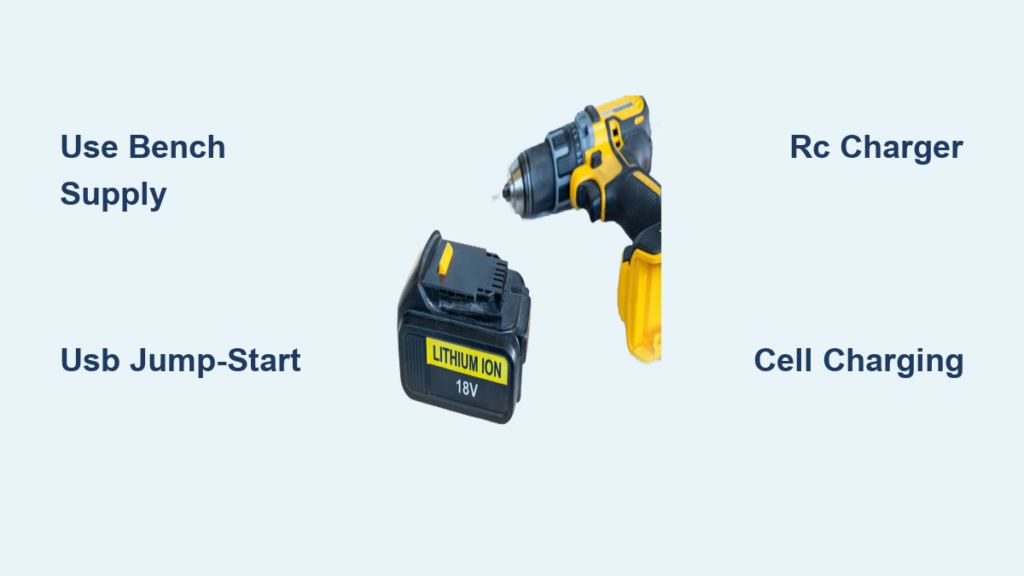
Your cordless drill sits dead on the workbench, and the charger is nowhere to be found. Maybe it’s lost, broken, or you inherited a tool with no power pack. The project is stalled, and buying a new battery or charger feels like throwing money away. The good news: you can charge a drill battery without its original charger using several alternative methods that work in emergencies or when replacements aren’t available.
This guide covers the safest and most effective techniques for reviving 18V and 20V Li-ion drill batteries using basic electronics equipment. You’ll learn how to diagnose a dead battery, choose the right charging method for your skill level, and avoid dangerous mistakes that could damage your battery or cause fire.
Diagnose the Battery Before Attempting Alternative Charging
Before connecting any alternative power source, confirm whether your battery is truly dead or just deeply discharged. This step prevents wasted effort and helps you choose the right revival method.
Check Voltage with a Multimeter
Use a digital multimeter to measure voltage across the battery terminals. For an 18V or 20V Max Li-ion battery with five cells in series, a reading above 20.8V means fully charged. A reading below 17.5V indicates low charge, and anything under 15V suggests deep discharge. If your multimeter shows under 12V, the Battery Management System has likely shut down the battery to protect the cells.
Test the Charger First
Many chargers display a green light even when no battery is detected, which does not mean the battery is charged. A red light indicates active charging, while no light at all suggests a faulty charger or power issue. Test your charger with a known-good battery before assuming the battery is the problem.
Use a Bench Power Supply for Safe Manual Charging

A variable DC bench power supply offers the most precise and safest method for charging drill batteries without the original charger. This approach mimics factory charging by providing controlled constant current followed by constant voltage.
Set Correct Voltage and Current
For an 18V or 20V Max Li-ion battery, set your bench supply to 20.5 to 21.0V. Set the current limit to 500mA or lower for a 2Ah battery. Starting with lower current is safer and reduces heat generation. You can increase current slightly if needed, but never exceed 1A for standard drill batteries.
Connect and Monitor Charging
Attach the red lead to the positive terminal and black lead to the negative terminal using insulated alligator clips. Power on the supply and watch the current remain steady during the constant current phase. As voltage rises, the supply shifts to constant voltage mode. Charging is complete when current drops below 50mA. Measure the resting voltage after disconnecting it should read between 20.8V and 21.0V.
Safety enhancement: Install a 5A inline fuse on the positive lead and always charge on a non-flammable surface like concrete or ceramic tile. Keep a Class D fire extinguisher or bucket of dry sand nearby.
Jump-Start a Dead Battery with USB Power
If your battery has shut down due to deep discharge, the original charger may not detect it. A USB jump-start can raise the voltage enough to wake up the Battery Management System and allow normal charging to begin.
Why This Method Works
Applying 5V from a USB source to a deeply discharged battery raises the voltage above the critical threshold that triggers BMS lockout. This is not a full charging method it simply revives the battery so your original charger can take over.
Step-by-Step Revival Process
Carefully open the battery pack by removing the screws and separating the casing to expose the cells and circuit board. Clean the circuit board with isopropyl alcohol to remove any dust or corrosion. Cut a USB cable and strip the wires red is positive and black is ground. Connect the red wire to the battery positive terminal and black to the negative using alligator clips, then plug the USB end into a phone charger or power bank. Wait 5 to 15 minutes for the voltage to rise above 15V, then try charging with the original charger.
Use an RC Hobby Charger for Smart Alternative Charging
A programmable RC hobby charger like the Turnigy Accucell 6 offers intelligent charging with built-in safety features and cell balancing. This method works well for users who charge various battery types regularly.
Recommended Equipment and Setup
The Turnigy Accucell 6 supports Li-ion, NiCd, and NiMH batteries up to 6S. Select Li-ion mode on the charger and set the cell count to 5S for 18V batteries or 6S for 24V batteries. Choose a charge rate of 0.5C to 1C, which equals 1 to 2A for a 2Ah battery. Connect the main leads and balance lead if accessible, then start charging and monitor progress.
Advantage: Cell balancing ensures even charge across all five cells, which extends battery lifespan and improves performance.
Charge Individual Cells from Damaged Packs
When a battery pack is opened or damaged, charging individual 18650 or 26650 cells separately is often safer and more reliable than attempting to charge the entire pack.
Best Practice: Charge to 4.0V Per Cell
Rather than charging to the maximum 4.2V per cell, stopping at 4.0V achieves approximately 80% capacity while significantly reducing chemical stress. This practice can double the cycle life of your cells, making it ideal for salvaged batteries destined for secondary use.
Recommended Cell Charger
The Opus C3100 or C3400 automatically detects chemistry and supports 18650, 26650, AA, and AAA cells. Built-in protections include overcharge prevention, reverse polarity detection, short-circuit protection, and temperature monitoring.
Build a Regulated Charger with Buck Converter

You can repurpose a 24V wall adapter from a printer or other device by adding a buck converter module to safely step down the voltage for drill battery charging.
Why You Need Voltage Regulation
A raw 24V adapter will overcharge a 21V battery, potentially causing damage or safety hazards. The buck converter module regulates the output to the correct voltage while limiting current.
Setup Procedure
Connect the 24V wall adapter to the buck converter input. Adjust the converter to output 20.5V and limit current to 300 to 500mA. Attach alligator clips to the battery terminals and monitor the charging process until current tapers off. Always verify the output voltage with a multimeter before connecting the battery.
Why Cross-Charging with Other Brands Usually Fails
Many users wonder if they can use a different brand charger or even a different model charger from the same manufacturer. In most cases, this approach fails due to proprietary communication protocols.
Communication Protocols Block Compatibility
Modern chargers use specific pins and protocols to verify battery identity before initiating a charge. Even same-brand chargers often fail to work across different models because the handshake requirements differ. A test with Black and Decker batteries showed output of only 7.5V when using an incompatible charger, far below the required 12.6V.
Bottom line: Cross-charging is not reliable and should be avoided. The time spent troubleshooting rarely pays off compared to buying a replacement charger.
Critical Safety Rules for Lithium-Ion Batteries
Lithium-ion batteries can catch fire or explode if mishandled during alternative charging. These safety rules are non-negotiable regardless of which method you use.
Essential Safety Precautions
Always use a 5A fuse on the positive lead to prevent catastrophic current surges. Never leave charging unattended, even for short periods. Check the battery temperature every 10 to 15 minutes and stop immediately if the battery feels warm. Charge in a well-ventilated area away from flammable materials. Keep dry sand or a Class D fire extinguisher nearby whenever charging lithium batteries.
Warning Signs of Danger
Discontinue charging immediately if you notice swelling or bulging of the battery casing, smoke or chemical odor, voltage exceeding 21.0V for a 5S pack, or rapid temperature increase. Isolate the battery in a fire-safe container and do not attempt to further use or charge it.
When Alternative Charging Is Worth the Effort
Consider these scenarios before attempting alternative charging methods. The approach makes sense when the original charger is lost or broken with no affordable replacement available, when replacement costs exceed the value of the battery itself, when you’re in the field with no access to parts, or when your goal is learning how battery systems work.
Otherwise, purchasing a replacement charger is the smarter choice. OEM and third-party chargers typically cost between $20 and $40 and eliminate all the risks associated with manual charging methods.
Final Testing: Confirm Successful Charging
After charging, verify that your battery is functioning properly before returning it to regular use. Check any indicator lights the battery or charger displays. Reassemble the casing if you opened the pack. Install the battery in your drill and test under load by driving multiple screws or drilling holes in wood or metal. Monitor for any power loss, stuttering, or unusual heat during use.
Success criteria: Consistent performance under load with no shutdowns or significant power loss indicates a successful charge.
Key Takeaways for Charging Drill Batteries Without a Charger
A bench power supply is the safest and most precise manual charging method. USB jump-start can revive BMS-locked batteries but does not provide full charging. RC hobby chargers like the Turnigy Accucell 6 offer smart charging with cell balancing. Charging individual cells to 4.0V maximizes safety and extends cell life. Unregulated adapters without buck converters will damage batteries. Cross-charging between brands or models fails due to communication protocols. Safety measures including fuses, monitoring, and fire protection are essential every time.
Frequently Asked Questions About Charging Drill Batteries Without a Charger
Can I use a car battery charger to charge my drill battery?
Car battery chargers output 12V or 24V and lack the voltage regulation needed for drill batteries. Using an unregulated car charger risks overcharging and damaging the cells. A bench power supply with proper voltage and current control is a much safer alternative.
How long does it take to charge a drill battery without a charger?
Charging times vary significantly based on the method and current used. Bench power supplies at 500mA typically take 6 to 8 hours compared to 1 to 2 hours with an OEM charger. Lower currents are gentler on cells but take longer.
Is it safe to charge lithium-ion drill batteries manually?
Yes, it is safe when proper precautions are followed. Use a fuse, monitor temperature, charge on non-flammable surfaces, and never leave charging unattended. The risk increases significantly without these safety measures.
What voltage is needed to charge an 18V drill battery?
An 18V or 20V Max Li-ion battery requires 20.5 to 21.0V for a full charge. This represents five cells at 4.2V each. Never exceed 21.0V or 4.2V per cell when charging lithium batteries.
Can I revive a completely dead drill battery?
Yes, many deeply discharged batteries can be revived. If the voltage is below 12V, the BMS has likely locked the battery. The USB jump-start method can raise the voltage enough to wake the BMS and allow normal charging to resume.
Why is my charger showing green but the battery is dead?
A green light often means the charger is powered on but not detecting a battery, not that charging is complete. This commonly occurs when the battery voltage is too low for the charger to recognize. Use a multimeter to check actual battery voltage.