
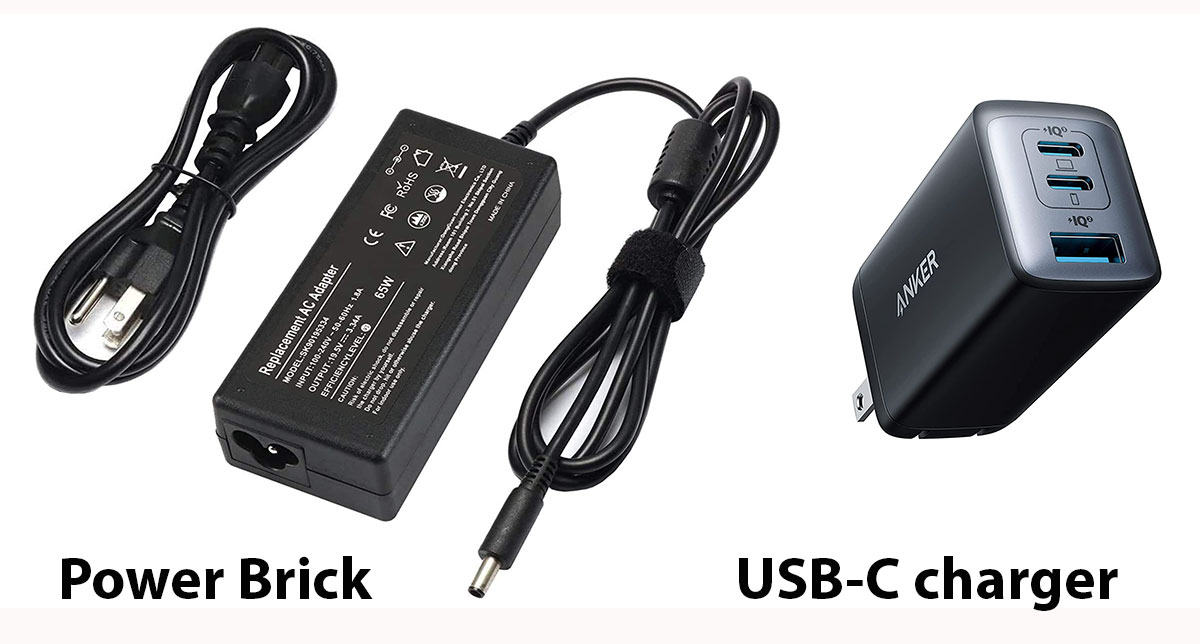
You’ve reached into your bag for your laptop charger only to pull out a knotted, frayed mess. A tangled charger isn’t just annoying. It’s a ticking time bomb for internal wire damage, connector stress, and premature failure. The good news? Learning how to fold a laptop charger the right way takes under a minute and can extend its lifespan by up to 50%. Whether you’re using a chunky Dell brick, a sleek USB-C cable, or a compact GaN cube, proper folding prevents tangles, protects vulnerable connectors, and keeps your gear travel-ready. In this guide, you’ll discover the best techniques for every charger type, avoid common mistakes, and master storage habits that keep your cables in pristine condition.
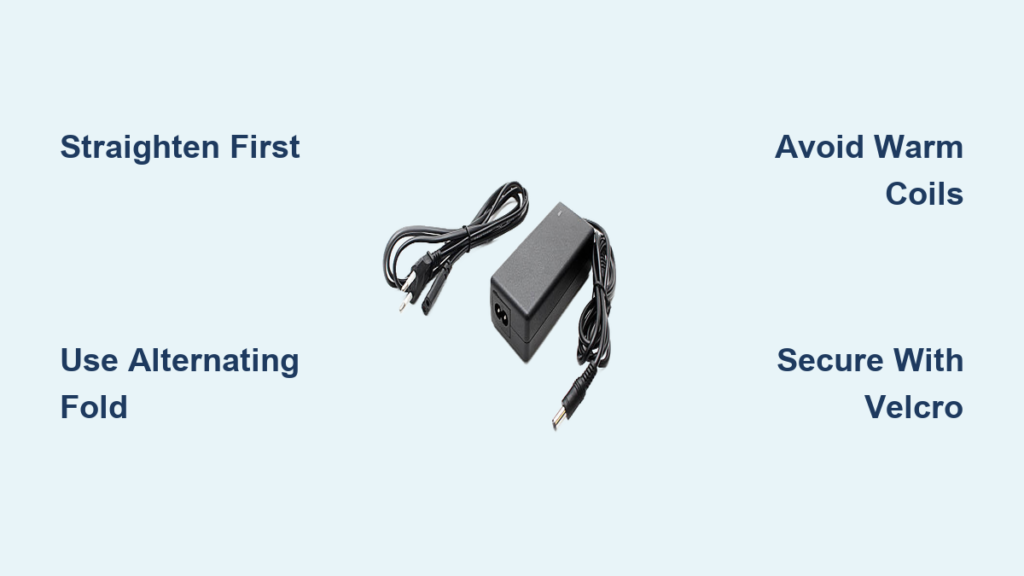
Straighten the Cable Before Folding
Before any folding begins, your charger needs preparation. A twisted or kinked cable will only get worse when coiled, so always start with a straight foundation.
Flatten Out All Twists and Kinks
Place your charger on a flat surface. Run your hands from the plug end to the power brick, smoothing out any loops or spirals. This step resets the cable’s memory and prevents internal torsion that leads to wire fatigue over time. Taking 30 seconds to straighten now saves hours of frustration later.
Let a Warm Charger Cool First
Charging generates heat, which softens the cable insulation. Wrapping a warm cable can cause permanent deformation, especially near the connectors. Let your charger cool completely before folding. This is one of the most overlooked steps that leads to premature cable failure.
Pick the Best Folding Method for Your Charger Type
Not all laptop chargers fold the same way. The right technique depends on your charger’s design, including brick size, cable thickness, and built-in features.
Alternating Fold for Standard Brick Chargers
This method works best for Dell, HP, Lenovo, Asus, and other chargers with rectangular power bricks. It creates a flat, stackable bundle that resists tangles and protects the most vulnerable part of the cable.
Step-by-step process:
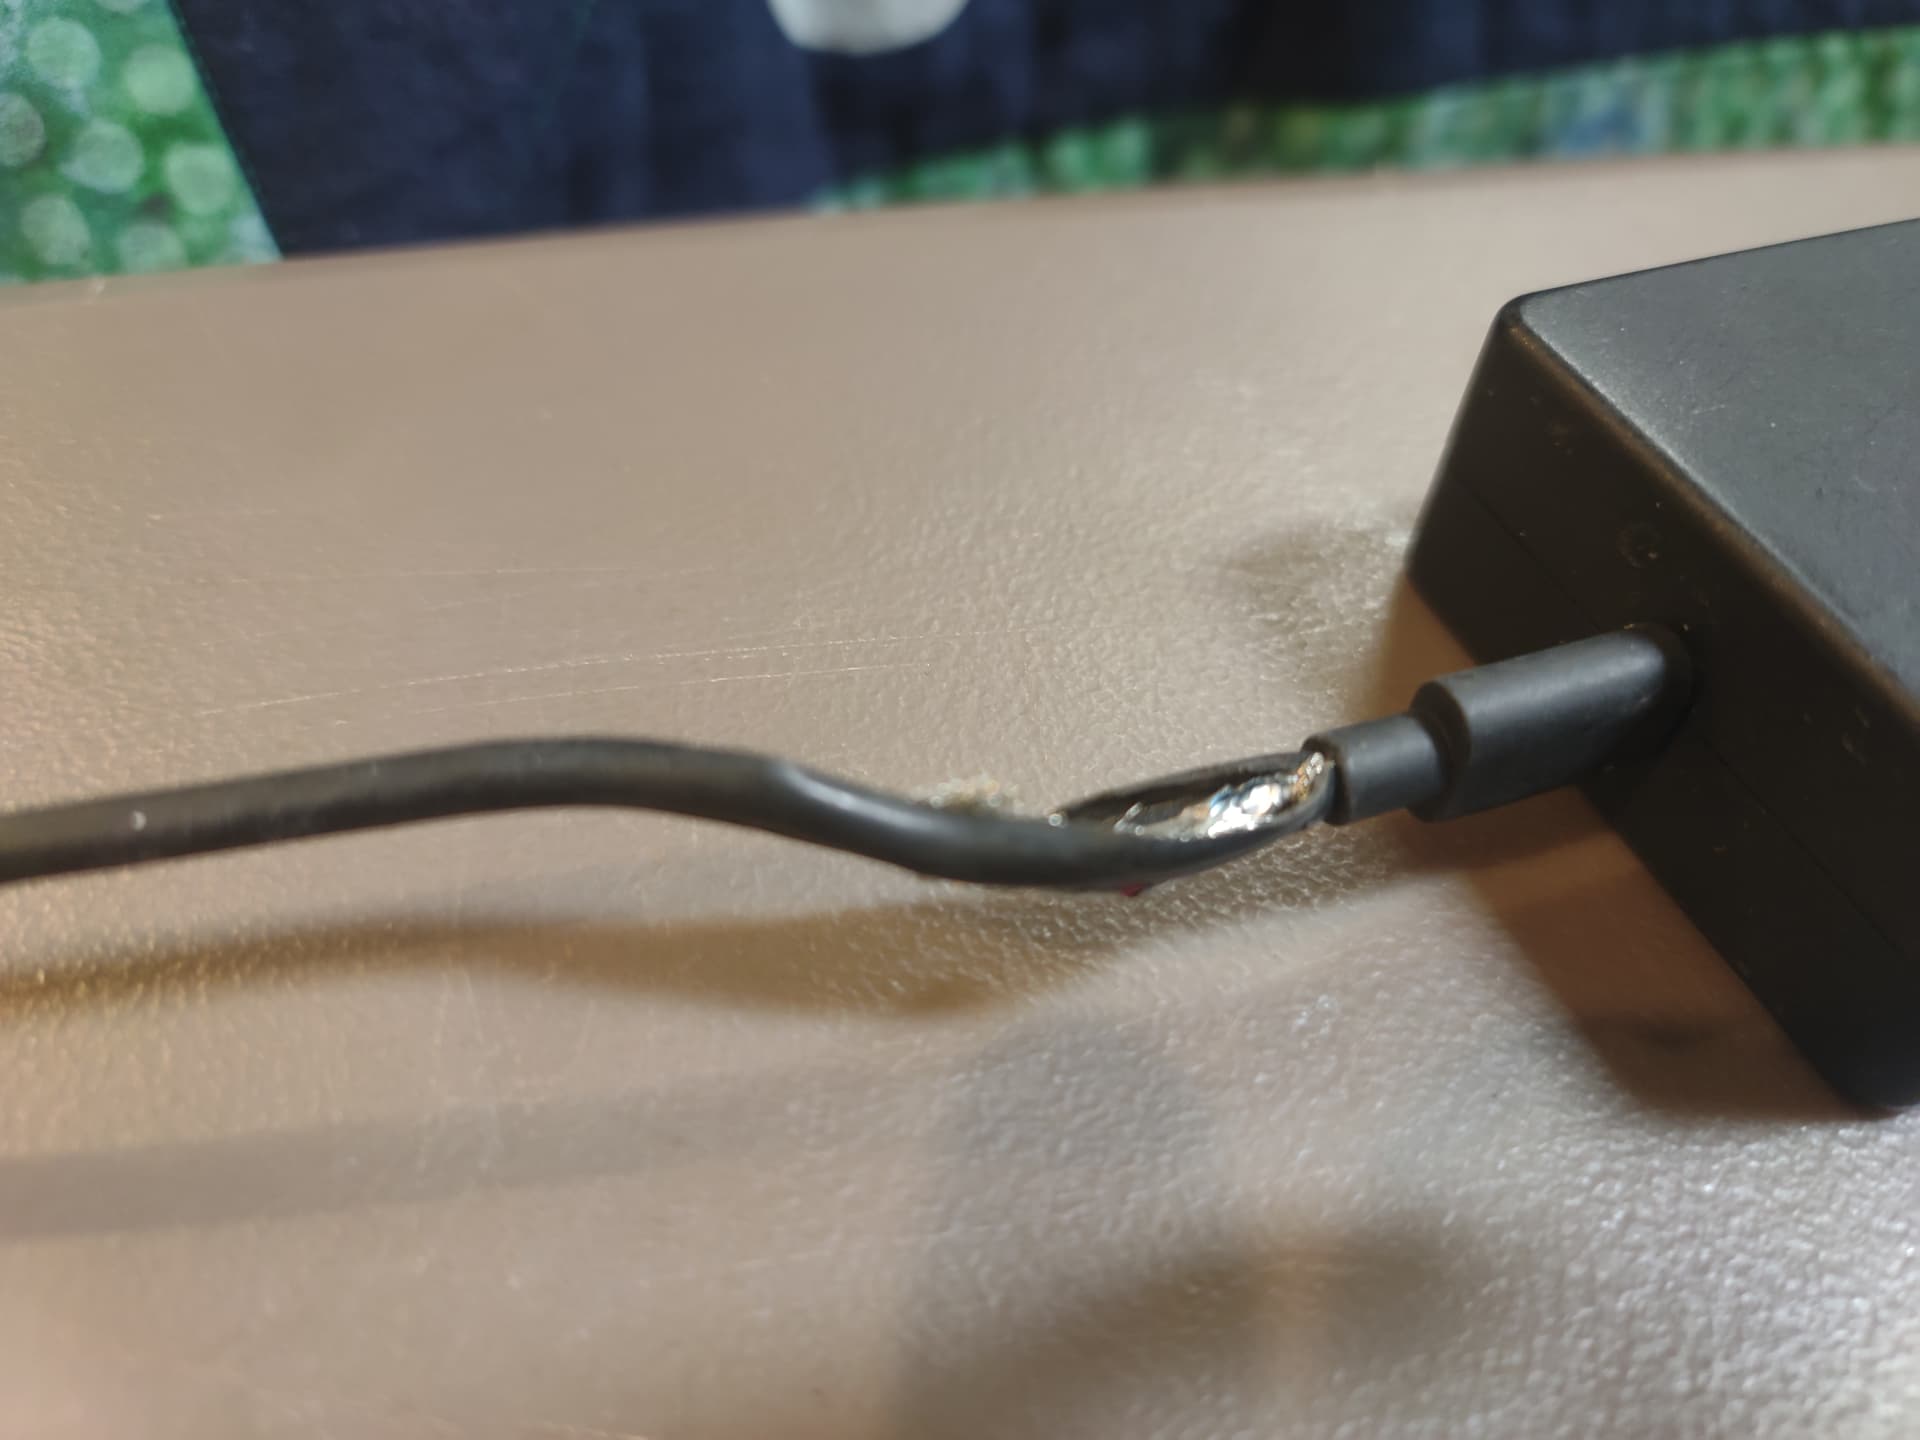
- Start at the laptop plug end, where 60% of damage occurs.
- Form a U-shape by folding a section of cable downward, then back up.
- Alternate directions for each fold: down, up, down, up.
- Keep loops aligned and snug with no gaps or overlaps.
- Secure with the built-in Velcro strap wrapped around the center, not the ends.
This alternating pattern eliminates twist buildup and creates a compact, self-contained roll that lies flat and won’t spring open when placed on a table.
Finger Loop Wrap for USB-C Chargers
This technique suits MacBooks, ultrabooks, and thin laptops with flexible rubberized cables. Using your hand as a guide maintains consistent loop size and prevents kinks in delicate, high-value cables.
Step-by-step process:
- Hold four fingers together as your spool.
- Wrap the cable clockwise or counterclockwise, staying consistent.
- Loop smoothly without crossing or twisting.
- Slide off your fingers once fully coiled.
- Tuck the end by wrapping the plug 1 to 3 times around the middle of the coil.
The finger loop ensures a 4 to 6 inch diameter, which is ideal for preventing sharp bends in thin cables. Use a reusable silicone band instead of a rubber band, as rubber degrades and leaves residue.
Brick Wrap for GaN Cube Chargers
Modern GaN chargers from Anker, Apple, and Belkin work best with this method. The cube itself acts as the coil anchor, keeping everything self-contained.
Step-by-step process:
- Unfold the AC prongs slightly if they’re stiff, but don’t force them.
- Wrap the cable tightly around the cube, using the body as the coil core.
- Keep loops parallel without overlapping.
- Tuck the plug into the coil or secure it with a soft band.
These compact chargers fit perfectly in front pockets or passport sleeves, making them ideal for minimalist travelers.
Bunch and Velcro for Lenovo-Style Chargers
This faster method works well for longer institutional cords found in schools, labs, and Chromebook carts.
Step-by-step process:
- Lay the cable flat and remove all twists.
- Hold the brick in one hand while gathering the cable in the other.
- Create uniform folds rather than bunching randomly.
- Wrap tightly with the built-in Velcro near the wall plug.
- Fasten securely so it won’t unravel during transport.
In shared environments, label chargers and match them to devices to reduce loss and confusion.
Use Built-In Features That Make Folding Easier
Your charger came with design elements that simplify storage. Ignoring them means doing more work for a worse result.
Always Use the Velcro Strap
Most chargers include a Velcro strap. Wrap it around the center of the coil, not near the ends. If the original strap becomes frayed, replace it with a reusable silicone band rather than using tape or rubber bands.
Follow Cable Ridges and Grooves
Some chargers have molded paths for the cable. Apple MagSafe units have a circular ridge designed for wrapping. Dell and HP models often have molded arms where you can thread the cable. Never force the cable into a path it doesn’t naturally fit.
Keep Foldable Plugs Folded
GaN chargers with folding prongs should remain folded after you wrap the cable around the body. This creates a flush, snag-free profile perfect for tight packing.
Steer Clear of These Common Folding Mistakes
Even small errors can significantly shorten your charger’s lifespan. Avoid these pitfalls to protect your investment.
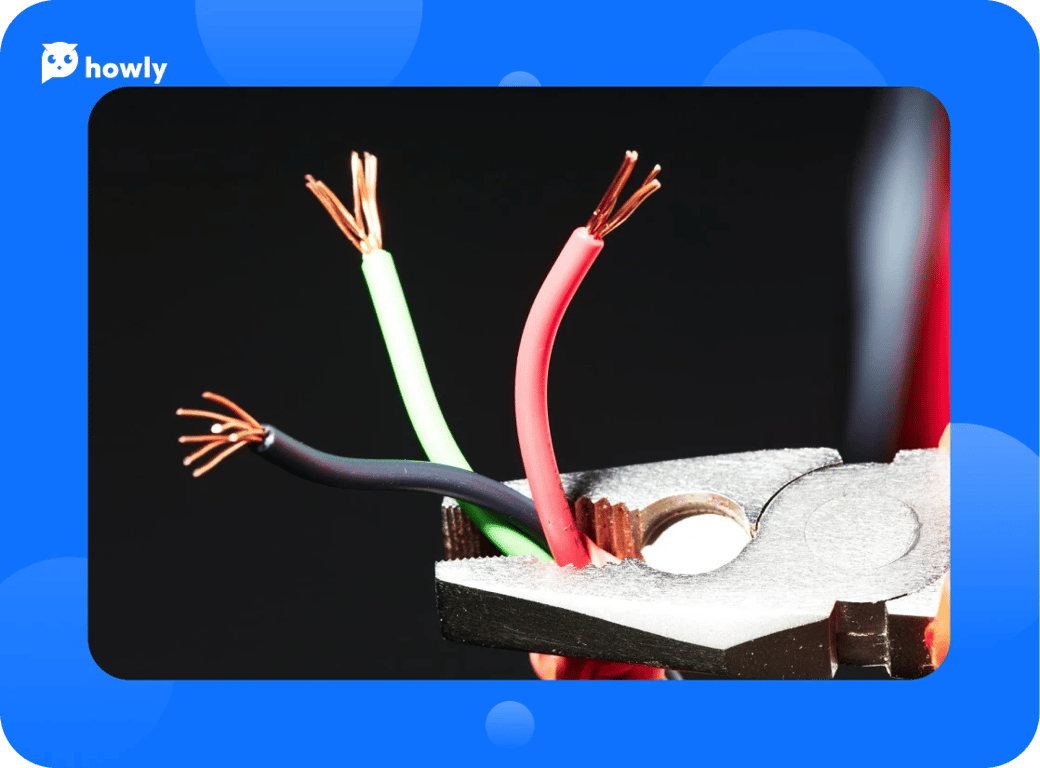
Never Wrap Too Tight
Tight coils cause microfractures in the copper wires inside the cable. The charger may work today but fail within weeks. Keep tension firm but gentle.
Avoid Coiling Warm Cables
Heat-softened insulation deforms permanently when bent. Always let your charger cool down after use before folding.
Never Pull From the Middle
Unrolling from the center of the coil loosens the entire wrap and introduces new tangles. Always unroll from the end.
Skip Metal Ties and Tape
Metal ties cut into the insulation and cause damage. Tape leaves sticky residue that degrades rubber. Use only soft, reusable ties like Velcro or silicone bands.
Respect the 1-Inch Bend Rule
Never bend the cable tighter than a 1-inch radius, especially near connectors. Sharp folds cause internal breaks that aren’t visible from the outside.
Store Your Folded Charger Properly
A perfectly folded charger can still get damaged if stored poorly. Protect your work with smart storage habits.
Keep It Flat and Protected
Store your charger in a dedicated cable pouch or laptop sleeve. Avoid tossing it loose into a crowded bag where it can tangle with other items. Never hang the charger by its cable, as this stretches the insulation over time.
Add Extra Security for Loose Bundles
Add a silicone band or reusable zip tie for extra security during travel. This prevents the wrap from loosening during movement.
Avoid Extreme Conditions
Heat and sunlight degrade insulation quickly. Moisture can corrode connectors. Store your charger in a cool, dry place like your laptop bag’s accessory pocket.
Inspect Your Charger Monthly for Damage
Folding is just the start. Regular care keeps your charger working for years.
Check for These Warning Signs
Look for fraying or exposed wires near the plugs. Watch for cracked insulation, bent or corroded pins, and intermittent charging behavior. Any of these indicates internal damage that requires immediate replacement.
Unroll Fully Before Each Use
Coiled cables can overheat during charging. Always lay the charger flat before plugging in to prevent heat buildup in the coil.
Pull by the Plug, Not the Cable
When disconnecting from the wall, pull by the plug head rather than yanking the cable. This protects the connection point from stress damage.
Why Proper Folding Matters: The Impact
Proper folding isn’t just about looking organized. The consequences are real and measurable.
Improper coiling increases failure risk by 3 times due to internal wire breakage. Most damage happens within 6 inches of the connector, exactly where poor folding concentrates strain. With consistent, correct wrapping, you can extend your charger’s lifespan by up to 50%. Additionally, most manufacturer warranties exclude damage from sharp bends, so improper folding could cost you money on replacements.
In one school district, enforcing the alternating fold method reduced charger replacements by 70% across classrooms.
Quick Checklist for Perfect Folding
• Lay the cable flat first
• Start from the laptop plug or brick end
• Use 4 to 6 inch loops
• Avoid sharp bends by keeping a 1-inch minimum radius
• Secure with Velcro or a soft band
• Never coil while the charger is warm
• Store in a protective pouch
• Inspect monthly for wear
• Replace damaged chargers promptly
Frequently Asked Questions About Folding Laptop Chargers
Does folding a laptop charger damage it?
Folding itself doesn’t cause damage. Improper folding causes damage. Using tight coils, sharp bends, or wrapping while warm can break internal wires. Correct technique protects your charger and extends its life.
How tight should I wrap my laptop charger?
Keep the wrap snug but never tight. You should be able to slide a finger between the cable loops. Excessive tension causes microfractures in the copper conductors inside the cable.
Can I use a rubber band to hold my charger?
Avoid rubber bands. They degrade over time, leave residue, and can compress the cable too tightly. Use the built-in Velcro strap or a reusable silicone band instead.
Should I fold my charger while it’s still warm from charging?
No. Always let your charger cool completely before folding. Heat softens the insulation, and bending warm cables can cause permanent deformation that weakens the cable over time.
What’s the best way to store a laptop charger in a bag?
Fold it properly first, then place it in a dedicated pouch or laptop sleeve compartment. Avoid letting it contact sharp objects or loose items that could puncture the insulation or stress the connectors.
Final Thoughts on How to Fold a Laptop Charger
Knowing how to fold a laptop charger properly isn’t just about staying organized. It’s about protecting your investment and avoiding unnecessary expenses. Whether you’re a student, frequent traveler, or office worker, the right folding technique prevents tangles, extends cable life, and keeps your gear ready to use at a moment’s notice.
Choose the method that matches your charger type, whether it’s the alternating fold for traditional bricks, the finger loop for USB-C cables, or the brick wrap for GaN cubes. Avoid common mistakes like wrapping too tightly, coiling warm cables, or using damaging ties. Store your folded charger in a protective pouch and inspect it monthly for signs of wear.
In under a minute, you can save yourself hours of frustration and potentially hundreds of dollars in replacement costs. Fold it right, and your charger will keep up with you, trip after trip.


