
A broken charger tip can disrupt your day, leave your devices powerless, and feel like a reason to toss the whole cable. But before you replace it, know this: how to fix broken charger tip issues does not always mean buying new. Whether it is fraying, wobbling, or completely snapped off, most problems can be repaired, saving you money and reducing e-waste.
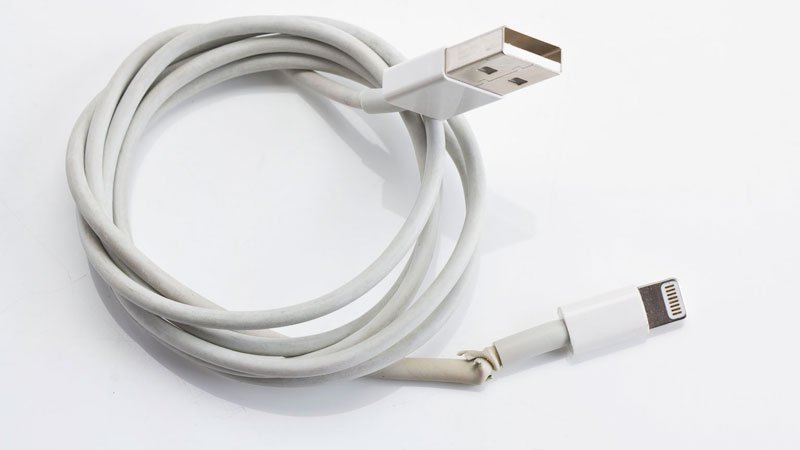
If your phone only charges when held at a certain angle, or the plug will not stay in, you likely have internal wire damage or a loose connection near the tip. This guide walks you through diagnosing the issue, choosing the best repair method, and applying long-lasting fixes, whether you are a beginner or advanced tinkerer.
Diagnose the Damage First
Before grabbing tools, confirm the problem is at the tip, not the outlet, device port, or power adapter.
Rule Out Other Charging Failures
Test each part of the system to isolate the issue:
• Plug another device into the same outlet to check if power works
• Try charging your phone from a computer USB port or power bank
• Restart your device to rule out software glitches
If those work, focus on the cable itself.
Inspect the Charger Tip Visually
Look for these signs of damage:
• Frayed insulation near the plug
• Wobbly or bent metal connector
• Exposed copper wires
• Discoloration or melting
A tip that only works when bent suggests internal wire breakage.
Test Continuity with a Multimeter
Use a multimeter to check for breaks inside the cable:
- Set to continuity mode or resistance/Ohms
- Touch one probe to the metal tip center pin
- Touch the other probe to the corresponding end (USB or device side)
- A beep or low reading means the circuit is intact
- No beep or infinite resistance indicates a broken wire
Always unplug the charger before testing.
Clean Before Repairing
Sometimes charging issues stem from dirt, not damage.
Clean the Device Port
Lint and grime clog ports and block contact:
• Power off the device
• Use a toothpick to gently scrape out debris
• Dampen a cotton swab with isopropyl alcohol (70%+) and wipe contacts
• Blow out residue with compressed air
Let the port dry completely before retesting.
Wipe the Charger Tip
Dip a Q-tip in alcohol and clean the center pin, outer metal sleeve, and any visible contacts. Let dry completely before retesting.
Cleaning solves about 20% of broken charger issues, so try this first.
Fix Frayed Cable Near Tip
Early wear like cracks or exposed wires can be reinforced before total failure.
Reinforce With Thread and Super Glue
Best for minor fraying at stress points.
You will need cotton thread, super glue (cyanoacrylate), scissors, and rubbing alcohol.
- Wrap thread tightly around the weak spot
- Apply a thin layer of super glue over the thread
- Let dry, then trim excess
- Wipe with alcohol to remove stickiness
This adds strength but is not waterproof. Ideal for temporary fixes on low-cost cables.
Seal With Heat Shrink Tubing and Hot Glue
Most durable fix for frayed tips.
Supplies needed include heat shrink tubing (¼ inch diameter, 3:1 shrink ratio), a hot glue gun, and a hairdryer or heat gun.
- Apply a small amount of hot glue over the damaged area
- Slide tubing over the glue-covered section
- Heat evenly until tubing contracts tightly
- Cool fully before use
The 3:1 ratio shrinks to one-third size for a snug, protective fit. Wrap electrical tape under the tubing for extra support.
Emergency Wrap With Electrical Tape
Quick but short-lived.
- Wrap tightly over exposed wires
- Overlap each layer by 50%
- Extend 1 inch beyond damage on both sides
Only a stopgap. Replace or upgrade to heat shrink soon.
Replace a Detached Charger Tip
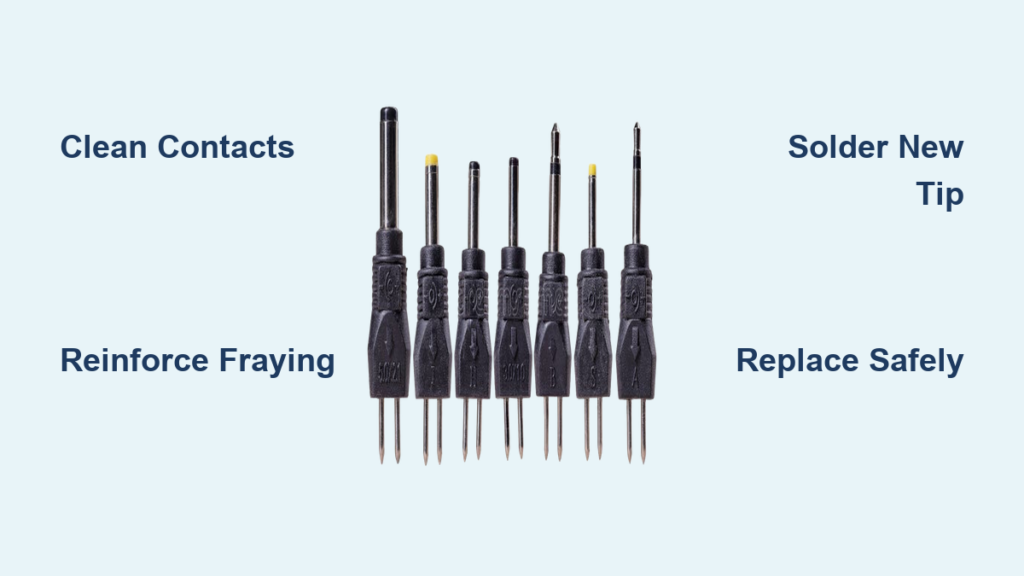
When the metal plug is gone or unusable, solder a new one.
Solder a New Connector
Restores full functionality like factory condition.
Tools required include a soldering iron, solder wire, heat shrink tubing (multiple sizes), wire stripper or box cutter, replacement tip, and insulated pliers.
Remove the Old Tip
- Cut off the broken connector
- Strip back the outer insulation to expose inner wires
Expose and Prepare Wires
Typical layout includes a center wire (positive, often insulated) and outer braid or shield (negative, twisted strands together). Strip 3-5mm of insulation from each conductor.
Slide a large heat shrink tube over the cable before soldering.
Match Polarity Correctly
Barrel plugs typically have the larger pin as positive. Verify with device specs. USB and Lightning cables require matching wires to terminals on the new connector.
Solder the Connections
- Hold wire to correct terminal with pliers
- Touch solder to joint until it flows smoothly
- Repeat for all wires
Avoid excess solder, which can cause shorts.
Insulate Each Joint
- Slide small heat shrink tubes over each solder point
- Apply heat to seal
Seal the Entire Connection
Slide the large pre-placed tube over the whole joint. Heat until fully contracted.
Test the Repair
Plug in the device and look for a charging indicator, stable connection, and no overheating.
This takes about 20 minutes and costs under $10 if you already own the tools.
Know the Wire Colors

Wiring varies by device. Connect correctly or risk damage.
iPhone Lightning Cables
From left to right: Red (power positive), White (data negative), Green (data positive), Black (ground negative). For charging only, focus on red and black wires.
Android (Micro-USB and USB-C)
Common configuration includes Red (VCC positive 5V), Black (Ground), and Green/White (data lines).
If unsure, do not solder. Use a replacement cable instead.
Fix Bent or Dirty Metal Tips
Sometimes the fix is simple, with no tools needed.
Straighten Bent Prongs
Use needle-nose pliers or a plastic spudger:
- Gently realign bent pins
- Ensure symmetry and smooth insertion
- Avoid force, as metal fatigues easily
Clean Corroded Contacts
Oxidation blocks conductivity:
- Dampen cotton swab with rubbing alcohol
- Wipe all metal surfaces
- Air dry completely
Never use water or metal objects. They worsen corrosion.
When NOT to Repair
Some damage makes repair unsafe.
Stop Using If You See
• Burn marks or melted plastic
• Smell of burnt insulation
• Sparking during use
• Exposed copper touching other wires
• Charger tip stuck in device port
These conditions risk overheating, fire, or device damage.
Replace Instead of Repair When
• You lack tools or experience
• The cable shows multiple damage zones
• Safety signs are present
• Your device is under warranty
Buy the Right Replacement Charger
If repair fails or is not worth it, invest wisely.
Avoid Cheap Chargers
Dollar store or unbranded chargers often lack surge protection, voltage regulation, and safety certifications. They can fry your phone.
Choose Certified Models
Experts recommend Apple MFi-certified chargers for iPhones, Modal chargers (nylon-braided, durable), and UL or CE-marked adapters.
Pricing ranges from $19.99 for a 3ft Modal cable to $34.99 for a 10ft cable. One quality charger lasts years.
Extend Charger Life After Repair
Prevent future damage with smart habits.
Avoid These Mistakes
• Yanking cable from outlet
• Twisting plug during removal
• Bending sharply at connector
• Wrapping tightly around devices
Best Storage Practices
• Coil loosely in a figure-eight
• Use velcro straps or cable organizers
• Keep away from heat and moisture
Never stress the repaired area. Bend elsewhere instead.
Frequently Asked Questions About Broken Charger Tips
Can a broken charger tip be fixed?
Yes, most broken charger tips can be fixed depending on the damage type. Frayed cables respond well to heat shrink tubing. Completely detached tips can be replaced by soldering a new connector. However, damaged chargers with burn marks or sparking should be replaced, not repaired.
How do I fix a charger that only works when held at an angle?
This indicates internal wire breakage near the connector. You can repair it with heat shrink tubing and hot glue for a temporary fix, or solder a new connector for a permanent solution. If the damage is severe, replacing the cable is often safer.
Is it safe to repair a damaged charger yourself?
It is safe if the damage is minor (fraying, loose connection). Stop immediately if you see burn marks, melting, sparking, or smell burnt plastic. These indicate fire risk, and the charger should be replaced.
What is the best method for fixing a frayed charger cable?
Heat shrink tubing combined with hot glue provides the most durable repair. Apply glue over the damaged area, slide on tubing, and heat to shrink. This method lasts months to years and costs under $5.
How much does it cost to fix a broken charger tip versus buying a new one?
Repair costs range from $1 (electrical tape) to under $10 (soldering a new tip). New chargers cost $20-$100 depending on quality and certification. Repair is cheaper and more sustainable when damage is minor.
When should I replace my charger instead of repairing it?
Replace when you see burn marks, melting, sparking, or severe corrosion. Also replace if the cable has multiple damage zones, you lack tools or experience, or your device is under warranty. Safety should always come first.
Key Takeaways for Fixing Broken Charger Tips
Learning how to fix broken charger tip issues empowers you to extend device life, save money, and reduce waste. For fraying, heat shrink tubing is the gold standard, providing months to years of protection for under $5. For total breakage, soldering a new connector works well if you have the skills and tools. But when safety is at risk, replace rather than repair. Always clean before attempting repairs, as 20% of charging issues stem from dirt, not damage. And next time your cable starts to fray, fix it early, before it fails completely.


