
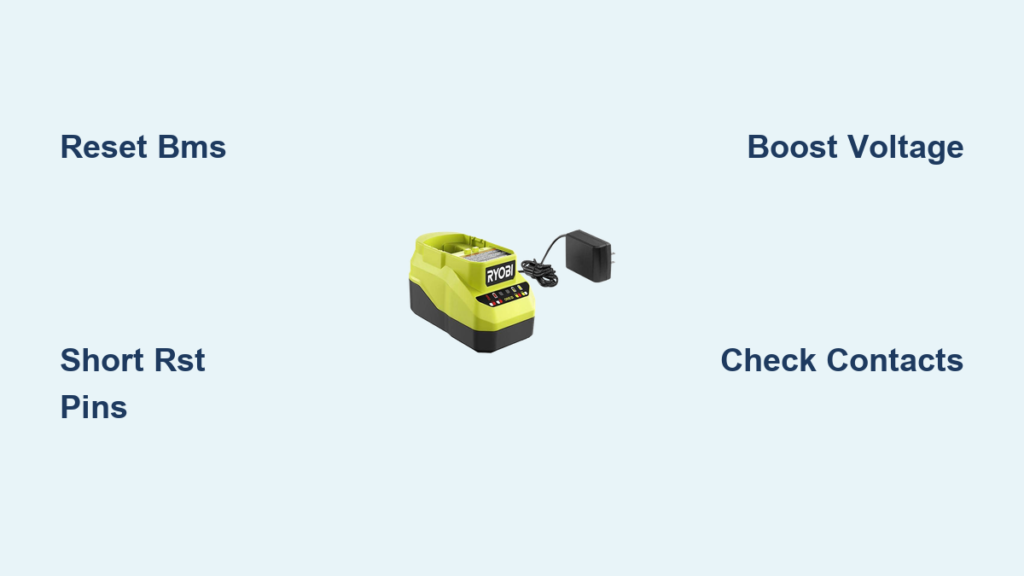
If your Ryobi battery won’t charge, you are not alone, and you likely do not need a new battery or charger. The real issue is usually not the charger itself, but the battery’s internal protection system that has locked out charging. While there is no reset button on the Ryobi battery charger, you can reset the battery’s Battery Management System to restore charging functionality. This guide reveals proven, step-by-step methods to revive a dead or unresponsive Ryobi battery by resetting its internal circuit, saving you significant money on replacements.
You will learn how to diagnose charging problems, safely open the battery, locate hidden reset points, and apply two powerful reset techniques. Whether your battery shows a solid green light immediately, blinks red and green, or does nothing at all, these fixes work on 18V One+ and 40V Ryobi models. We will also cover safety precautions, prevention tips, and when replacement is the better option.
Diagnose Charging Problems Before Opening
Before disassembling your battery, confirm the problem is not environmental or mechanical. Many dead batteries just need a reset, while others may be under warranty or truly damaged beyond repair.
Check Temperature and Environment
Lithium-ion batteries refuse to charge when too hot or too cold. Let the battery cool for 30 minutes after heavy use before charging. The ideal charging temperature range is between 50°F and 99°F (10°C to 37°C). Never charge in freezing temperatures, direct sunlight, or enclosed hot garages.
Clean Battery and Charger Contacts
Dirt, dust, or corrosion on the terminals blocks power flow between the charger and battery. Wipe the terminals with a dry microfiber cloth. Use isopropyl alcohol (70% or higher) and a cotton swab for stubborn grime. Allow the contacts to dry completely before retesting the charger.
Test with Other Tools and Chargers
Rule out faulty equipment before proceeding with invasive repairs. Try the battery in a different Ryobi tool. If it powers on, the battery is not completely dead. Use a second Ryobi charger if available. If the battery charges on a different charger, your original charger may be faulty and may need replacement.
Identify Charger Light Patterns
| Light Behavior | Likely Cause |
|---|---|
| Solid green immediately | BMS lockout, battery thinks it is full |
| Red and green blinking | Protection mode active (common on 40V) |
| Flashing red only | Battery too hot or cold |
| No lights at all | Deep discharge or circuit failure |
Blinking red-green or an instant green light means the battery is locked, not the charger. This is fixable with the reset methods below.
Open the Battery Pack Safely

There is no external reset button on Ryobi batteries, so you must access the internal circuit board. This process voids the warranty but is safe when done carefully with the right tools.
Gather Required Tools
You will need a T15 Torx security screwdriver (or C10 for some models), a razor blade or utility knife, a plastic pry tool, insulated wire for shorting, and a multimeter for voltage testing. Wear safety glasses and insulated gloves throughout the process.
Remove All Security Screws
Most Ryobi 40V and 18V batteries have three to four Torx security screws. Three are visible on the sides, and the fourth is hidden under a plastic label on the top or back. Use a razor blade to slice through the adhesive label gently and expose the hidden screw. Unscrew all screws using the correct Torx bit.
Pry Open the Case
Insert a plastic pry tool or flathead screwdriver at the seam between the two halves of the battery case. Twist gently to separate the pieces. Work around the edges slowly to avoid damaging wires connecting the terminals to the printed circuit board. Set the case halves aside carefully.
Locate the Reset Terminals on the PCB

The Battery Management System has tiny reset points, often unlabeled. Finding them is the key to a successful reset.
Identify the Circuit Board
The printed circuit board (PCB) is attached near the battery terminals inside the pack. It is connected by thin wires or a ribbon cable and has small metal contact pads along its edge. Locate this board before proceeding with the reset.
Find the Reset Points
Look for two small, close-together metal pads on the PCB edge. They may be labeled RST, reset, or OSC. If no labels are visible, look for two adjacent unconnected metal pads near where the sticker was removed. These are likely the reset terminals.
Reset the Battery Management System
Now you can trigger the reset that will reactivate the circuit and allow the charger to communicate with the battery again.
Short the Reset Pins
Strip 1 to 2 mm of insulation from both ends of a thin insulated wire. Touch one end to the RST pad and the other end to the OSC pad (or the adjacent unlabeled pad). Hold this connection for 2 to 5 seconds. Watch for a brief LED flash or a change in the blink pattern. A small spark is normal and indicates the BMS is rebooting.
Reassemble and Test the Battery
Close the battery case and reinsert all screws, including the hidden one. Place the battery on a Ryobi charger and watch for charging to begin. Flashing red indicates charging has started. Solid red means charging is in progress. Solid green means the battery is fully charged (after 2 to 4 hours).
Boost a Fully Dead Battery with Zero Voltage
If the battery shows no voltage (0.06V to 2V) on a multimeter, the BMS is too deep to reset through shorting alone. You will need to manually boost the voltage first.
Prepare a 12V AC Adapter
Use an old phone charger, router power supply, or similar 12V DC adapter. Cut off the connector end and strip 1 inch of insulation from both wires. Identify polarity: black wire is negative (-), and white or red wire is positive (+). Double-check polarity before proceeding, as reversed connection can cause fire or permanent damage.
Pulse-Charge the Battery
Measure the initial voltage with a multimeter (it may read very low). Touch the positive wire to the battery positive terminal and the negative wire to the negative terminal. Hold for 10 to 15 seconds, then release. Repeat this pulse process 5 to 10 times over 1 to 2 minutes. This pulse charging wakes the BMS from deep sleep. Stop immediately if the battery becomes warm, swells, or develops an odor.
Recheck Voltage and Reassemble
After pulsing, measure the voltage again. You need at least 10V to 14V for the charger to recognize the battery. Once above 10V, reassemble the battery and try the charger. If still rejected, repeat pulsing until voltage rises. After successful charging, allow 3 or more hours for a full charge. Post-charge voltage should read 16.2V to 18V for 18V batteries or 36V to 40V for 40V models.
Battery Compatibility and Model Information
These reset methods work on specific Ryobi battery platforms. Not all batteries can be reset using these techniques.
| Model | Voltage | Reset Possible? |
|---|---|---|
| Ryobi One+ | 18V | Yes |
| Ryobi 40V | 40V (36V EU) | Yes |
| Two-Rail Design | 18V/40V | Yes |
| Older NiCd/NiMH | 14.4V to 18V | No |
Batteries showing solid green on insert, red-green blinking, or no lights are the best candidates for reset. Older NiCd and NiMH batteries use different chemistry and cannot be reset this way.
Test and Verify the Fix
Do not assume the reset worked. Verify the fix with both voltage testing and functional load testing.
Measure Voltage with a Multimeter
Before reset, voltage is often below 2V due to BMS blocking. After manual boosting, voltage should exceed 10V. After a full charge, expect 16.2V to 18V for 18V batteries or 36V to 40V for 40V models.
Load Test in Ryobi Tools
Run the battery in a power tool such as a lawn mower or leaf blower for several minutes. Check the LED bars: they should drop gradually, not crash suddenly. Place the battery back on the charger. It should accept a charge normally again. Full recovery means the battery powers tools and recharges normally.
Safety Risks and How to Avoid Them
Lithium-ion batteries can catch fire or explode if mishandled. Follow these safety rules strictly.
Potential Hazards
Fire can result from short circuits across the battery terminals. Swelling or explosion can occur from overcharging or damaged cells. Permanent damage can happen from reversed polarity during manual boosting. Burns can occur from overheating wires or components.
Essential Safety Rules
Work in a well-ventilated area away from flammable materials. Keep a Class C fire extinguisher nearby at all times. Wear safety glasses and insulated gloves. Never leave a manually charged battery unattended. Stop immediately if you see smoke, heat, swelling, or odor. Never charge below 2.5V per cell without supervision, as BMS protection is disabled during manual methods.
When Reset Fails: Next Steps
Sometimes the battery is damaged beyond repair. Try these options before replacing.
Check Individual Cell Voltages
Use a multimeter to test each cell in the pack. A healthy lithium-ion cell measures 3.2V to 4.2V. Cells below 2.5V are likely damaged. A reading of 0V indicates an open circuit or dead cell.
Consider Professional Rebuild Services
Professional services rebuild battery packs for $30 to $60, which is cheaper than buying new ($50 to $200). This is safer than DIY cell replacement for inexperienced users.
Replace the Battery
Compare the cost of replacement battery versus your time and risk. Check if the battery is still under Ryobi warranty (2 to 3 years). Return to Home Depot (US) or Bunnings (AU) with your receipt if within warranty.
Prevent Future Charging Failures
Avoid repeat issues by following these smart charging habits.
Avoid Deep Discharge
Stop using the tool when 1 to 2 LED bars remain. Never run tools until they shut off completely. One deep discharge can trigger BMS lockout.
Store at the Correct Charge Level
The ideal storage charge is 30% to 50% (2 to 3 LED bars lit). Recharge every 3 to 6 months if storing long-term. Never leave a battery at 0% for weeks.
Use Approved Chargers Only
Stick to Ryobi-branded chargers. Third-party chargers may not communicate properly with the BMS and can cause charging issues.
Rotate Multiple Batteries
If you use multiple batteries, rotate them to prevent overuse of a single pack. This extends the overall lifespan of your Ryobi tool ecosystem.
Warranty and Support Options
| Situation | Recommended Action |
|---|---|
| Under warranty | Do not open the battery. Contact Ryobi or return to retailer. |
| Out of warranty | Reset is cost-effective and widely used. |
| Multiple failures | Check the charger or tool for faults. |
Resetting costs under $10 in tools, while replacement batteries cost $50 to $200 each.
Frequently Asked Questions About Resetting Ryobi Battery Chargers
Does the Ryobi battery charger have a reset button?
No, there is no reset button on the Ryobi battery charger. The charger is designed to reject batteries with low voltage or communication faults. The reset process actually occurs on the battery’s internal Battery Management System, not the charger itself.
Why does my Ryobi battery show green immediately when I put it on the charger?
A solid green light immediately upon insertion indicates the BMS is in lockout mode. The battery falsely reports that it is full, preventing charging. This commonly happens after deep discharge or prolonged storage at low charge. Use the reset pin shorting method to fix this.
Can I reset a Ryobi 40V battery the same way as an 18V battery?
Yes, the reset process is identical for 18V One+ and 40V Ryobi batteries. Both use the same BMS technology and have similar PCB layouts. The same shorting and voltage boosting methods apply to both voltage platforms.
How do I know if my battery is permanently damaged?
Signs of permanent damage include swelling of the battery case, inability to hold voltage above 10V after multiple boost attempts, physical damage to the cells, or a smell of burning or melting plastic. In these cases, replacement is recommended.
Is it safe to open a Ryobi battery pack?
Opening a Ryobi battery pack is safe when done carefully with the proper tools and safety equipment. However, it does void the warranty. Work on a non-conductive surface, wear gloves and eye protection, and never short the main battery terminals.
How long does the reset process take?
The actual reset takes only a few seconds. However, disassembly, reassembly, and initial charging can take 45 to 60 minutes for first-time users. Full charging afterward takes 2 to 4 hours depending on battery capacity and current charge level.
Key Takeaways for Fixing Your Ryobi Battery Charger Issues
There is no reset for the Ryobi battery charger itself. The solution is always in the battery’s BMS. The two primary methods are shorting the internal reset pins (RST to OSC) for batteries showing lockout symptoms, and manual voltage boosting with a 12V adapter for deeply discharged batteries showing near-zero voltage. These user-tested methods restore communication between battery and charger, reviving even packs that appear completely dead. While not manufacturer-endorsed, they are widely used and effective, with success rates high for batteries stored unused for 3 to 12 months. Always prioritize safety by wearing protective gear, working in a ventilated area, and keeping a fire extinguisher nearby. Following the prevention tips of avoiding deep discharge, storing at 30% to 50% charge, and using only Ryobi chargers will keep your batteries working reliably for years to come.


