
A dead or malfunctioning car charger socket can quickly become a major inconvenience. Your phone won’t charge on road trips, your dash cam powers off mid-drive, or your portable air compressor fails when you need it most. The good news is that replacing a car charger socket, also known as a cigarette lighter socket or 12V power outlet, is a straightforward DIY job that takes under an hour and costs less than $20. This guide walks you through every step with precision, safety, and real-world reliability in mind.
Most modern vehicles use standardized 12V outlets, meaning universal replacements fit 90% of cars. Whether you drive a Dodge, BMW, Toyota, or Ford, the core principles remain the same: disconnect power, release retaining clips, swap the unit, and test. We’ll cover how to diagnose failure, safely replace the socket, wire a new one from scratch, avoid common mistakes, and ensure long-term performance.
Diagnose Socket Failure Before Replacing
Before replacing the socket, confirm it’s actually faulty and not just a blown fuse or dirty connection.
Check the Fuse First
Locate your vehicle’s cabin fuse box, usually under the dash or near the glove compartment. Find the fuse labeled “CIG,” “POWER OUTLET,” or “AUX 12V.” Most are 10A to 15A in rating, typically blue or red in color. Use a fuse puller or tweezers to remove it. Inspect the metal strip inside; a break means it’s blown. Replace with the same amperage rating.
Test the fuse with a multimeter for continuity. No continuity equals a blown fuse that needs replacement.
Test for Power and Continuity
Reconnect the battery temporarily and turn the ignition to “ON.” Set your multimeter to DC voltage. Insert the red probe into the center pin of the socket and touch the black probe to the outer metal casing. You should read 12 to 14 volts. No reading indicates the circuit has a break.
If the fuse is good but there’s no power, the socket itself is likely the culprit, especially if you see burn marks, melting, or a loose fit.
Safety Steps Before Starting Your Replacement
Working on your car’s electrical system demands caution. Follow these safety protocols to prevent short circuits or damage.
Disconnect the Battery
Use a wrench to loosen the negative terminal, marked with a black “–” symbol. Remove the cable and insulate it with electrical tape or a rag to prevent contact. This prevents short circuits while handling wires.
Use Proper Tools
Plastic trim tools protect dash surfaces from scratches. Use insulated screwdrivers to reduce the risk of accidental grounding. Wear gloves if reaching into tight spaces.
Never Pull by the Wires
Always release mechanical clips first before attempting to remove the socket. Tugging on wires can disconnect terminals or damage harnesses, creating bigger problems than you started with.
Tools and Parts You Need for the Job
Having the right tools makes this job much easier. Here’s what you’ll need to successfully replace your car charger socket.
Essential Tools
Flat-head screwdriver or plastic trim tool for prying without damaging trim. Small pick or release tool, as OEM kits often include one. Phillips screwdriver for removing trim panels. Wire cutters and strippers for preparing connections. Crimping tool for securing butt splices. Multimeter for testing voltage and continuity. Heat-shrink tubing or electrical tape for insulating connections.
Replacement Parts
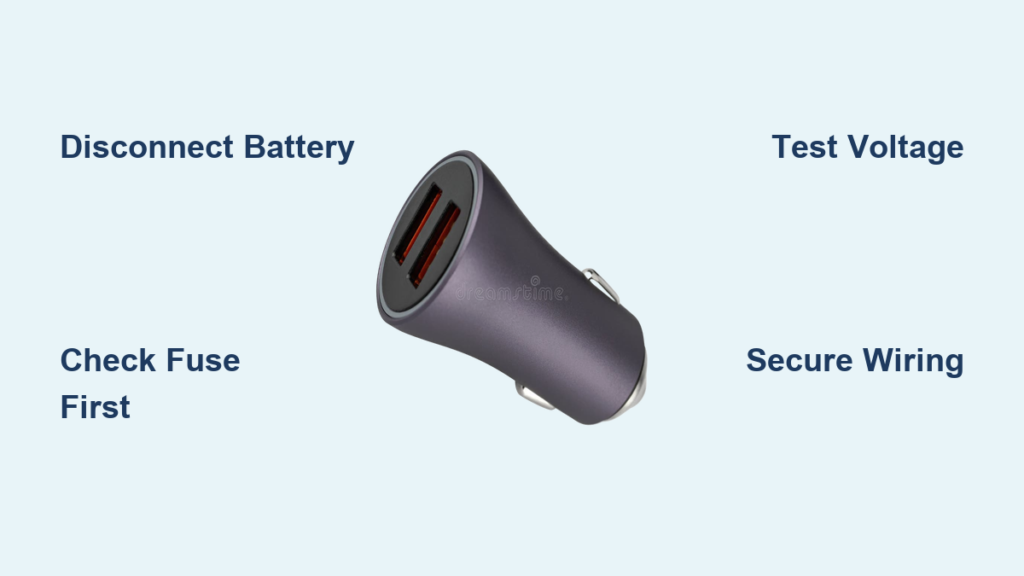
New 12V socket priced between $6 and $20. Choose universal-fit, OEM-specific, or high-amperage based on your needs. In-line fuse holder and 15A fuse are mandatory for new installations. Use 16 to 14 AWG wire, with thicker gauge for high-draw devices. Butt connectors or quick disconnects for splicing. Grounding bolt and star washer for solid earth connection.
Identify Your Socket Type and Specifications

Not all sockets are the same. Matching your replacement correctly ensures proper fit and function.
Socket Types Comparison
Standard non-illuminated sockets work for basic charging at low cost. Illuminated sockets provide night visibility, ideal for rear seats. Universal fit sockets work for most dash openings in DIY installs. High-amperage sockets rated 30A or higher support inverters, coolers, and compressors.
Never exceed the original circuit’s amperage. Factory sockets are typically rated for 10A to 15A. Use a dedicated high-power circuit for heavy loads to prevent overheating or fire hazards.
Remove the Old Car Charger Socket
Access is key because most sockets install from the back. Follow these steps to remove your failed unit safely.
Access the Back of the Socket
Locate the socket in your dashboard, center console, or rear armrest. Remove surrounding trim using a plastic trim tool. Confirm you can reach the rear of the socket housing before proceeding.
Release the Retaining Clips
Most sockets use two internal spring clips on opposite sides. Look for small slots or holes on the socket’s side. Insert a flat-head screwdriver or plastic pick into each slot. Push across the diameter to depress the internal tab. While holding both tabs, pull the socket forward. It should slide out smoothly.
For Mopar-specific models like Dodge Ram 2500, use the included Mopar removal tool. Insert both ends into the side holes and twist or push to release dual tabs, then pull straight out.
If the socket resists, don’t force it. Double-check that both clips are fully disengaged before attempting to remove it again.
Install the New Socket
Now it’s time to install the replacement. Follow these steps for a secure, reliable installation.
Connect the Wiring Harness
Plug the new socket into the vehicle’s connector. Ensure it clicks fully because a loose connection causes intermittent power. If splicing is required, strip 1/4 inch of insulation. Use butt connectors and crimp securely. Seal with heat-shrink tubing.
Insert the Socket
Align the socket with the dash opening. Push it straight in from the front. Apply firm, even pressure until both retaining clips snap into place. You may hear or feel a click. Before reconnecting the battery, gently tug the socket to confirm it does not pull out.
Hardwire a New Socket for Aftermarket Install

Want to add a 12V outlet where none existed? Here’s how to install a car charger socket from scratch.
Choose the Mounting Location
Ideal spots include center console, glove box, or rear armrest. Avoid airbags, pedals, and HVAC controls. Measure the socket body, typically 20 to 22mm in diameter, before marking your center point.
Drill the Hole
Drill a 3 to 5mm pilot hole first. Use a step drill bit to enlarge to final size. Smooth edges with a rat-tail file. Remove all metal shavings before proceeding.
Wire to a Power Source
Best option is a fuse box tap. Use a fuse tap or piggyback fuse on a switched or constant 12V circuit. Common sources include radio, cigarette lighter, or accessory fuse. Install a 15A in-line fuse within 12 inches of the power source.
Ground the circuit by attaching the negative wire to bare metal on the chassis. Scrape paint and use a star washer for solid contact. Secure with a self-tapping screw or bolt.
Route wires along factory harness paths. Use zip ties to keep wires tidy and away from moving parts.
Test Your Installation
Final step: bring your new socket to life and verify everything works correctly.
Reconnect the Battery
Reattach the negative terminal and tighten securely.
Verify Voltage and Polarity
Set multimeter to DC voltage. Red probe to center pin, black to outer casing. Should read 12 to 14V. Confirm positive in center and ground on outside.
Load Test Under Real Use
Plug in a phone charger or dash cam. For high-amperage sockets, run a 120W inverter for 5 to 10 minutes. Watch for overheating, voltage drop, or loose connection.
Use electrical contact cleaner to remove lint, corrosion, or debris from the socket before testing.
Troubleshoot Common Problems
Even with careful work, issues can arise. Here’s how to fix them.
No Power After Replacement
Check the fuse again because some circuits have multiple fuses. Verify power at the source with a multimeter. Inspect ground connection because a poor ground kills the circuit.
Socket Feels Loose
Retaining clips may not be fully engaged. Remove and reinsert, pressing firmly until both sides click. Broken clip requires replacing the socket or using a locking ring on aftermarket units.
Fuse Keeps Blowing
This indicates a short circuit. Disconnect the socket and test the wiring. Check for exposed wires touching metal. Test the socket independently because some are internally shorted.
Maintenance Tips for Long-Term Performance
Keep your new socket working for years with proper care.
Clean Regularly
Every 3 to 6 months, spray electrical contact cleaner into the socket. Use a dry swab or compressed air to remove lint and grime.
Avoid Overloading
Standard sockets max out at 150W, which is 12.5A at 12V. High-amperage sockets support up to 400W, but ensure wiring supports it. Never plug in multiple high-draw devices at once.
Use a Dust Cover
Prevents coins, keys, or moisture from causing shorts. This is especially important in trucks and SUVs.
Frequently Asked Questions About Replacing Car Charger Sockets
How do I know if my car charger socket needs replacement?
Signs include no power delivery to devices, intermittent connectivity, loose or wobbly socket, visible damage like melting or burn marks, burning smell or overheating, and repeated blown fuses.
Can I replace the car charger socket myself?
Yes, replacing a car charger socket is a straightforward DIY job that takes under an hour. You need basic tools like a multimeter, plastic trim tools, and a replacement socket.
How much does it cost to replace a car charger socket?
Replacement sockets cost between $6 and $20. The total job typically costs under $20 if you already have basic tools.
What causes car charger sockets to fail?
Common causes include loose connections leading to arcing, overheating from continuous high-load use like inverters, foreign objects like coins or keys causing shorts, and general wear from repeated use.
Do all cars use the same cigarette lighter socket?
Approximately 90% of modern vehicles use standardized 12V outlet designs. However, some manufacturers use unique configurations, so verify fitment before purchasing.
Can I add a car charger socket to my car if it doesn’t have one?
Yes, you can hardwire a new socket by tapping into a fuse box circuit, drilling a mounting hole, and connecting to power and ground.
Key Takeaways for Replacing Your Car Charger Socket
Replacing a car charger socket isn’t just about convenience. It’s about restoring a critical power source for safety devices like dash cams and GPS units. With the right tools, a few basic electrical principles, and this guide, you can complete the job confidently, safely, and correctly the first time.
Remember to always disconnect the battery before starting, never reverse polarity, use an in-line fuse on any new circuit, and avoid overloading the socket beyond its rated amperage. Regular maintenance every few months extends the life of your replacement significantly.
Whether you’re fixing a melted socket or adding an outlet for your work van, you now have everything you need to diagnose, replace, and future-proof your 12V power system.


