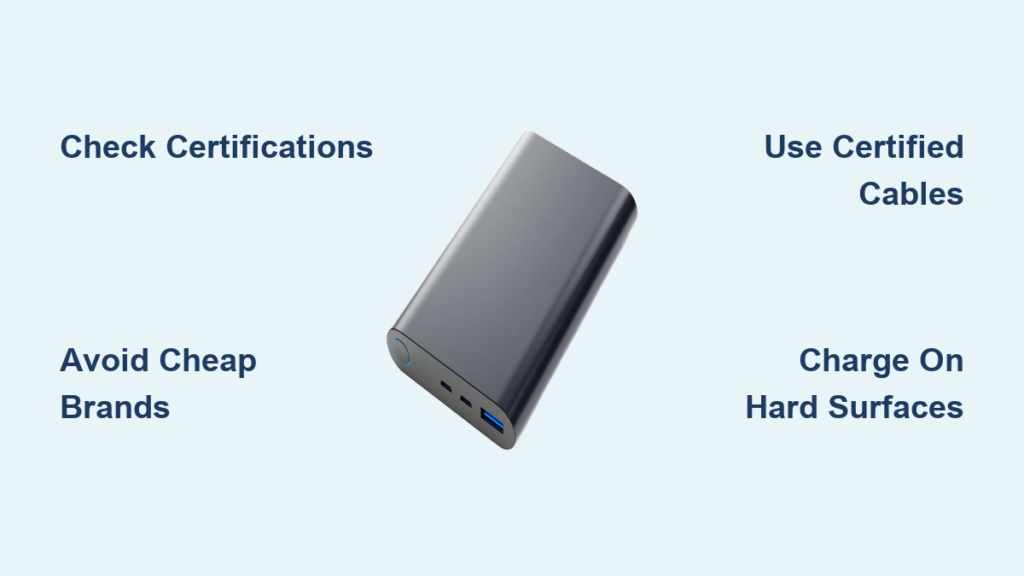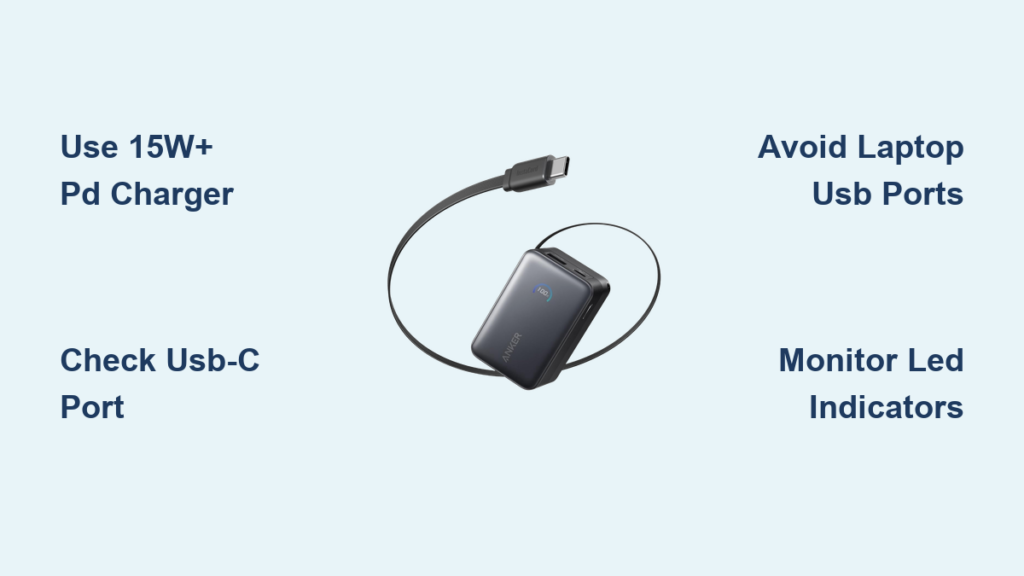
Tangled cords, frayed ends, and lost chargers plague millions of households. If your drawer looks like a tech junkyard or your desk resembles a jungle of power cables, you need a system that actually works. This guide covers proven techniques to stop the chaos, from wrapping methods that prevent damage to labeling systems that make cords instantly recognizable. Whether you manage a handful of phone chargers or an entire home entertainment setup, these user-tested strategies will keep your cables tangle-free and always ready when you need them.
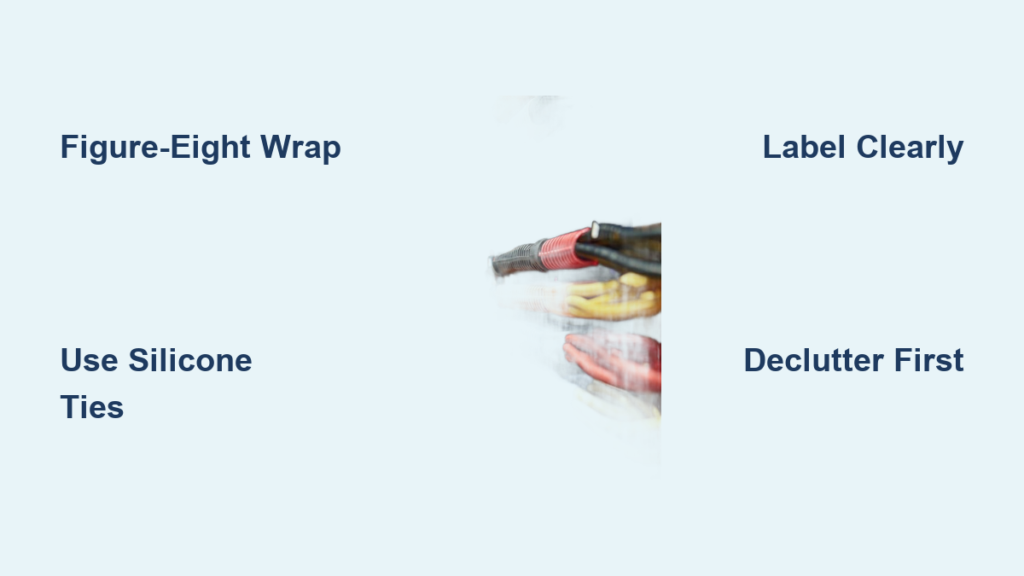
Declutter First: Remove Unused Cables
Before organizing, eliminate what you do not need. Clutter begins with keeping cords for devices you no longer own or use.
Audit Every 3 to 6 Months
Set a calendar reminder to review your cable collection regularly. Toss or recycle broken or frayed cables, obsolete connectors like old iPod docks, and duplicates you have not touched in six months. Fewer cables mean easier organization and less confusion.
Donate or Recycle Responsibly
Keep electronics out of landfills by dropping off old cords at local e-waste centers. Ask computer repair shops if they accept old cords, or use retail recycling programs from stores like Best Buy or Staples. This protects the environment and may help someone in need.
Keep Only Essential Backups
Hold onto one spare of each critical cable, such as one extra USB-C or Lightning cable and one universal multi-port charger. Avoid hoarding just in case duplicates that rarely get used and always create clutter.
Unplug Before Organizing
Safety comes first. Always disconnect cords from outlets before handling, bundling, or routing them.
Prevent Electric Shock and Damage
Working on live cords risks electric shock, short circuits, and damage to sensitive devices. Even low-voltage chargers can carry residual current. Unplug everything before bundling or routing to stay safe.
Inspect Cables During Handling
Use this time to check for fraying or exposed wires, bent or corroded connectors, and loose plugs that wobble. Replace damaged cables immediately, as using them risks fire or device failure.
Wrap Cables the Right Way
How you coil a cable determines how long it lasts. Avoid the common mistake of circular wrapping to extend the life of your cords.
Use the Figure-Eight Over-Under Method
This technique prevents internal twisting and extends cable life significantly. Hold the plug in one hand, wrap the cord over your fingers then under on the next loop, alternating each time. After several loops, tuck the end through the last loop to secure. When unwound, the cable feeds out smoothly with no kinks or tangles.
Why Circular Wrapping Damages Cables
Wrapping in simple circles twists the internal wires over time, creates sharp bends near the plug, and accelerates insulation wear. This leads to internal breaks and shorter usable length. Even high-quality cables fail fast when wrapped incorrectly.
Fix a Twisted Cord
If your cable is already kinked, pinch the twisted end and gently pull outward. Work from the tip toward the middle, untwisting section by section. Use a firm tool like a flat screwdriver for stubborn kinks, then rewrap using the figure-eight method to prevent recurrence.
Secure Cables Without Damage

Use the right fasteners to bundle cords safely without causing harm to the insulation.
Choose Silicone Cable Ties
Silicone cable ties are reusable, gentle on insulation, and easy to open and close. They have no sharp edges and are stretchy and durable, making them ideal for coiled cables before storage. One user highly recommends the CHEERYMAGIC brand available on Amazon.
Use Velcro Ties for Flexibility
Velcro is affordable and reconfigurable. Buy in bulk and cut to size for custom lengths. You can make permanent fasteners by cutting a piece, folding one end, and threading the cable through to secure. Velcro works great for frequent adjustments behind desks or entertainment centers.
Avoid Zip Ties for Frequent Access
Zip ties are strong but permanent and difficult to modify later. They can crush insulation if over-tightened. Use zip ties only for fixed installations like behind walls or under desks where you will not need to adjust them.
Skip Rubber Bands for Long-Term Use
Rubber bands degrade over time and can leave sticky residue that damages cable sheathing. Use them only for temporary bundling, not for permanent storage solutions.
Sort Cables by Type or Use
Grouping cords logically makes them easy to find when you need them.
Categorize by Connector Type
Keep similar plugs together by type. Separate USB-C, Micro-USB, Lightning for Apple devices, HDMI, Ethernet, and 3.5mm audio cables. Use separate containers or sections for each category.
Group by Device or Location
Alternative systems include grouping by device like iPhone, iPad, speaker, or gaming console. You can also group by location such as home office, travel, outdoor, or kitchen, or by user with shared family systems and labeled bins.
Create Self-Contained Tech Kits
Use square ziplock bags to store each cable with its power adapter, device manual, and remote control together. Store the bag with the manual cover visible so you can identify the kit at a glance.
Label for Instant Identification
Even the best system fails without clear labels that help you find what you need quickly.
Use Color-Coded Tags
Assign colors to device types for quick visual identification. Red might mean iPhone, blue means USB-C, green means headphones, and yellow means travel. Use colored velcro, tape, or cable ties to mark cables.
Write Clear Labels
Use permanent markers on tape, printed labels, or washi tape with handwritten tags on toilet paper tubes. One user labels tubes with washi tape, finding it simple, pretty, and effective.
Try Advanced Labeling Tools
For a professional look, use a label maker for consistent durable tags. Heat-shrink tubing with printed labels works well for permanent marking. Flag tags clipped directly to cables are especially useful in shared or multi-user households.
Choose the Right Storage Container
Match your container to your space and usage habits for the best results.
Use Clear Art Caddies for Visibility
Transparent craft caddies let you see contents instantly while having multiple compartments. They fit on desks, shelves, or in drawers, making them ideal for home offices or entertainment centers.
Store in Divided Bins or Photo Boxes
Small compartment boxes like photo storage containers work as mini filing cabinets for cables. They are stackable and space-saving. Label each section for quick access.
Pack in Plastic Totes for Large Collections
Shoebox-sized totes with lids protect from dust and are stackable. Label them by category like Audio, Networking, or Apple Devices. One user stores audio, networking, and miscellaneous cables in separate totes.
Travel with Zippered Cable Bags
Look for travel bags with elastic loops to hold cables and zippered pockets for small adapters. Toiletry-style cases or fishing lure organizers also work great for keeping cords tidy on the go.
Try DIY Storage Hacks
Repurpose household items for low-cost effective solutions that work just as well as store-bought options.
Use Toilet Paper Tubes
Cardboard tubes are perfect for coiled cables. Wrap the cord and slide it into the tube, then label with washi tape or marker. Store upright in a bin for an eco-friendly tangle-free system that is easy to customize.
Repurpose Small Boxes and Tins
Use mint tins for emergency kits, makeup cases for travel, and cardboard boxes for modular drawer systems. One user stores short cords in a toolbox with short ones on top and long ones below.
Install Permanent Cable Management

For a clean built-in look, consider fixed solutions that eliminate visible cord clutter.
Run Cables Inside Walls for TV Setup
Achieve a clutter-free entertainment center with wall pass-throughs. Use a stud finder with live-wire detection to locate safe spots, mark openings at top and bottom, cut holes with a drywall knife, and install low-voltage wall boxes that clamp behind drywall. Feed cables through and cover with a wall plate for a sleek professional finish.
Use Cord Covers and Channels
Adhesive plastic channels snap over cables on walls or baseboards. They can be painted to match your décor and protect cords from pets and foot traffic. These are ideal for cords running along floors or desks.
Bundle with Split Tubing
Also called braided sleeving, split tubing opens lengthwise to wrap around multiple cables. It creates a single neat bundle that protects from wear and tangles. This method is common behind desks and entertainment systems.
Mount with Adhesive Hooks and Clips
Stick adhesive hooks to walls, desks, or cabinets to route cords vertically or horizontally. Use cord clips under desks to prevent sagging. These keep cables off the floor and out of the way.
Install Under-Desk Cable Baskets
Wire trays mounted under desks hold power strips, adapters, and excess cord while keeping hubs accessible but hidden. They reduce visual clutter significantly and are a must-have for home offices.
Secure Power Strips with Velcro
Use heavy-duty Velcro to attach power strips to desks or walls to prevent sliding or dangling. This allows easy repositioning and is perfect for dynamic workspaces.
Optimize for Specific Use Cases
Tailor your system to where you use cables most.
Home Office Setup
Mount power strip under desk with Velcro and use cable basket for surge protector. Run cords through adhesive clips down desk leg and label monitor, keyboard, and docking station cables for easy identification.
Entertainment Center
Install wall pass-through behind TV and use split tubing for HDMI and audio cables. Store game console chargers in cable basket behind the cabinet.
Kitchen or Living Room
Use adhesive hooks under cabinets for tablet chargers and install decorative cord cover along baseboard. Hide cords to smart speakers and clocks for a cleaner look.
Children is Rooms
Use colorful cable clips and mount USB outlets at kid-friendly heights. Teach storage habits with labeled bins that make it easy for children to put cables away correctly.
Travel Kits
Use compact cable rolls with elastic loops and pack in clear toiletry bag for visibility. Include a multi-port charger to reduce the number of power bricks you need to carry.
Maintain Your System Long-Term
A great system only lasts with consistent upkeep and regular attention.
Inspect Every 3 to 6 Months
Check for fraying or exposed wires, loose connectors, and dust buildup on ports and adapters. Replace damaged cables immediately to avoid safety hazards.
Rewrap After Every Use
Make it a habit to unplug, figure-eight wrap, secure with silicone tie, and return to labeled storage. Even five seconds of effort prevents future tangles and extends cable life.
Clean and Re-Tighten Accessories
Wipe dust from power strips, re-secure loose adhesive hooks or clips, and replace worn velcro or ties. Regular maintenance keeps your system working effectively.
Reassess Annually
As you get new devices, update your cable inventory and expand storage if needed. Upgrade to modular systems that can grow with your collection.
Frequently Asked Questions About Storing Chargers and Cables
What is the best way to wrap cables to prevent damage?
The figure-eight or over-under method works best. Wrap the cord over your fingers then under on the next loop, alternating each time. Tuck the end through the last loop to secure. This prevents internal twisting and extends cable lifespan significantly compared to circular wrapping.
How often should I inspect my cables for damage?
Inspect cables every 3 to 6 months. Look for fraying, exposed wires, bent connectors, or loose plugs. Replace damaged cables immediately to prevent fire hazards or device failure.
What is the best storage container for cables?
The best container depends on your collection size and space. Clear art caddies work well for small to medium collections. Divided bins or photo boxes suit modular organization. Large collections benefit from stackable plastic totes with labels.
Can I use rubber bands to bundle cables?
Rubber bands are suitable only for temporary bundling. They degrade over time, can leave sticky residue, and may damage cable sheathing. Use silicone ties or velcro for long-term storage instead.
How do I label cables for easy identification?
Use color-coded tags with assigned colors for different device types. Write clear labels with permanent markers or printed labels. Washi tape on toilet paper tubes works well for a simple DIY solution.
What should I do with old or obsolete cables?
Recycle old cables through local e-waste centers, computer repair shops, or retail recycling programs. Donate usable cables to organizations that accept electronics. Never throw electronics in regular trash.
Key Takeaways for Storing Chargers and Cables
Storing chargers and cables effectively combines smart habits with practical tools. Start by decluttering unused cables, then master the figure-eight wrap to protect your cords from damage. Secure them with silicone or velcro ties, sort by device or connector type, and store in clear labeled containers. For permanent setups, consider wall pass-throughs, cord covers, or under-desk baskets. Always unplug before organizing and inspect cables regularly for safety. The goal is not perfection but consistency. Wrap it right, label it clearly, and put it back every time. Do that, and you will never dig through a knotted mess again.