
Your laptop shows “Plugged in” but the battery percentage keeps dropping. It’s frustrating, especially when you need your device for work or school. This common issue affects Dell, HP, Lenovo, ASUS, and MacBook users alike. The good news? Most cases are fixable without replacing any hardware.
This guide walks you through a complete troubleshooting process, from quick fixes like checking connections to advanced diagnostics like updating BIOS. You’ll learn exactly what to check, step by step, to restore your laptop’s charging functionality.
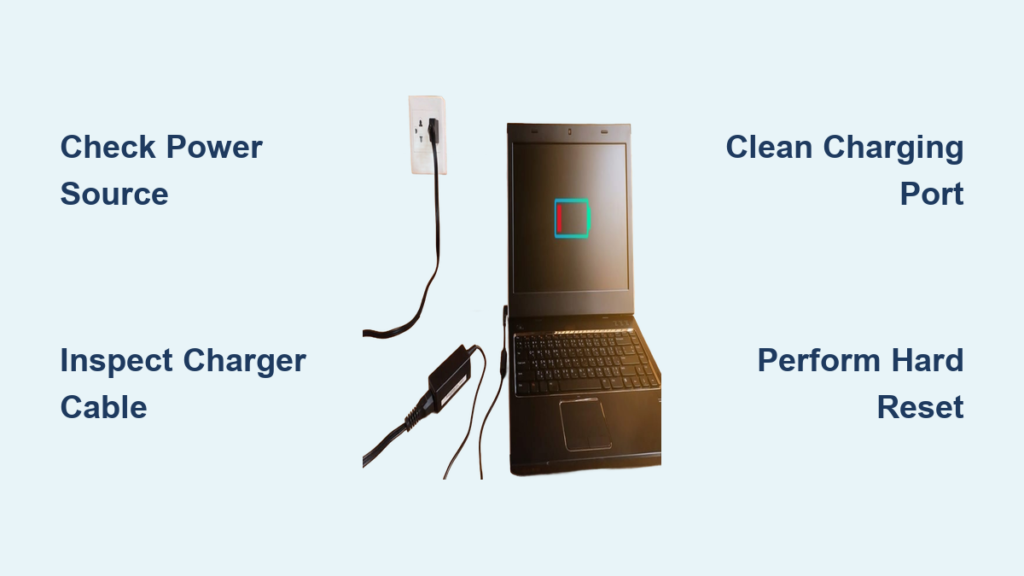
Check Power Source and Connections
Many charging issues stem from simple connection problems. Before assuming hardware failure, verify your power source and cable connections are working properly.
Test the Wall Outlet
Plug a different device into the same outlet to confirm it provides power. A lamp or phone charger works well for testing. If nothing powers on, the outlet may be dead or the circuit breaker may have tripped. Bypass power strips and surge protectors during testing, as they can limit power delivery to your laptop.
Reseat Charger Cables Fully
Ensure the charger plugs into both the wall outlet and your laptop port completely. For chargers with detachable cables, check both the barrel plug and the AC adapter connection. A loose fit can mimic complete hardware failure. Magnetic connectors like MagSafe should click securely into place. USB-C plugs should feel snug without wobbling.
Inspect for Loose or Wobbly Ports
If your charging port allows the plug to move side-to-side, the DC jack or USB-C port may be damaged internally. Try gently wiggling the plug while watching the charging indicator. If the status flickers, the port likely has broken solder joints or internal damage requiring repair.
Inspect Charger and Cable for Damage
A damaged charger is one of the most common causes of charging failure. Even if your laptop appears powered, frayed or broken cables can prevent reliable charging.
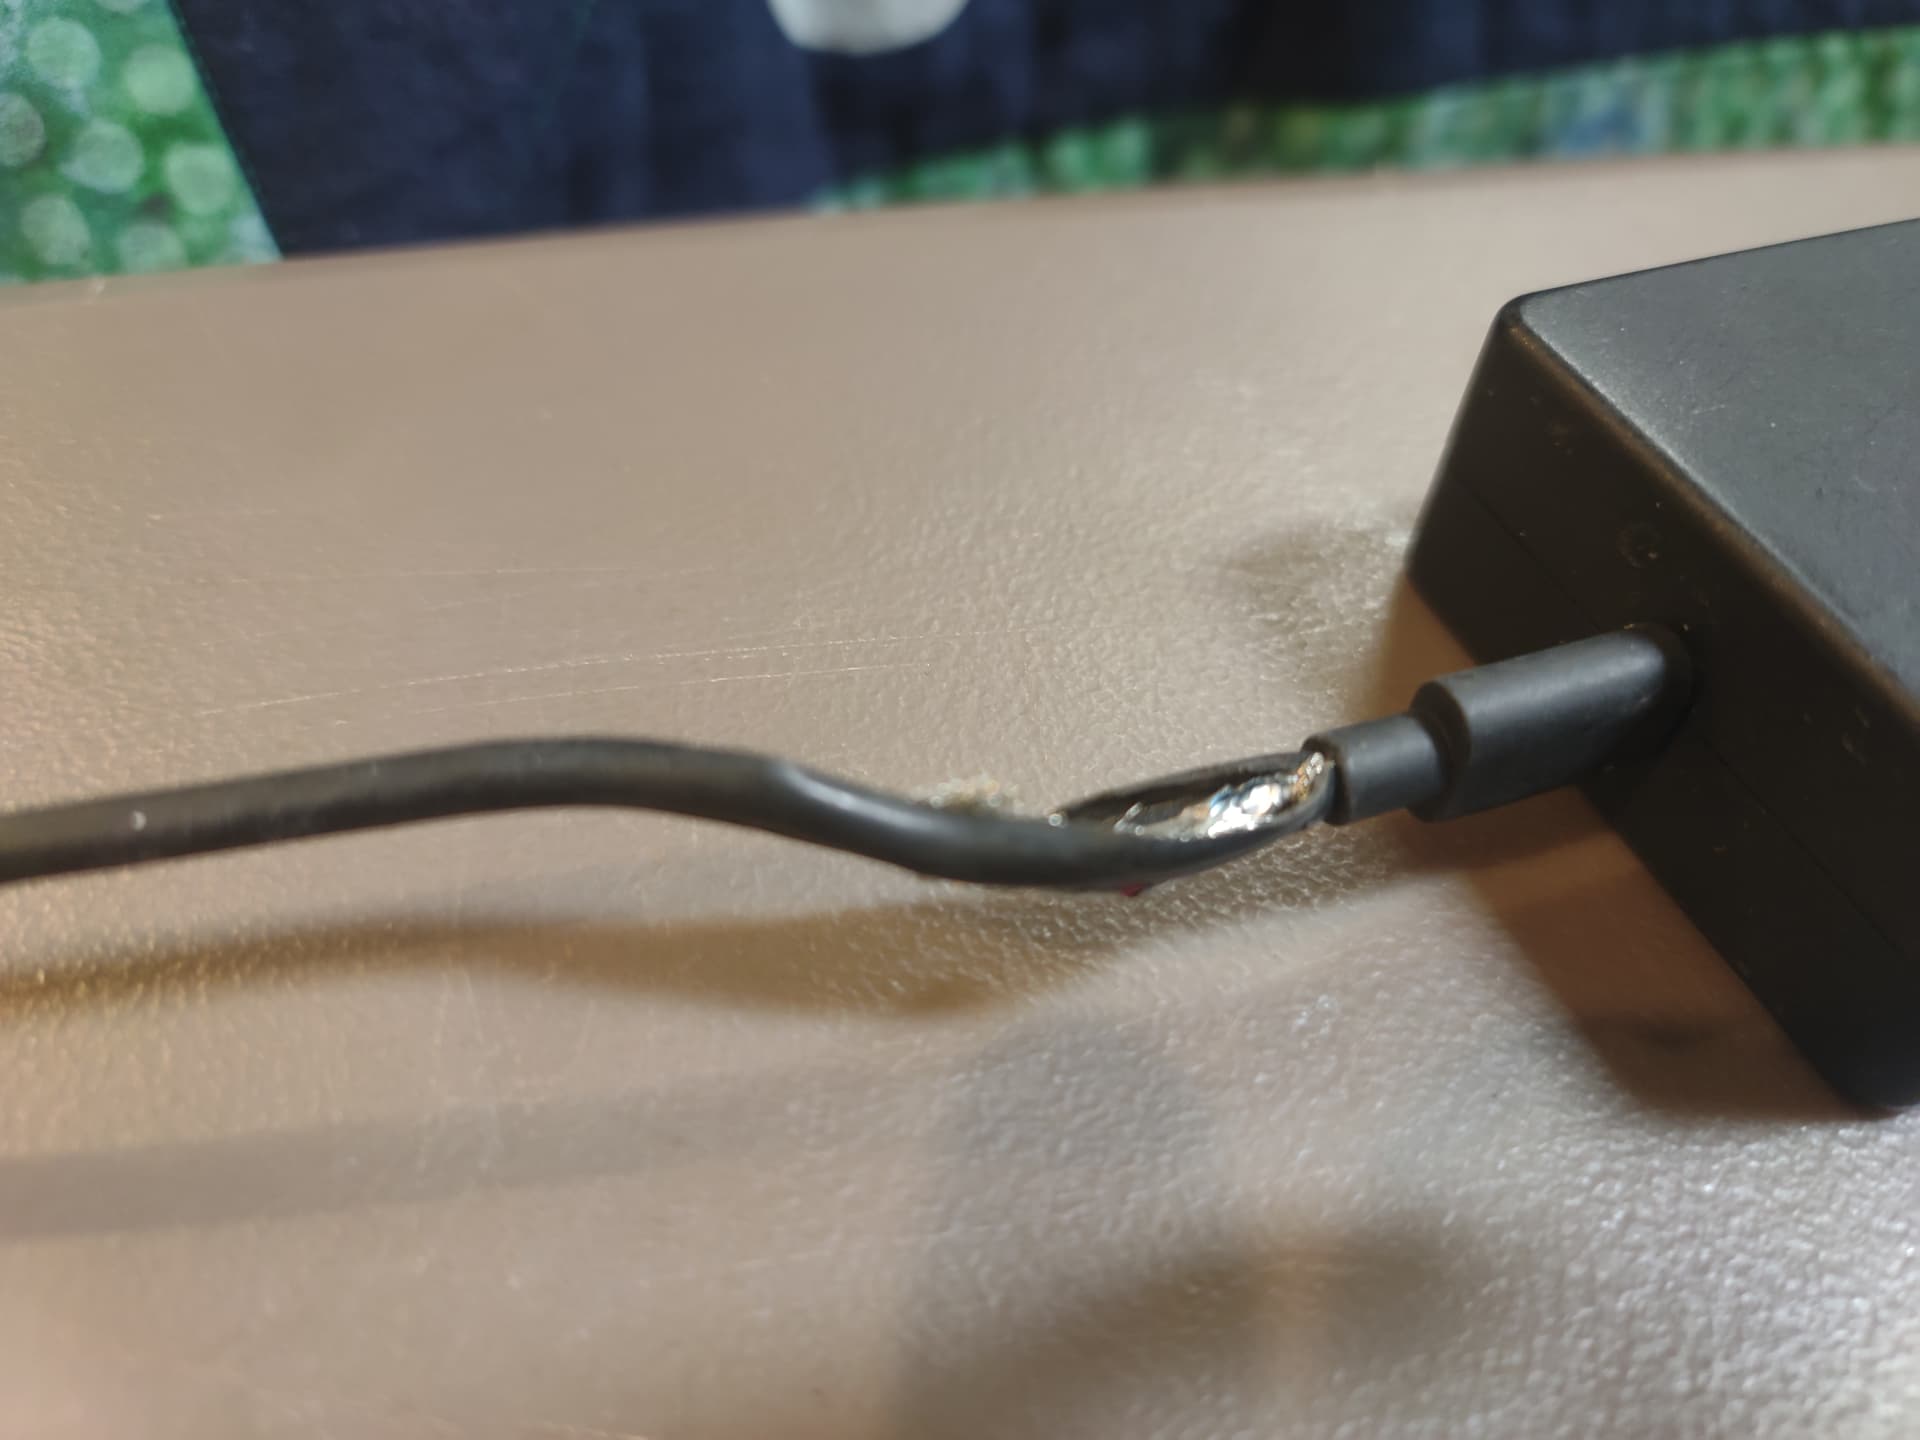
Look for Visual Signs of Wear
Run your fingers along the entire cable length. Check for exposed wires, kinks, soft spots, or discoloration on the adapter brick. Unusual warmth, buzzing sounds, or melting plastic indicate serious electrical faults. Even minor fraying can break the circuit intermittently.
Perform a Flex Test
Gently bend the cable near the connectors while the laptop is plugged in. If the charging indicator flickers or turns on and off, there’s an internal wire break. This is a clear sign your charger needs replacement.
Confirm Charger Compatibility
Using an underpowered or non-OEM charger commonly causes the “plugged in, not charging” issue. Check your laptop’s required specifications.
| Requirement | Typical Range |
|---|---|
| Voltage | 19V to 20V |
| Amperage | 2.24A to 6.0A |
| Wattage | 45W to 230W |
| USB-C PD Support | 45W, 65W, or 100W |
Never use a charger with lower wattage than your laptop requires. A 65W charger on an 180W gaming laptop may power the system but won’t charge the battery under load.
Try a Known-Good Charger
If possible, test with a verified compatible adapter. If charging resumes, your original charger is faulty. Always use OEM or certified third-party chargers to avoid compatibility issues.
Clean the Charging Port Safely

Dust, lint, and debris can block electrical contact in charging ports, especially on frequently used laptops.
Examine the Port with a Flashlight
Shine a light into the USB-C or DC jack. Look for packed dust, hair, bent or corroded pins, or metallic debris like small metal fragments.
Use Safe Cleaning Methods
Use compressed air to blow out loose particles without touching the port. A plastic toothpick can gently scrape out debris. Never use metal objects. A cotton swab with 90% or higher isopropyl alcohol works for cleaning around the port. Let it dry completely before plugging in. A soft toothbrush can dislodge stubborn dust.
Inserting metal objects can short-circuit the port or damage pins permanently.
Perform a Hard Reset (Power Drain)
Clearing residual power from internal capacitors can resolve charging blocks caused by electrical glitches or Battery Management System lockouts.
For Laptops with Removable Batteries
Shut down the laptop and unplug the charger. Remove the battery. Hold the power button for 40 to 60 seconds. Reinstall the battery, plug in the charger, and power on.
For Laptops with Sealed Batteries
Shut down completely and unplug all cables and peripherals. Hold the power button for 60 seconds. Release, then reconnect the charger. Power on.
This drains stored charge from capacitors, resets the power management system, and can revive batteries stuck in deep-discharge protection mode.
Reinstall Battery Drivers in Windows
Corrupted or outdated drivers cause approximately 30% of charging issues in Windows laptops.
Uninstall Battery Drivers via Device Manager
Press Win plus X and select Device Manager. Expand the Batteries section. Right-click each of these entries and select Uninstall device: Microsoft ACPI-Compliant Control Method Battery and Microsoft AC Adapter. Restart your laptop.
Windows automatically reinstalls the drivers on boot. This often fixes incorrect charging status and restores battery detection.
Update BIOS and Firmware
Outdated BIOS can prevent proper communication between the charger, battery, and motherboard.
How to Update BIOS
Visit your laptop manufacturer’s support site. Enter your model number. Download the latest BIOS update. Follow the installation instructions exactly. Do not shut down or unplug during the update.
A failed BIOS update can brick your laptop. Ensure the charger is connected and the system remains powered throughout the entire process.
Run Windows Power Troubleshooter
Windows includes a built-in tool that detects and fixes common power issues.
Steps to Run the Troubleshooter
Go to Settings, then System, then Troubleshoot, then Other troubleshooters. Find Power and click Run. Follow the prompts to apply recommended fixes.
This tool may resolve driver conflicts, power plan misconfigurations, or ACPI errors affecting charging.
Generate a Battery Health Report
:max_bytes(150000):strip_icc()/how-to-generate-a-battery-report-on-a-windows-10-laptop-4587396-6-5c74f03546e0fb0001a9825a.jpg)
Check your battery’s actual condition using Windows’ built-in reporting tool.
Create the Report
Open Command Prompt as Administrator. Type powercfg /batteryreport and press Enter. The report saves to your user folder as battery-report.html. Open the file in your browser.
Interpret the Results
Look for Design Capacity (original battery capacity) and Full Charge Capacity (current maximum). Battery Wear Level shows the percentage of degradation.
Replace the battery if Full Charge Capacity is below 70% of Design Capacity. Severely degraded batteries often fail to charge or trigger BMS protection.
Disable Battery Optimization Features
Many manufacturers include battery-saving modes that cap charging at 60 to 80% to extend lifespan. These features are often mistaken for charging failures.
Turn Off Conservation Mode
Lenovo users should disable Battery Conservation Mode in Vantage. Dell users should turn off Primary AC Use in Power Manager. HP users should disable Adaptive Battery Optimizer in Command Center. MacBook users should go to System Settings, then Battery, then Battery Health Management and turn it off.
After disabling, let the laptop charge for a few hours. If it reaches 100%, the issue was software-based.
Test USB-C Charging (If Applicable)
Not all USB-C ports support charging. Only those with a lightning bolt or battery icon can charge your device.
Confirm Port Supports Power Delivery
Check your laptop’s user manual or look for port labeling. Only USB-C ports with Power Delivery can charge the device.
Use a Certified USB-C PD Charger
Ensure your charger supports the USB Power Delivery standard and the correct wattage for your laptop. Use only certified cables rated for charging. Cheap data-only cables won’t deliver power.
Address Overheating Issues
Excessive heat triggers thermal protection, disabling charging circuits to prevent damage.
Signs of Overheating
The laptop or charger feels hot to touch. The fan runs constantly at high speed. The system throttles performance unexpectedly.
Cool Down and Recharge
Shut down the laptop and unplug the charger. Let it cool for 20 to 30 minutes. Avoid charging while running heavy applications.
Prevent Future Overheating
Clean vents every 3 to 6 months with compressed air. Use a cooling pad. Avoid placing the laptop on beds, pillows, or couches.
Test with Alternative Hardware
Isolate the problem by swapping components to identify the faulty part.
Try a Different Charger
Use a known-good, compatible adapter. If charging works, your original charger is faulty.
Test with Another Battery
If your laptop has a removable battery, install a working battery. If it charges, your original battery is dead.
Multimeter Testing
For technicians, measure voltage at the charging port. Barrel plugs should read approximately 19 to 20V. USB-C PD should show negotiated voltages like 5V, 9V, 15V, or 20V. No voltage indicates a faulty adapter, port, or internal charging circuit.
When to Seek Professional Repair
Some issues require expert diagnosis and specialized tools.
Signs You Need a Technician
The charging port is physically damaged or loose. There’s no LED indicator on the charger. The battery report shows severe degradation. Replacing the charger and battery doesn’t fix the issue. The laptop powers on only when unplugged.
Next Steps
Contact manufacturer support, especially if under warranty. Visit a certified repair center for motherboard repairs or sealed battery replacement. Consider replacement if repair cost exceeds 50% of the laptop’s value.
Prevent Future Charging Issues
Avoid recurring problems with simple maintenance habits.
Use OEM or certified chargers. Generic chargers lack proper voltage regulation or authentication chips, leading to charging blocks. Clean ports regularly. Dust buildup causes connection failures. Avoid full discharges. Draining the battery to 0% regularly stresses cells and can trigger BMS lockout. Recharge before it drops below 20%. Enable battery conservation mode if you use your laptop plugged in most of the time. Update software regularly to patch known charging bugs. Calibrate the battery monthly by discharging to 5% and charging to 100% in one session.
Quick Troubleshooting Checklist
Test the outlet with another device to eliminate power source failure. Reseat the charger at both ends to fix loose connections. Inspect the cable for damage to identify broken wires. Clean the charging port to remove debris blocking contact. Try a known-good charger to confirm charger functionality. Perform a 60-second hard reset to reset power state and clear glitches. Disable Fast Startup in Windows to prevent power negotiation issues. Reinstall battery drivers to fix corrupted ACPI drivers. Generate a battery health report to assess degradation level. Check charger wattage to ensure adequate power supply. Test USB-C charging if available to isolate port or charger issues. Update BIOS and drivers to resolve firmware bugs. Let the laptop cool down to prevent thermal shutdown. Remove the battery if possible to test the system without it. Contact a technician to address hardware failure.
Frequently Asked Questions About Laptop Charging Issues
Why does my laptop say plugged in but not charging?
This usually happens when the charger provides enough power to run the laptop but not enough to charge the battery. It can also stem from driver issues, battery degradation, or a faulty charging port. Check your charger wattage first, then try reinstalling battery drivers.
How do I fix the plugged-in not charging issue on Windows?
Start with simple fixes. Test your outlet, reseat cables, and inspect the charger for damage. Then perform a hard reset, reinstall battery drivers through Device Manager, and run the Windows power troubleshooter. Update your BIOS if issues persist.
Can a laptop charger go bad?
Yes. Chargers can develop internal wire breaks from bending and fraying. The adapter brick can fail. Even if the power light on the charger is on, internal circuitry may be damaged. Try a known-good charger to test.
Should I replace my battery or charger first?
Test the charger with another device or known-good charger first. If that works, replace the battery. If neither works, the charging port or motherboard may be faulty, requiring professional repair.
How do I know if my battery is dead?
Generate a battery health report using powercfg /batteryreport. If Full Charge Capacity is below 70% of Design Capacity, the battery is significantly degraded and should be replaced. Physical swelling or a battery that won’t hold charge also indicates failure.
Key Takeaways for Fixing Your Laptop Charger
The “plugged in, not charging” issue rarely has a single cause. A systematic approach starting with cables and ports, moving to software, then assessing battery health offers the best chance of success. Most cases resolve without replacement. Always check battery conservation settings before assuming hardware failure. Simple fixes like reseating cables, performing a hard reset, and reinstalling drivers fix the majority of issues. Use OEM or certified chargers to avoid compatibility problems. If all troubleshooting fails, contact the manufacturer or a certified repair technician.


