
Is your HP laptop not charging even when plugged in? This is one of the most common tech frustrations, especially when you’re facing a deadline or important work. The good news is that most charging issues can be resolved without replacing your entire system. Whether it’s a faulty adapter, dirty charging port, driver glitch, or battery wear, this guide covers every possible fix from simple checks to advanced diagnostics.
By the end of this article, you’ll know exactly how to diagnose, troubleshoot, and resolve why your HP laptop won’t charge, saving you time, money, and stress.
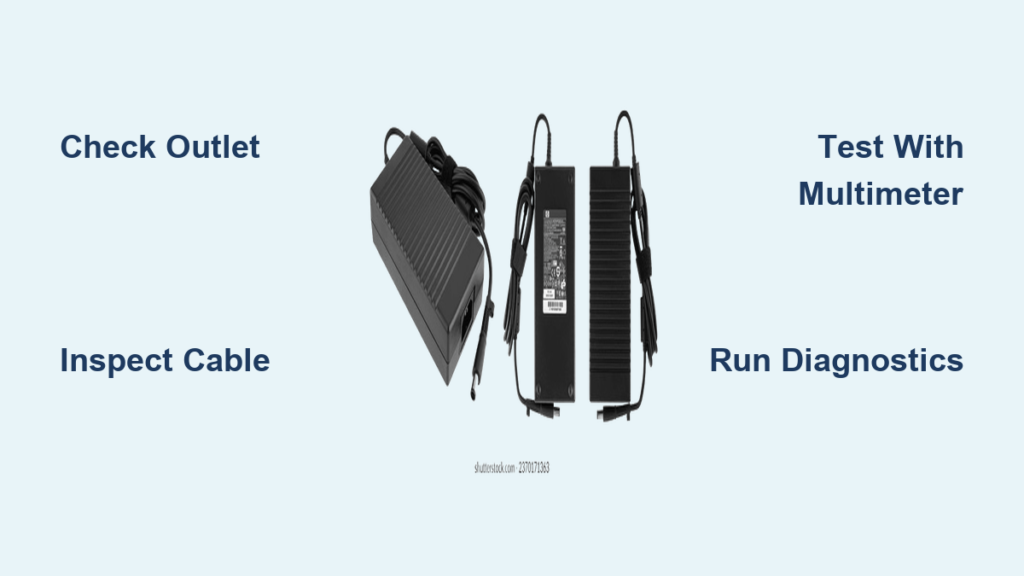
Check Power Source and Connections
Before assuming the worst, confirm the basics. Many charger issues stem from overlooked connection problems that take minutes to fix.
Test the Wall Outlet
Plug another device like a phone charger or lamp into the same outlet. If it doesn’t power on, the issue is with the outlet, not your charger. Avoid using extension cords or power strips for testing. Plug directly into the wall to rule out power delivery issues.
Inspect All Connection Points
Look closely at three key areas. Check the wall plug end of the charger for damage. Examine the power brick for burns, cracks, or swelling. Inspect the laptop charging port for debris or bent pins. Ensure the charger is fully seated. A loose fit can prevent charging entirely.
Look for LED Indicator Lights
Many HP chargers have an LED near the laptop end. A green or white light means charging normally. An amber light means charging slowly or battery is low. No light means no power delivery. If there’s no light when plugged in, the charger may be dead or disconnected internally.
Inspect Charger for Physical Damage
A damaged charger ranks among the top reasons for charging failure. Physical damage isn’t always obvious from the outside, so thorough inspection matters.
Signs of Cable Wear
Look for these warning indicators. Frayed wires near the plug or power brick indicate internal damage. Kinks, bends, or crushed sections break connectivity. Exposed copper wires pose safety risks. Discoloration or melting on the power brick suggests overheating. Never use a visibly damaged charger. It poses fire and electrical hazards.
Perform the Wiggle Test
Plug in the charger. Gently bend the cable near both ends. Watch for flickering lights or intermittent charging. If charging starts and stops during movement, the cable has an internal break and needs replacement. This simple test identifies damage you can’t see.
Confirm Charger Compatibility

Using the wrong charger causes no charging or slow discharge. HP laptops are picky about power specifications.
Match Wattage and Voltage
HP laptops typically use 45W, 65W, or 90W chargers at 19.5V. Using a lower-wattage charger may result in no charging while in use, slow charging, or a “plugged in, not charging” message. Always use a charger rated equal to or higher than your laptop’s requirement.
USB-C Charging Ports
On newer HP models with USB-C, not all ports support charging. Look for a lightning bolt or battery icon next to the port. Try plugging into each USB-C port. If only one works, others may be data-only.
Perform a Hard Reset
A simple reset fixes temporary power glitches that cause charging failures. This clears residual power and resets the charging circuit.
Steps to Reset Your HP Laptop
Shut down the laptop. Unplug the charger and disconnect all peripherals. If the battery is removable, remove it. Press and hold the power button for 15 to 20 seconds. Reconnect the charger and reinsert the battery if removed. Power on the laptop. This procedure resolves approximately 30% of no-charge issues caused by firmware hiccups.
Run HP Built-In Diagnostics
HP includes a powerful diagnostic tool accessible before Windows loads. This test provides authoritative results.
How to Access HP PC Hardware Diagnostics
Turn off the laptop. Press Power, then immediately tap Esc repeatedly. When the menu appears, press F2 to enter diagnostics.
Run Power Component Tests
In HP PC Hardware Diagnostics UEFI, go to Component Tests, then Power. Run two key tests.
The Battery Test checks health, capacity, and sensor function. Results include Pass, Replace Battery, or Intermittent Failure.
The AC Adapter Test verifies if the charger delivers correct voltage. Results include Pass, Adapter Not Detected, or Voltage Out of Range. If the AC Adapter Test fails, replace the charger. If Battery Test fails, replace the battery.
Reinstall Battery Drivers and Check Health
Corrupted drivers often cause “plugged in, not charging” messages. Fixing them takes minutes.
Steps to Fix Battery Drivers
Press Windows plus X and select Device Manager. Expand Batteries. Right-click Microsoft ACPI-Compliant Control Method Battery. Choose Uninstall device. Restart the laptop. Windows reinstalls the driver automatically. Do this even if the battery appears to work. Corrupted drivers block charging recognition.
Generate Battery Report
Press Windows plus S, type cmd, right-click Command Prompt, and select Run as administrator. Type powercfg /batteryreport and press Enter. Open the generated file at C:\Users\YourName\battery-report.html.
Analyze key metrics. Replace the battery if Full Charge Capacity falls below 70% of Design Capacity. For example, if Design equals 50,000 mWh and Full equals 32,000 mWh, that’s 64% wear and the battery needs replacement.
Update BIOS and Power Drivers
Outdated firmware blocks charger recognition. HP Support Assistant handles most updates automatically.
Use HP Support Assistant
Open HP Support Assistant. Go to Updates. Install any available System BIOS updates, Chipset drivers, and Power management drivers. These updates often fix charging bugs introduced by operating system patches.
Manual BIOS Update
Visit support.hp.com, enter your laptop model, and download the latest BIOS update. Follow installation instructions carefully. Never interrupt a BIOS update. It can brick your laptop.
Clean the Charging Port
Dust, lint, or debris blocks electrical contact. Cleaning takes minutes but fixes many charging failures.
For Barrel Plug Ports
Power off the laptop. Use a dry cotton swab or compressed air. Gently clean inside the port. Avoid metal tools. They can short the circuit.
For USB-C Ports
Use a plastic toothpick or anti-static brush. Carefully remove visible debris. Blow air into the port. Don’t use sharp objects. Bent pins are expensive to fix.
Run Windows Power Troubleshooter
Let Windows find and fix common power issues automatically.
Steps
Go to Settings, System, Troubleshoot, Other troubleshooters. Find Power and click Run. Apply recommended fixes. This tool won’t fix hardware faults, but it resets power plans and services that may block charging.
Prevent Overheating During Charging
Some HP laptops stop charging when too hot. Thermal protection disables charging above 85°C to prevent damage.
Signs of Overheating
The laptop feels hot near the keyboard or bottom. The fan runs loudly even at idle. Charging stops after a few minutes.
Fixes
Close heavy apps like games or browsers with many tabs. Clean vents with compressed air. Use a laptop cooling pad. Avoid charging on soft surfaces like beds or couches.
Test Charger Output with Multimeter
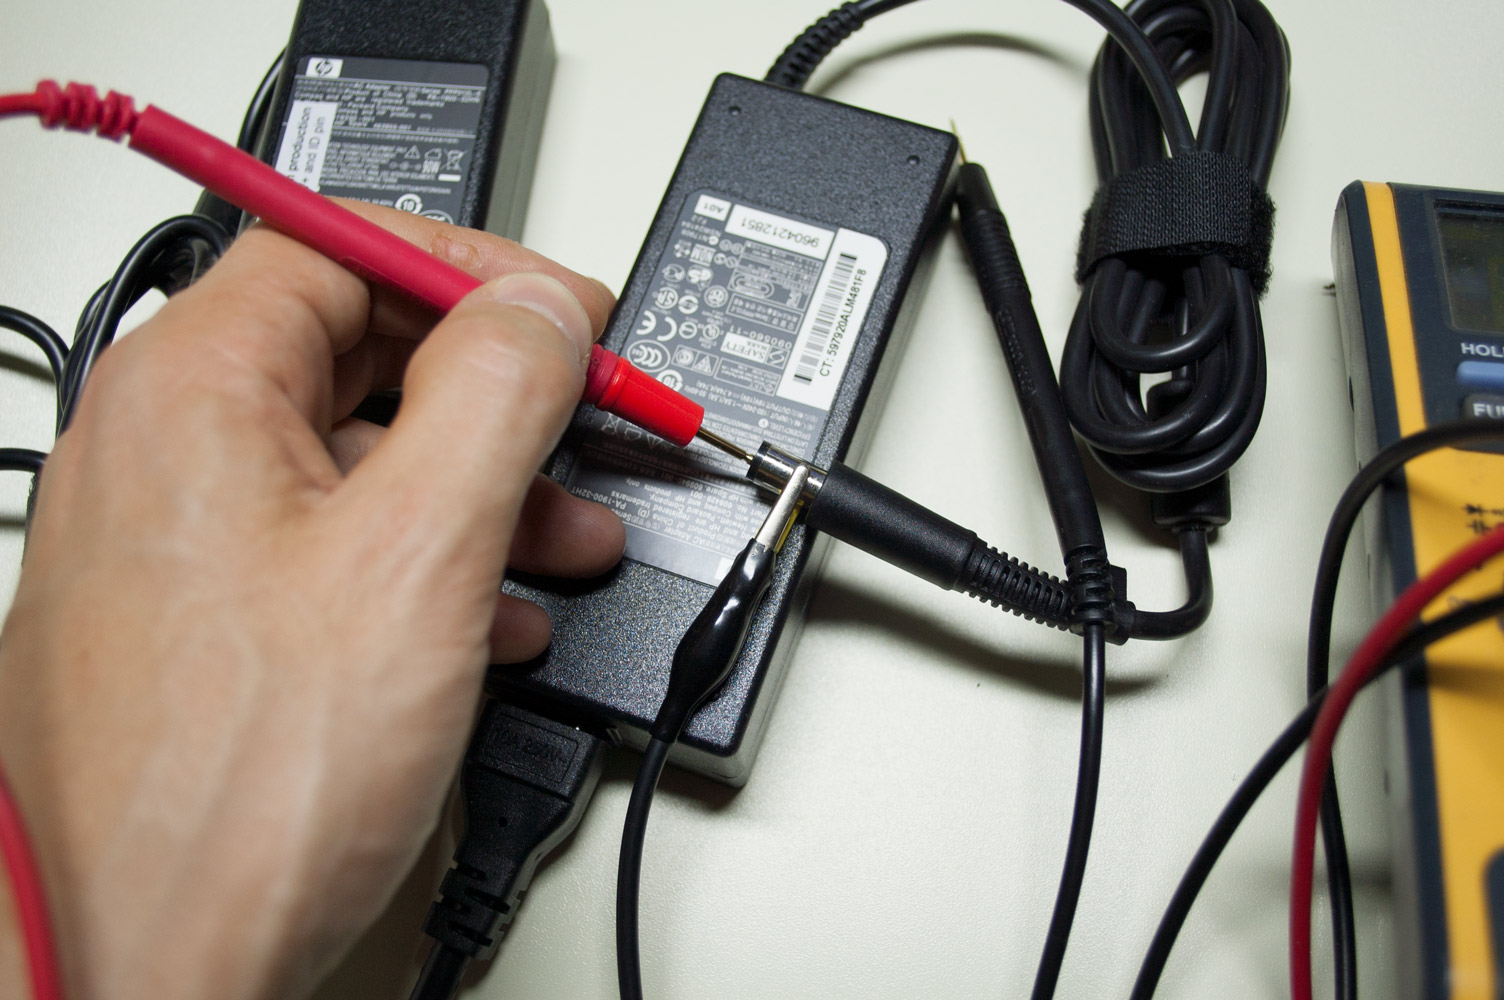
Verify if the charger delivers power. This confirms whether the adapter is faulty.
What You Need
A digital multimeter set to DC voltage 20V range.
Steps
Insert the red probe into the center pin of the charger tip. Insert the black probe into the outer sleeve. Plug in the charger and read the voltage.
For 45W, 65W, or 90W chargers, expected voltage is 19.5V with an acceptable range of 18.5V to 20.5V. If voltage falls below 18V or reads zero, the charger is dead and needs replacement.
Replace Faulty Components
When diagnostics confirm hardware failure, replacement is necessary.
When to Replace the Charger
Replace if there’s no LED light, fails multimeter test, only works at certain angles, or shows physical damage. Use HP OEM chargers or certified third-party options with matching voltage and equal or higher wattage.
When to Replace the Battery
Replace if the laptop shuts down at 20 to 30%, the battery swells under the trackpad, charges to 80% then stops, or overheats during charge. A swollen battery is dangerous. Power off immediately and replace it.
Seek Professional Repair
Some issues require expert hands. Don’t risk voiding your warranty.
Signs You Need a Technician
The charging port is loose or wobbly. The port fell out when unplugged. There’s liquid spill or drop damage. No charging occurs despite new charger and battery.
Repair Options
HP Authorized Service Centers provide warranty-covered repairs. uBreakiFix and Geek Squad offer fast turnaround for port and battery replacement. Local repair shops work if they have HP motherboard experience. Opening the laptop may void warranty. Contact HP first if under coverage.
Prevent Future Charging Issues
Avoid repeat problems with proper care habits.
Cable Care Tips
Unroll the charger fully before use. Store it loosely coiled. Use a strain relief sleeve at stress points.
Battery Longevity Tips
Keep charge between 20% and 80%. Avoid leaving plugged in 24/7. Enable Battery Care Mode in HP Command Center if available.
Use Surge Protection
Always plug into a surge protector. Avoid power spikes that fry charging circuits.
Key Takeaways for Fixing Your HP Laptop Charger
Most HP laptop charger issues are fixable. Software fixes resolve about 40% of charging problems, while hardware causes account for the rest. Start with resets and driver updates, then move to hardware checks.
Use HP Diagnostics accessed via F2 at boot as your truth test. Check the wall outlet first. Inspect all connections. Run the hard reset procedure. Reinstall battery drivers. Test with multimeter if needed.
When in doubt, contact HP Support or visit an authorized repair center. With the right steps, you can get your laptop charging again fast.
Frequently Asked Questions About HP Laptop Charger Issues
Why is my HP laptop plugged in but not charging?
This usually stems from a corrupted battery driver, loose connection, or faulty charger. Try reinstalling the battery driver first. If that fails, test with a different charger or run HP Diagnostics.
How do I know if my charger is broken?
No LED light when plugged in indicates a dead charger. Use the wiggle test to check for internal breaks. A multimeter test showing voltage below 18V confirms failure.
Can I use a non-HP charger on my HP laptop?
Yes, if it matches the voltage and wattage requirements. Use a charger rated at 19.5V with equal or higher wattage than your original. Avoid cheap knockoffs that can damage your laptop.
Why does my HP laptop only charge at certain angles?
This indicates an internal cable break. The wires fray inside the insulation and make contact only when bent specifically. Replace the charger.
How do I run HP hardware diagnostics?
Turn off the laptop. Press Power, then tap Esc repeatedly. Press F2 when the menu appears. Navigate to Component Tests, Power, then run Battery Test and AC Adapter Test.
When should I replace my laptop battery?
Replace when Full Charge Capacity falls below 70% of Design Capacity, or if the battery swells, overheats during charge, or causes sudden shutdowns at moderate battery levels.


