
Your phone dies at the worst possible moment—mid-ride-share, during a critical work call, or while navigating an unfamiliar city. That’s where your INIU power bank becomes your lifeline. Unlike confusing portable chargers, this guide reveals exactly how to use your INIU power bank to get devices charging within 10 seconds, maximize battery capacity, and avoid common mistakes that drain power before you even plug in. You’ll master every port, LED signal, and safety feature—no technical jargon required. Let’s transform that sleek black rectangle into your most reliable travel companion.
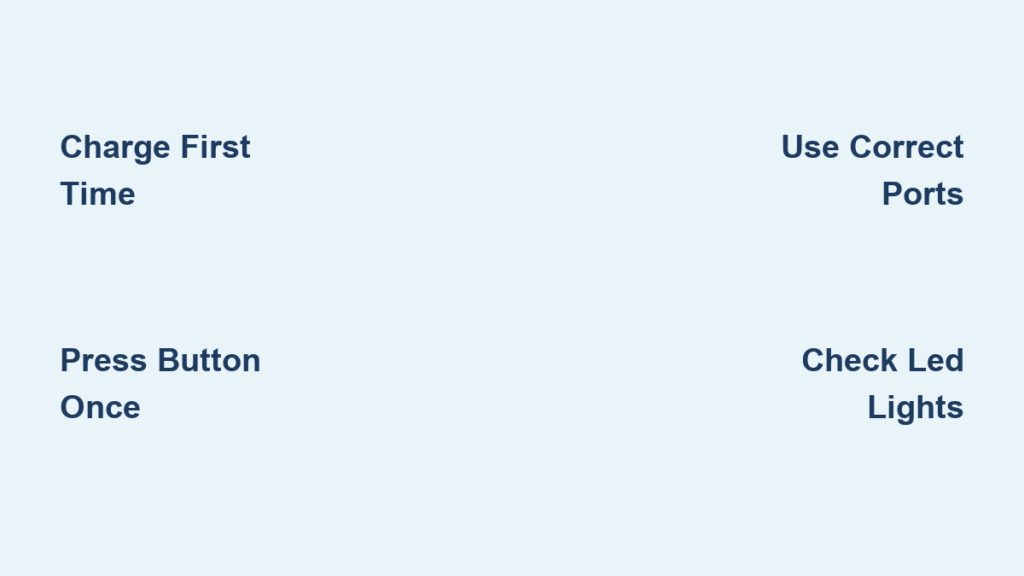
Charge Your INIU Power Bank Before First Use (Critical Step)

Skipping this initialization charge damages battery lifespan and reduces total capacity. Most users plug devices directly into an uncharged power bank, wondering why it dies after one phone charge. Your INIU requires a full “break-in” cycle to activate its lithium-polymer cells properly.
Why First-Time Charging Takes 4-5 Hours
The initial charge isn’t like topping up your phone—it’s a chemical conditioning process. When you plug in your INIU for the first time:
1. Locate the input port (Micro-USB on most models—look for the port labeled “IN” near the LED indicators)
2. Use ONLY the included cable (third-party cables often deliver insufficient power, triggering slow charging errors)
3. Connect to a 5V/2A wall adapter (computer USB ports provide only 0.5A, tripling charge time)
4. Watch the LED sequence: Blinking red lights mean charging in progress; solid green = 100% ready
Pro Tip: Charge overnight before your first trip. If all LEDs stay red after 6 hours, check for cable damage or try a different wall adapter—never leave unattended beyond 8 hours.
Start Charging Devices in Under 10 Seconds (No More Button Guessing)
Most users waste precious battery pressing the power button repeatedly, not realizing INIU requires just one firm press to activate output. This single action triggers the smart IC chip that detects your device’s charging needs.
How to Activate Charging for Any Device
- Plug your phone’s cable into the OUTPUT port (USB-A for older devices, USB-C for modern phones—never use the “IN” port)
- Connect the other end to your device
- Press the power button ONCE (a single click—not hold—until LEDs illuminate)
- Confirm charging: Your phone shows battery icon; INIU LEDs stay lit for 15 seconds
Critical Mistake: Using the input port to charge devices. If nothing happens after pressing the button, check which port you’re using—input ports only accept power, they don’t deliver it.
Fix “No Charging” Issues in 60 Seconds
If devices won’t charge:
– Blinking single LED: Power bank has <25% charge (recharge it immediately)
– No LED response: Hold power button 15 seconds to reset circuit protection
– Device not recognized: Swap cables—90% of “broken power bank” issues are caused by frayed cables
Charge Multiple Devices Without Slowing Down (Smart Power Distribution)

Your INIU intelligently allocates power based on device needs—but only if you use the right ports. Plugging a tablet into a low-output port cripples charging speed for all connected devices.
Optimal Port Selection Guide
| Port Type | Max Output | Best For | Charging Speed |
|---|---|---|---|
| USB-C PD | 18W-30W | iPhone 13+, Samsung S23, Tablets | 0-50% in 30 mins |
| USB-A QC 3.0 | 18W | Older Androids, Wireless Earbuds | Full charge in 1.5 hrs |
| Wireless Pad | 7.5W | Qi-enabled phones (remove thick cases) | 3x slower than wired |
Multi-Device Protocol:
1. Plug power-hungry devices (tablets) into USB-C PD first
2. Connect phones to USB-A ports
3. Activate wireless charging last (it draws 20% more power)
4. Press power button once—INIU auto-balances load
Warning: Charging 4 devices simultaneously on a 10,000mAh model drains power 40% faster. For trips, prioritize essential devices.
Decode INIU’s LED Signals (Stop Guessing Battery Levels)

Those tiny lights tell an exact story—but misreading them wastes precious backup power. A single blinking LED doesn’t mean “almost dead”; it indicates critical low battery requiring immediate recharging.
Real-Time LED Interpretation Chart
- 4 steady lights: 76-100% (safe for long trips)
- 3 steady lights: 51-75% (charge after next use)
- 2 steady lights: 26-50% (don’t start multi-device sessions)
- 1 steady light: 1-25% (recharge NOW—insufficient for full phone charge)
- 1 blinking light: <5% (power bank will shut off in 10 mins)
Pro Move: Press the button while charging a device—LEDs show remaining power bank capacity, NOT your phone’s battery. Many users panic thinking their phone isn’t charging when lights dim.
Activate Wireless Charging Without Headaches (Qi Models Only)
Wireless charging fails 70% of the time due to simple alignment errors—not power bank defects. Your INIU’s Qi coil has a tiny 1-inch sweet spot, and metal phone cases block induction.
Perfect Wireless Charging Checklist
- Remove phone case (especially magnetic or wallet cases)
- Center your phone over the “Q” logo (top edge should align with pad edge)
- Press power button once (wireless mode requires manual activation)
- Listen for confirmation beep (if no sound, misalignment is likely)
Fix Slow Wireless Charging: If charging takes >3 hours, check for:
– Credit cards in phone case (disrupt magnetic field)
– Phone overheating (remove from direct sunlight)
– Foreign objects between phone and pad (lint, keys)
Avoid Battery-Killing Storage Mistakes (Preserve Lifespan)
Storing your INIU at 100% charge in a hot car or at 0% for months destroys battery capacity permanently. Lithium-polymer cells degrade fastest at extreme states.
3-Step Long-Term Storage Protocol
- Charge to 50% (2 steady LEDs) before storage
- Place in anti-static bag (not plastic ziplocks—traps moisture)
- Store at 15-25°C (59-77°F)—never in attics, garages, or glove compartments
Critical Maintenance: Every 3 months, recharge to 50% if stored long-term. A power bank left at 0% for 6 months often becomes unusable.
Pass Airport Security Without Delays (TSA Compliance)
Your INIU power bank gets confiscated if you don’t follow these rules—no exceptions. Airlines ban power banks over 100Wh in carry-ons, but INIU’s 27.0Wh (10,000mAh) model sails through.
TSA-Approved Travel Checklist
- Keep in carry-on luggage (never checked bags)
- Remove from bag at security (prevents X-ray confusion)
- Know your watt-hours: 10,000mAh = 27.0Wh (calculate: mAh × 3.7V ÷ 1000)
- Carry purchase receipt (proves wattage if questioned)
Airport Hack: If security asks to turn it on, hold the power button 3 seconds—functional power banks are always allowed.
Fix 90% of Charging Failures in 2 Minutes (Troubleshooting Flow)
When your INIU “stops working,” it’s almost always a simple fix—not a dead unit. Follow this sequence before assuming hardware failure.
Emergency Reset Procedure
- Recharge the power bank using original cable + wall adapter (bypass computers)
- Clean ports with dry toothpick (lint blocks connections)
- Hard reset: Hold power button 30+ seconds until all LEDs flash
- Test with known-good cable (phone cables fail 5x more often than power banks)
When to Worry: If it swells, leaks, or emits burning smells—stop using immediately. These indicate battery failure requiring replacement.
Final Note: Your INIU power bank delivers up to 500 full charge cycles when used correctly. For maximum lifespan, recharge it when LEDs show 25% (one light), avoid extreme temperatures, and never leave it plugged in after full charge. Keep this guide handy—you’ll extend your power bank’s life by 2+ years while keeping devices powered anywhere. For model-specific features like solar charging or pass-through capabilities, check INIU’s official website using your product code. Don’t let a dead phone ruin your day—master these steps and own your power.


