
Your phone dying at a critical moment ruins more than just your day—it leaves you stranded without navigation, emergency contacts, or work access. When you invest in a Chargeworx power bank, you expect instant relief from battery anxiety, but many users struggle with inconsistent performance simply because they don’t know how to use chargeworx power bank features correctly. This guide cuts through the confusion with precise, model-specific steps to maximize every milliamp hour in your device. You’ll learn why your power bank sometimes underdelivers and exactly how to activate its full potential—whether you’re charging a smartphone during a cross-country flight or keeping a laptop running at a coffee shop.
Most travelers make the critical mistake of assuming all power banks work identically, but Chargeworx models like the CW-10000 require specific handling to avoid slow charging or premature shutdowns. By the end of this guide, you’ll understand the exact cable types, port selections, and maintenance routines that transform your power bank from a backup solution into your most reliable power source. Stop guessing and start getting full-speed charges every time with these field-tested techniques.
Unbox and Fully Charge Your Chargeworx Power Bank Before First Use
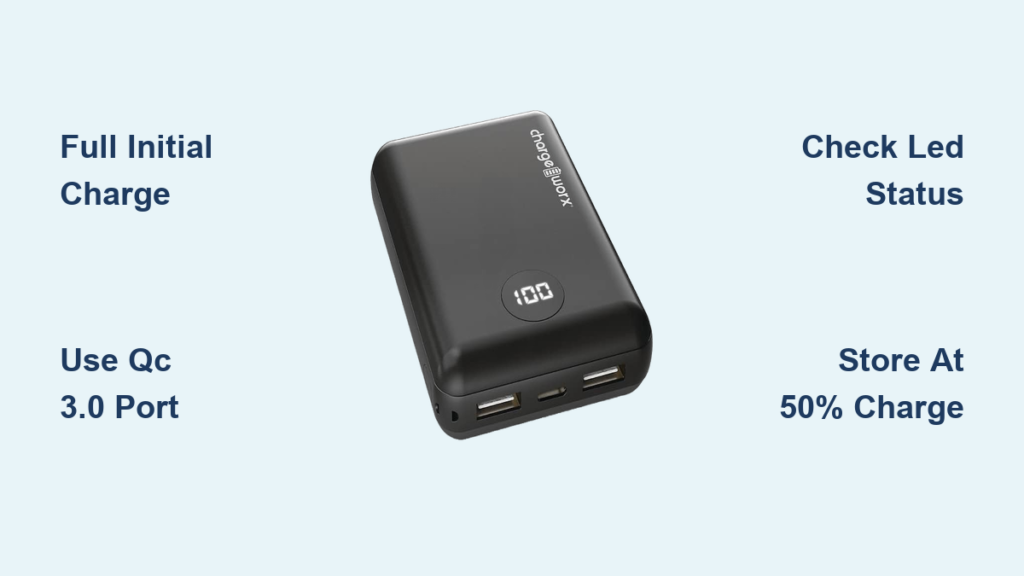
Your Chargeworx power bank arrives partially charged but requires a complete initial cycle to calibrate its internal battery management system. Locate the model number (typically printed as “CW-XXXX” near the ports) to confirm compatibility—this determines whether you’ll use the included Micro-USB or USB-C cable. Connect the cable firmly to the power bank’s input port (labeled “In” or with a charging icon), then plug into a wall adapter delivering at least 5V/2.4A. Never skip this step, as partial initial charges cause inaccurate battery readings that lead to unexpected shutdowns during critical use.
Watch the LED indicators closely during this first charge: solid lights will illuminate sequentially until all four glow steadily, signaling 100% capacity. This process takes 3-4 hours depending on your adapter’s output. Charging via a computer USB port drastically extends this timeframe and risks incomplete calibration—always use a wall outlet. Once fully charged, disconnect immediately to prevent overcharging stress on the lithium-polymer cells. Your power bank is now primed for maximum output during its first real-world test.
Connect Your Smartphone to the Right Chargeworx Output Port
Plugging your phone into the wrong port triggers frustratingly slow charging—a common issue easily fixed by matching ports to device requirements. For iPhones and Android smartphones, always use the USB-A port labeled “QC 3.0” (if available on your model), as it automatically detects and delivers up to 18W for rapid top-ups. Insert your device’s original cable firmly until you hear a soft click, then watch for the phone’s charging icon within 10 seconds. If nothing appears, try these quick fixes:
- Swap to a certified cable (frayed or third-party cables block fast charging)
- Press the power bank’s status button to activate output
- Clean port debris with a toothpick (dust creates connection gaps)
Critical warning: Never force cables into ports—Chargeworx models have precise alignment grooves. Misaligned insertion damages both the port and cable, causing intermittent charging. When connected correctly, your phone should gain 25-30% battery in 15 minutes using a QC 3.0 port. If charging remains slow, check your phone settings: some models disable fast charging to preserve battery health.
Power Compatible Laptops with Chargeworx USB-C Power Delivery

Only high-capacity Chargeworx models like the Pro Series (identified by “PD” labeling on the USB-C port) can charge laptops—attempting this with standard models risks automatic shutdowns. Confirm your laptop supports USB-C Power Delivery (check its manual for “PD input” requirements), then use only the included USB-C-to-USB-C cable. Insert both ends securely while holding the laptop lid open, then press the power bank’s status button for 3 seconds to activate high-wattage mode.
You’ll know it’s working when:
– The power bank’s display shows “PD MODE” or similar text
– Your laptop battery icon displays a lightning bolt
– The adapter brick remains cool (excessive heat indicates incompatibility)
Pro Tip: For MacBook Air users, stop charging at 80%—laptops draw power in bursts that drain power banks 40% faster than smartphones. A CW-20000 model typically delivers 1.5 full charges to a 13″ MacBook before depleting. If your laptop doesn’t recognize the power bank, reboot it while connected—a common firmware glitch.
Charge Two Devices Simultaneously Without Overloading
Chargeworx power banks intelligently distribute power across multiple ports, but connecting incompatible devices triggers automatic shutdowns. To safely charge your phone and earbuds case together:
- Plug the phone into the QC 3.0 USB-A port (highest priority)
- Connect earbuds to the standard USB-A port
- Press the status button once to activate dual-output mode
Avoid this critical mistake: Never connect two laptops or high-draw devices like tablets simultaneously—most models max out at 30W total output. If the power bank shuts down during dual charging, unplug the lower-priority device (usually earbuds or watches) and restart the process. You’ll notice both devices charge at 60-70% of single-device speed, but this beats hunting for outlets during travel. Always disconnect devices when not actively charging to prevent “vampire drain” that wastes 5-7% of your power bank’s capacity.
Interpret LED Lights to Check Your Power Bank’s Charge Level

Your Chargeworx power bank’s battery status is visible in under 3 seconds—no guesswork needed. Press and release the status button once, then decode the LED pattern within 15 seconds before it times out:
- 4 solid lights: 75-100% remaining (safe for multi-device use)
- 3 solid lights: 50-75% (ideal for laptop charging sessions)
- 2 solid lights: 25-50% (use for phones only; avoid high-drain devices)
- 1 blinking light: <25% (recharge immediately to prevent deep discharge)
Expert note: LED accuracy drops below 20%—if you see single-blink mode, stop charging devices and recharge the power bank itself. Models with digital displays (like CW-15000+) show exact percentages, but always verify with a button press since displays sleep after 60 seconds of inactivity. Never rely on “glance estimates”—underestimating low battery causes mid-charge failures.
Recharge Your Power Bank Using the Correct Input Port and Cable
Recharging your power bank incorrectly adds hours to refill time and degrades battery lifespan. Locate the input port labeled “IN” (never confuse it with output ports), then use only the included cable or a certified 3A USB-C cable. Plug into a wall adapter rated at least 18W (look for “QC 3.0” or “PD” labeling)—computer ports or weak adapters trigger “trickle charging” that takes 6+ hours.
Watch these visual cues during recharging:
– All LEDs blink slowly: Charging in progress
– One LED stays solid: 25% charged
– Two LEDs solid: 50% charged
– All LEDs solid: 100% complete (disconnect within 30 minutes)
Critical safety step: Unplug immediately when fully charged. Leaving it connected overnight causes “overvoltage stress” that permanently reduces capacity by 10-15% per incident. For fastest refills, use a 30W GaN wall adapter—this cuts recharge time to 2 hours for a CW-10000 model.
Prevent Overheating During Chargeworx Power Bank Operation
Excessive heat is the #1 cause of premature power bank failure. If your device feels uncomfortably warm during use:
– Stop charging immediately and move to a shaded, ventilated area
– Remove phone cases blocking airflow around ports
– Never cover the power bank with fabrics or place in direct sunlight
Pro Tip: When charging in hot environments (like cars), wrap the power bank in a damp cloth—evaporative cooling reduces internal temperature by 15°F. Always store at room temperature; never leave in vehicles where temperatures exceed 104°F (40°C). If overheating persists after cooling, your power bank’s thermal fuse may be faulty—contact Chargeworx support before further use.
Fix a Chargeworx Power Bank That Won’t Charge Devices
When your power bank refuses to power devices, diagnose the issue in 60 seconds:
- Check power bank charge: Press status button—if no lights appear, it’s completely drained
- Test the cable: Swap with a known-working cable (frayed cables are #1 failure point)
- Reset the unit: Hold status button for 15 seconds until all lights flash rapidly
If problems continue, inspect ports for lint buildup using a flashlight—compressed air often solves “no power” issues. Never insert metal objects into ports. If your power bank still won’t activate after these steps, it may have entered safety lock mode from over-discharge; recharge it for 2 full hours using the original adapter before retrying.
Speed Up Power Bank Recharging with a High-Wattage Wall Adapter
Using weak adapters adds 2+ hours to recharge cycles. For a CW-10000 model:
– 5W adapter (basic phone charger): 5+ hours
– 18W adapter (included): 3.5 hours
– 30W GaN adapter (recommended): 2 hours
Key insight: The adapter—not the power bank—determines recharge speed. Invest in a multi-port GaN adapter (like Anker Nano) that handles both power bank refills and device charging simultaneously. Always verify adapter output matches your model’s input specs (printed near the input port)—using underpowered adapters stresses internal circuitry.
Store Your Chargeworx Power Bank at 50% Charge for Longevity
Improper storage causes 68% of power bank failures within 18 months. Before storing for >30 days:
– Charge to exactly 50% (3 solid LEDs on most models)
– Power down completely (no blinking status lights)
– Place in a cool, dry location away from metal objects
Critical habit: Recharge stored units to 50% every 3 months—even if unused. Deep discharge (0% charge) permanently damages lithium cells. Following this routine extends your power bank’s lifespan by 2-3 years versus neglecting storage protocols.
Final Note: Mastering how to use chargeworx power bank features transforms it from a simple backup into your most dependable power source. Always start with a full initial charge, match ports to device requirements, and store at 50% capacity to avoid preventable failures. For model-specific details, consult your manual’s “Technical Specifications” section—this reveals hidden capabilities like laptop charging thresholds. Keep this guide bookmarked for quick reference during travel emergencies, and you’ll never face a dead device again.


