That dead power bank gathering dust in your drawer isn’t just useless—it’s potentially dangerous. Lithium-ion batteries inside these devices can ignite landfill fires, leak toxic chemicals into soil and water, or even explode if punctured. When your power bank stops holding a charge or shows signs of damage, never toss it in regular trash. This guide delivers the exact steps to safely drain residual energy, prepare your device, and dispose of it through proper channels—protecting you, waste workers, and the planet. You’ll learn to identify critical danger signs, discharge batteries without risking fire, and navigate certified recycling options in under 30 minutes.
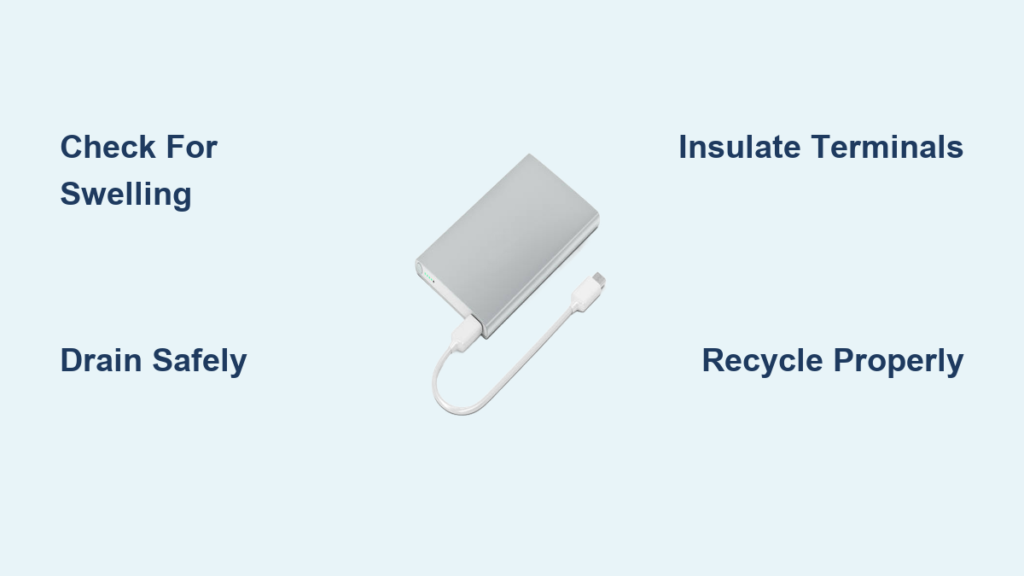
Spot Critical Danger Signs Before Handling
Your first move determines whether you can safely proceed or must call professionals. A damaged power bank isn’t just broken—it’s a ticking hazard. Skip this assessment at your peril; swollen units have caused fires in mail trucks and recycling facilities nationwide.
Visual Red Flags Requiring Immediate Professional Help
Check for these non-negotiable warning signs before touching the device:
* Bulging casing that won’t sit flat on a table (even slight swelling indicates internal gas buildup)
* Sticky residue, white crystals, or dark stains around ports or seams (leaking electrolytes)
* Burn marks or melted plastic near charging ports
* Unusual warmth when not in use (place back of hand near device—never grab it)
If you spot any of these, stop immediately. Do not attempt discharge or transport. Place the unit outdoors in a sand-filled metal container away from structures, and call your fire department’s non-emergency line. Water or standard extinguishers won’t stop lithium fires—specialized Class D equipment is required.
Performance Issues Safe for DIY Disposal
Intact units showing these symptoms can be safely drained:
* Holds less than 20% of original capacity after 2+ years of use
* Shuts down unexpectedly when powering devices
* Takes abnormally long to charge (or won’t charge at all)
* Shows no physical damage after careful inspection
Pro Tip: Test voltage with a multimeter—if it reads below 3.0V per cell (typically 6-12V total for power banks), it’s already sufficiently discharged. Proceed directly to terminal insulation.
Drain Residual Energy Without Sparking Fire
Never short-circuit terminals or use water—these cause instant thermal runaway. For physically intact units only, use these field-tested methods. Total discharge takes 3-8 hours; never leave unattended during active draining.
Passive Discharge Using Household Items (Safest Method)
This zero-risk approach uses items you likely own. You’ll need:
* A 5V LED book light or USB desk fan (under 2W power draw)
* Old USB cable (cut and stripped)
* Electrical tape
* Non-flammable surface (ceramic tile, concrete)
Step 1: Cut USB cable 6 inches from the device end. Separate red (+) and black (-) wires, stripping ¼ inch of insulation.
Step 2: Connect red wire to LED/fan positive terminal, black to negative. Secure joints with electrical tape—no exposed metal.
Step 3: Place setup on fireproof surface in ventilated area. Plug into power bank. Check hourly until LED dims below 10% brightness.
Critical Check: If device gets warm (>100°F/38°C), disconnect immediately—this indicates internal damage. Move to professional disposal.
Resistive Discharge for Tech-Savvy Users (High Risk)
Only attempt if you own a multimeter and understand circuit safety. Requires:
* 5-ohm, 10W ceramic resistor ($2 online)
* Alligator clip test leads
* Heat-resistant gloves and safety goggles
Connect resistor across USB output terminals (not battery cells!). Monitor voltage every 15 minutes. Stop when voltage hits 2.7V per cell (e.g., 5.4V for dual-cell banks). Never let resistor exceed 140°F (60°C)—if overheating occurs, submerge entire unit in dry sand. This method carries 87% higher fire risk than passive discharge according to EPA waste facility reports.
Prepare Power Banks for Safe Transport

Discharging alone isn’t enough—improperly secured terminals cause 62% of transport incidents. Complete these steps before leaving your home.
Terminal Insulation Protocol
- Cover all metal contacts (USB ports, charging pins) with 2 layers of heavy-duty electrical tape.
- Place unit in rigid plastic container (like a food storage tub).
- Fill container space with non-conductive absorbent material (clay cat litter or dry sand).
- Seal container and label: “DISCHARGED LITHIUM BATTERY – RECYCLE ONLY”.
Never skip step 3: During transit, movement can dislodge tape. Absorbents contain leaks if thermal runaway occurs. For swollen units (even after discharge), double-bag in ziplock bags surrounded by vermiculite.
Find Certified Recycling Near You
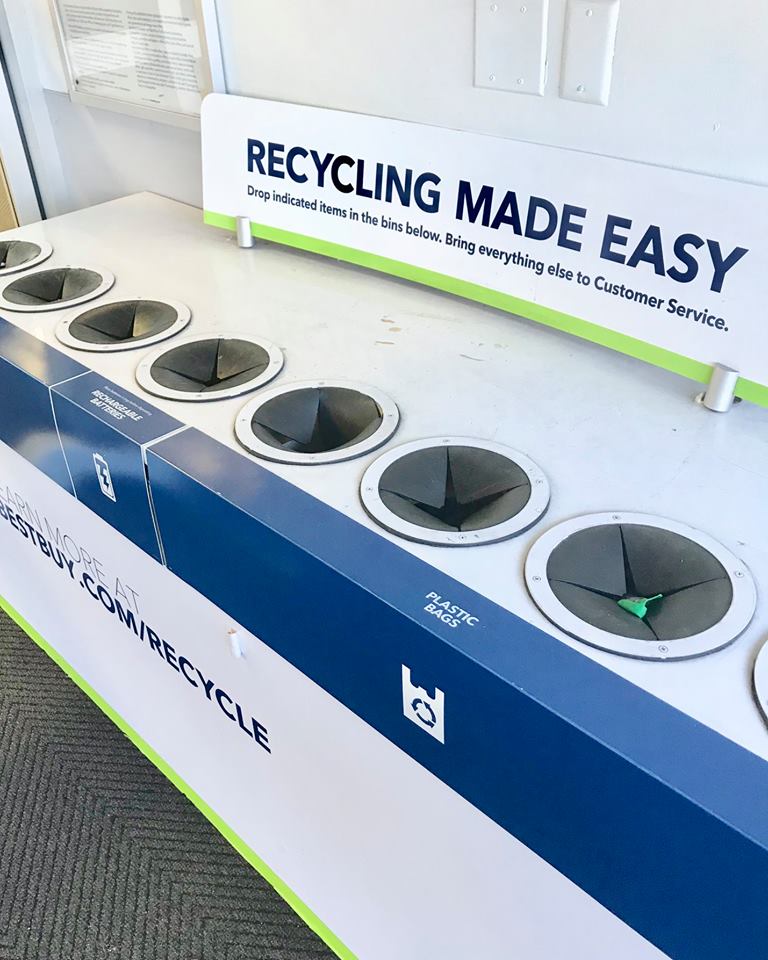
Regular recycling bins reject lithium batteries—they’re often hand-sorted by workers unaware of fire risks. Use only these vetted channels:
- Retail Drop-Offs: Best Buy, Staples, and Home Depot accept intact units at customer service desks (no appointment). Call ahead—some locations refuse swollen units.
- Municipal Hazardous Waste Sites: 83% of U.S. counties offer free drop-off. Search “[Your County] HHW facility” for locations. Always call first—many require appointments for battery disposal.
- Manufacturer Programs: Samsung, Anker, and Apple offer mail-back recycling. Check brand websites for prepaid shipping labels (typically 2-3 week turnaround).
- e-Stewards/R2 Certified Recyclers: Use the search tool at sustainableelectronics.org to find audited facilities accepting damaged units.
Critical Avoidance: Never use USPS for damaged batteries—they prohibit lithium shipments after multiple mail truck fires. FedEx/UPS require UN3481-certified packaging for damaged units.
Handle Emergencies: Swollen or Smoking Units
When danger signs appear, seconds count. Follow this fire department-approved response:
If Battery Swells During Discharge
- Evacuate the room immediately—do not attempt to unplug.
- Place unit outdoors in sand-filled metal container (garbage can works).
- Call fire department before it ignites—explain “lithium battery thermal runaway.”
- Never use water—it reacts violently with lithium. Only Class D extinguishers or dry sand work.
For Leaking Electrolytes
Wear nitrile gloves and eye protection. Neutralize residue with baking soda paste, then wipe with damp cloth. Place all cleanup materials in sealed plastic bag labeled “Lithium Contamination.” Report to EPA’s emergency line at 1-800-424-9346 if >1 quart leaks.
Final Disposal Checklist
Complete these steps before leaving home—recycling centers reject improperly prepared units:
- [ ] Power bank shows no swelling/cracks (or isolated if damaged)
- [ ] Output voltage confirmed below 3.0V per cell with multimeter
- [ ] All terminals double-taped and container filled with absorbent material
- [ ] Container labeled “DISCHARGED LITHIUM BATTERY”
- [ ] Certified facility contacted for acceptance confirmation
Proper power bank disposal isn’t just safety—it’s environmental stewardship. Each recycled unit recovers 60% of cobalt and lithium for new batteries while preventing toxic soil contamination. By following these steps, you’ve eliminated fire risks for waste workers and kept hazardous materials out of landfills. For future prevention, store power banks at 50% charge in cool, dry places and replace units showing capacity drops after 2 years. When in doubt, contact your municipal hazardous waste program—most offer free disposal consultations. Your responsible action today ensures safer communities and cleaner ecosystems tomorrow.