
Your power bank suddenly stops charging devices or won’t accept a charge itself, leaving you stranded without backup power when you need it most. This frustrating scenario affects millions of users annually as lithium-ion technology ages and components fail. When your portable charger refuses to power your phone despite showing full capacity, you’re facing common issues that often have straightforward solutions. Whether it’s a completely dead unit, intermittent charging, or rapid battery drain, this guide provides the exact steps to diagnose and repair your malfunctioning power bank. You’ll learn to identify specific failure points, safely replace components, and bring your essential charging device back to life—saving money and reducing electronic waste in the process.
Essential Safety Gear and Tools for Power Bank Repair
Before touching your screwdriver, prioritize safety—lithium-ion batteries can ignite if mishandled during repair. Immediately stop working if you notice swelling, hissing, or chemical odors, as these indicate dangerous battery failure requiring professional disposal. For safe repairs, gather these critical items: precision screwdrivers (including pentalobe and Torx bits), plastic spudgers to open cases without damage, safety glasses, and a fireproof container for battery storage. Your diagnostic toolkit must include a digital multimeter to check voltages and a USB power meter to measure output performance. For soldering repairs, use a temperature-controlled iron with fine tip and lead-free rosin-core solder—never skip the fume extractor when working with circuit boards.
Critical Safety Procedures Before Opening Your Power Bank
- Discharge completely: Use your power bank until it shuts down to reduce electrical risk
- Check for physical damage: Inspect for case deformation indicating battery swelling
- Work in safe environment: Choose non-flammable surfaces away from water sources
- Verify battery condition: Measure individual cell voltages (should read 3.0-4.2V)
Quick Diagnostic Tests to Pinpoint Your Power Bank’s Problem
Don’t jump straight to disassembly—perform these tests first to identify the exact failure point. Connect your power bank to a known-good USB cable and wall charger while monitoring with a USB power meter. If the unit shows no signs of life, check input voltage at the charging port with your multimeter; a reading below 4.5V suggests port or circuit damage. For units that partially work but drain rapidly, test output under load: connect a phone while measuring current draw—values significantly below the rated output (like 1A instead of 2.4A) indicate battery or circuit issues.
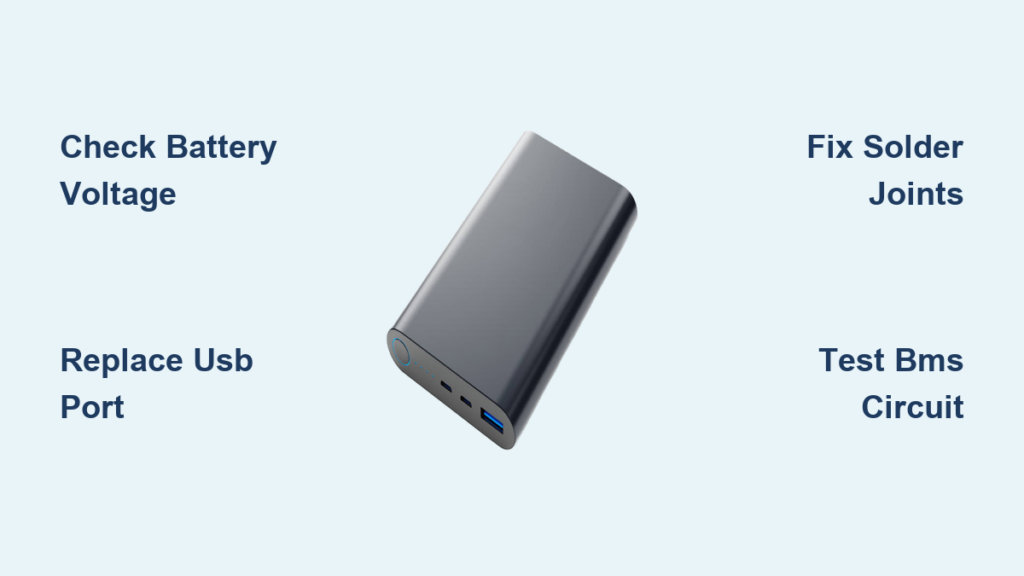
Why Your Power Bank Won’t Charge Devices Despite Showing Full Capacity
This common failure usually stems from three specific problems:
– Failed protection circuit: Prevents over-discharge but sometimes triggers falsely
– Broken solder joints: Especially at USB port connections where stress occurs
– BMS (Battery Management System) malfunction: Reports false capacity to display
Test each possibility by:
1. Reflowing solder joints on output ports with your iron
2. Bypassing the display circuit to check actual battery voltage
3. Measuring cell voltage directly (should be 3.7V per cell when “full”)
Opening Your Power Bank Without Causing Further Damage
Most power banks use hidden clips and adhesive that require careful separation. Start by locating seam lines around the case perimeter—many units have visible separation points near ports. Insert a plastic spudger at these weak points and gently twist to release clips. Never use metal tools near battery cells as punctures cause immediate fire hazards. Work slowly around the entire case, applying even pressure to avoid cracking the housing. Once open, immediately photograph the internal layout before disconnecting anything—this visual reference proves invaluable during reassembly.
Critical Inspection Points After Opening the Case
With the case open, immediately check for:
– Burnt components: Blackened areas on circuit boards indicate electrical failure
– Corrosion: White or green deposits signal water damage requiring alcohol cleaning
– Loose connections: Wiggle USB ports to test for broken solder joints
– Battery condition: Measure each cell’s voltage individually (3.7V = healthy)
How to Replace Commonly Failed Components in Power Banks
USB ports represent the most frequent failure point due to constant plugging and unplugging. To replace a damaged port:
1. Heat the existing solder joints with your iron while gently lifting the port
2. Clean the contact pads with desoldering braid
3. Position the new port precisely and tack-solder opposite corners first
4. Complete all connections while supporting the port to prevent stress fractures
Safely Replacing Swollen or Dead 18650 Battery Cells
When cells swell or won’t hold charge, replacement becomes necessary. Critical safety steps:
– Discharge cells to 2.5V minimum before handling
– Wear safety glasses and work on non-flammable surface
– Match replacement cells exactly by capacity (mAh) and discharge rating
– Solder connections quickly to avoid overheating new cells
Carefully desolder old cells while noting polarity (red = positive), then connect new cells using the same wiring configuration. After installation, perform a “smoke test” with current-limited power before full assembly.
BMS Repair: Fixing the Brain of Your Power Bank
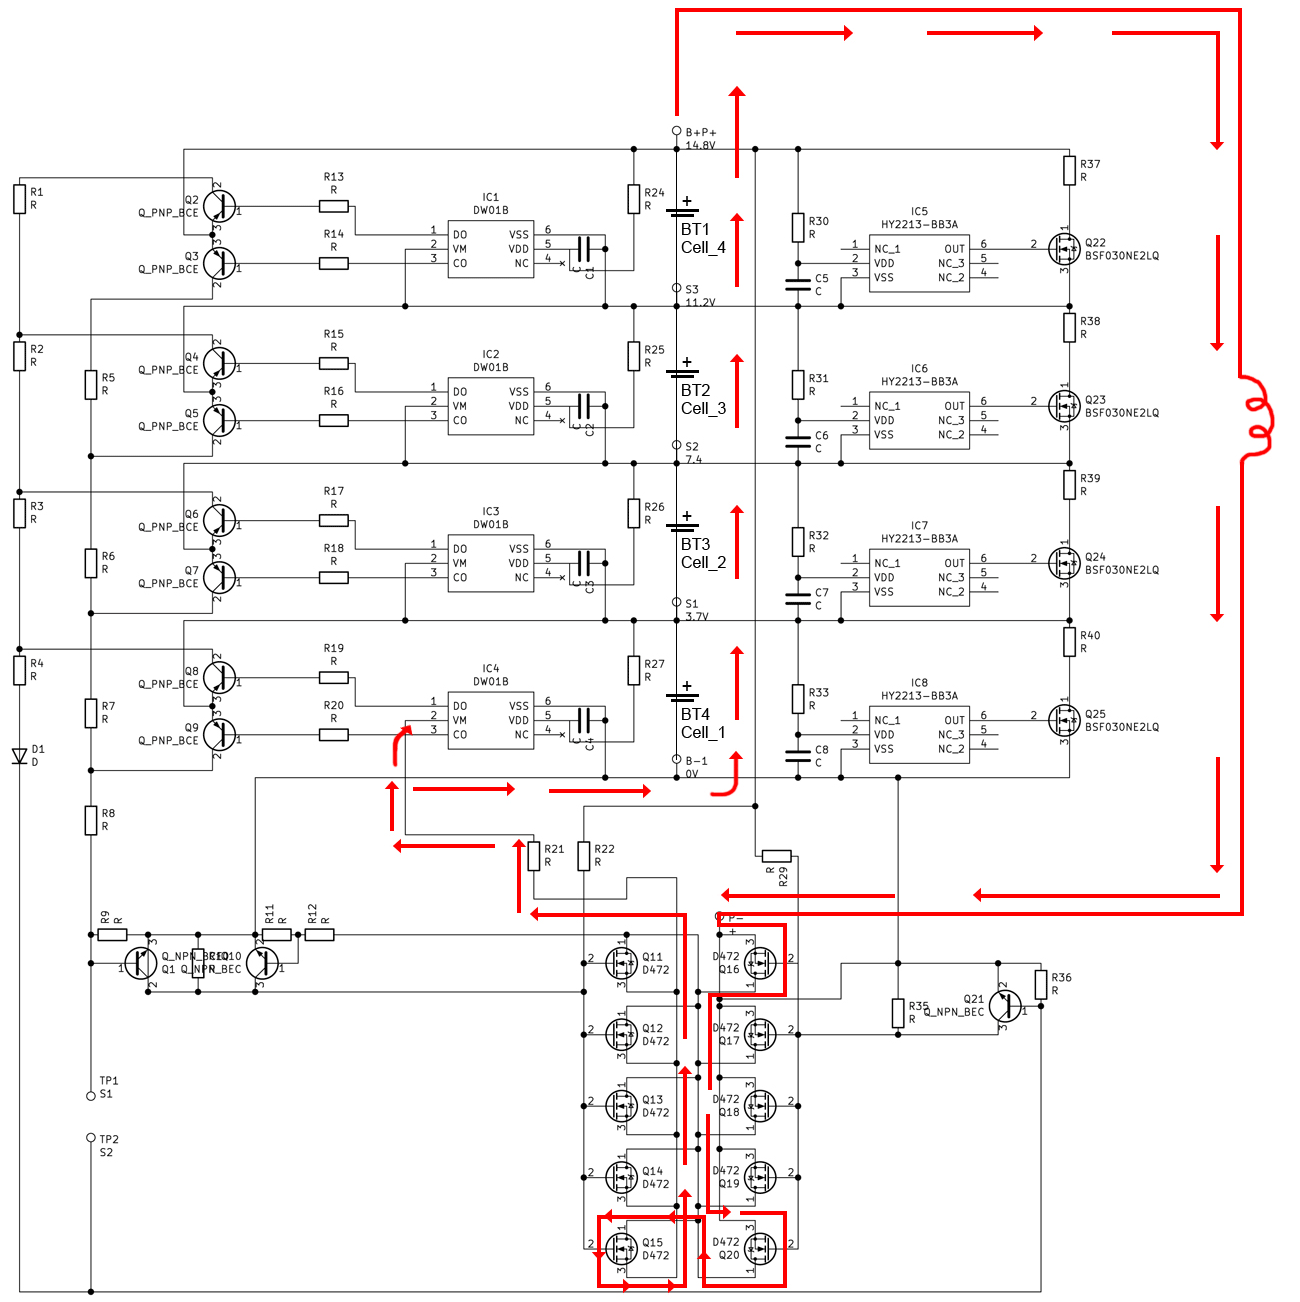
The Battery Management System controls charging, discharging, and safety cutoffs—when it fails, your power bank becomes unreliable. Test BMS functionality by measuring voltage at its input and output terminals during charging. If input shows proper voltage but output remains dead, the BMS has likely failed. Replacement requires:
1. Finding an identical BMS module (match pin configuration and current rating)
2. Carefully desoldering the old unit without damaging surrounding components
3. Verifying polarity before connecting the new BMS
4. Testing protection features by simulating overcharge and over-discharge conditions
Advanced Troubleshooting for Persistent Power Bank Failures
When basic repairs don’t solve the problem, investigate these less common but critical issues. Water-damaged units require complete disassembly and submersion in 99% isopropyl alcohol to dissolve corrosion, followed by 48 hours of drying before retesting. For units with digital displays showing incorrect capacity, the problem often lies in firmware glitches—perform a hard reset by holding the power button for 30 seconds while connected to a charger. High-capacity power banks (20,000mAh+) frequently develop cell imbalance issues; test each cell individually and replace any showing significantly lower voltage than others.
Why Your Repaired Power Bank Overheats During Use
Overheating after repair indicates dangerous issues requiring immediate attention:
– Incorrect cell matching: Mixed capacity cells cause uneven loading
– Poor thermal management: Missing thermal pads reduce heat dissipation
– Short circuits: Insufficient insulation on solder joints
Measure temperature under load with an infrared thermometer—any spot exceeding 60°C (140°F) needs correction before regular use.
Final Testing Protocol Before Closing Your Repaired Power Bank
Never seal your case until completing these critical validation steps:
1. Smoke test: Apply power with current limiting (start at 500mA) while watching for sparks
2. Output verification: Confirm steady 5V output with multimeter under various loads
3. Capacity test: Run full charge/discharge cycle while measuring actual mAh delivered
4. Thermal check: Monitor temperature during maximum load operation
Only after passing all tests should you reassemble the case, using minimal adhesive on seams to maintain future serviceability.
When to Abandon DIY Repair and Seek Professional Help
Certain situations demand professional intervention rather than continued DIY attempts. Stop immediately if you encounter:
– Punctured, leaking, or severely swollen battery cells
– Persistent short circuits after multiple repair attempts
– Smoke or burning smells during testing
– Physical damage to cell wrappers exposing internal layers
These conditions create unacceptable fire risks that outweigh repair costs. For units with complex circuitry like Power Delivery or Quick Charge support, professional repair often proves more economical than sourcing specialized components.
Final Note: Successful power bank repair combines careful diagnostics with methodical component replacement. By focusing on the most common failure points—USB ports, battery cells, and BMS circuits—you can revive many “dead” units safely and effectively. Always prioritize safety over convenience when working with lithium-ion technology, and remember that proper disposal of irreparable units protects both you and the environment. With these techniques mastered, you’ll extend the life of your portable power solutions while developing valuable electronics repair skills for future troubleshooting. Keep this guide handy for your next power bank emergency—you’ll be surprised how often simple soldering fixes restore functionality to seemingly dead devices.


