Your power bank dies mid-flight when you desperately need to check in. Your phone shuts down at 30% while charging from your “fully charged” portable battery. These frustrating scenarios happen because power bank health degrades silently over time. Knowing how to check power bank health isn’t just convenient—it’s critical for avoiding dangerous failures and ensuring your devices stay powered when it matters most. Lithium-ion batteries lose capacity with every charge cycle, and without proper assessment, you risk carrying a dead weight that could even pose fire hazards. This guide reveals four precise testing methods—from simple visual checks to professional-grade measurements—so you can diagnose your power bank’s true condition and extend its lifespan safely.
Identify Critical Danger Signs Before They Cause Catastrophe

Stop using your power bank immediately if you spot these life-threatening indicators. These physical symptoms signal internal battery failure that requires urgent disposal.
How to Spot Swelling and Why It’s a Fire Hazard
Examine your power bank’s casing under bright light while rotating it slowly. A healthy unit sits flat on any surface. If you notice bulging sides, warped corners, or hear faint hissing sounds, stop using it immediately. Swelling occurs when damaged lithium-ion cells release gas due to thermal runaway—a chemical chain reaction that can ignite within minutes. Never attempt to puncture or disassemble a swollen power bank. Place it in a metal container away from flammable materials and take it to an e-waste facility the same day. This isn’t just degraded performance—it’s an active fire hazard.
Recognizing Dangerous Overheating During Charging Cycles
While mild warmth during use is normal, dangerous overheating presents clear visual and tactile clues. During charging, touch the center of the power bank with your fingertip for 2 seconds. If you instinctively pull away (above 60°C/140°F), disconnect it immediately. Check for discoloration on the casing—yellow or brown patches indicate burned internal components. Also verify if the charging cable feels hot near the connector, which signals excessive current draw. These symptoms mean the battery management system has failed, putting you at risk of thermal runaway. Discontinue use and dispose of the unit properly.
Diagnose Failing Performance with Real-World Tests
Your daily usage patterns reveal early degradation signs long before complete failure. Track these performance metrics during normal operation for reliable health assessment.
The One-Phone Charge Test for Health Assessment
Conduct this 20-minute test when your phone battery hits 15%:
1. Fully charge your power bank overnight using its original cable
2. Connect your phone and time how long it takes to reach 80%
3. Note the power bank’s remaining indicator lights
A healthy 10,000mAh unit should charge a standard 4,000mAh phone battery to 80% in under 45 minutes. If it takes over 90 minutes or shows less than 50% remaining charge, your power bank has degraded below 60% capacity. Repeat this monthly—you’ll notice performance drops accelerating as health declines. Pro tip: Disable phone screen brightness and background apps during testing for consistent results.
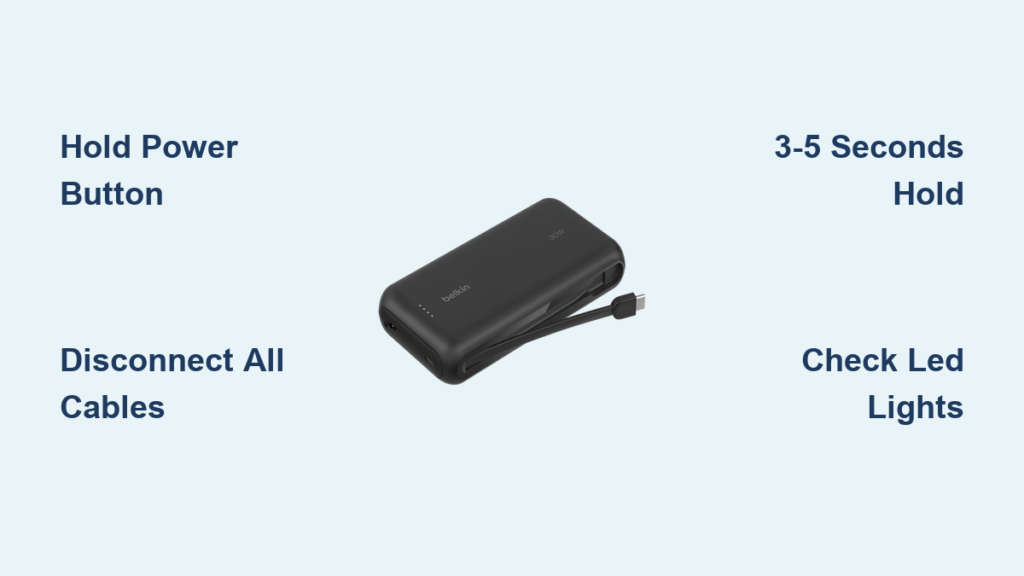
Why Erratic LED Indicators Signal Serious Degradation
Watch your power bank’s status lights during discharge:
– ✅ Healthy unit: Lights extinguish sequentially as charge depletes
– ❌ Failing unit: Lights skip levels (e.g., 4 bars to 1 bar) or flash erratically
This inconsistency means the battery management system can’t accurately measure cell voltage—a sign of severe internal resistance buildup. Test by discharging while connected to a low-power device like wireless earbuds. If the power bank shuts off at “50%” but restarts after 10 seconds, its cells have uneven wear. This isn’t just inconvenient; it strains connected devices and accelerates further degradation.
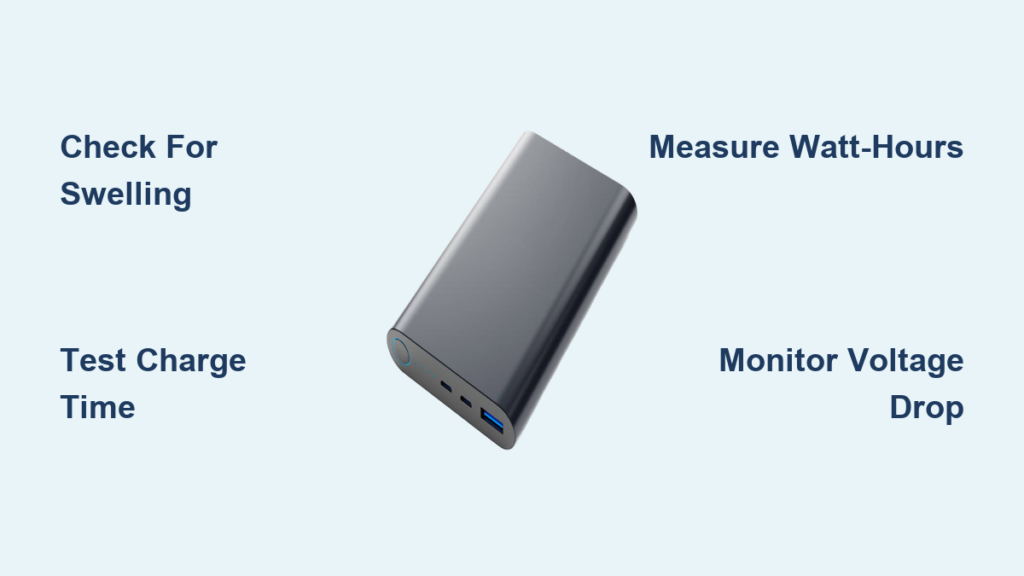
Measure True Capacity with a $10 USB Power Meter
Forget mAh ratings—Watt-hours (Wh) reveal actual health. This method delivers lab-grade accuracy using an inexpensive tool you can buy online.
Why Watt-Hours Matter More Than mAh for Health Checks

Power bank labels list mAh capacity, but voltage differences make Wh the true health indicator. A 10,000mAh power bank at 3.7V stores 37Wh (10,000 × 3.7 ÷ 1000). When degraded, it might still show 10,000mAh but drop to 3.2V—meaning only 32Wh capacity. Here’s how to test:
1. Fully discharge power bank using a dummy load or old phone
2. Connect USB meter between power bank and 5W LED bulb
3. Let it discharge completely while recording total Wh delivered
4. Divide measured Wh by rated Wh (e.g., 25Wh ÷ 37Wh = 68% health)
Critical mistake to avoid: Using your phone as a load. Screen brightness and background processes cause inconsistent drain, skewing results by 15-20%.
Interpreting Your Results: What 70% Capacity Really Means
Your test results dictate immediate action:
– 80-100% health: Normal operation—no changes needed
– 60-80% health: Avoid travel use; expect 25% less runtime than labeled
– 40-60% health: Only charge low-power devices; dispose if swelling occurs
– Below 40%: Recycle immediately—inefficient and unsafe
A power bank at 50% health (e.g., 18.5Wh for a 37Wh unit) wastes 50% of its energy as heat during discharge. You’ll notice devices charging slower while the power bank gets hotter—a dangerous cycle accelerating failure.
Test Voltage Stability with Basic Multimeter Checks
No dummy load needed for this quick electrical health snapshot. A $15 multimeter reveals critical circuit issues.
How to Check Output Voltage Under Real Device Load

Set your multimeter to DC voltage (20V range). With your phone connected and charging:
1. Insert probes into USB-A port (red to center pin, black to outer sleeve)
2. Observe voltage while phone draws power
3. Healthy units maintain 4.8-5.2V under load
If voltage drops below 4.7V during charging, internal resistance is high—meaning degraded cells can’t deliver power efficiently. Test at two stages: when phone is at 20% (high current draw) and 80% (lower draw). A healthy unit shows less than 0.1V difference between these states. Larger fluctuations indicate failing cells that strain your device’s charging circuit.
Extend Your Power Bank’s Lifespan with Proven Habits
Your charging routine directly controls degradation speed. Implement these science-backed practices immediately.
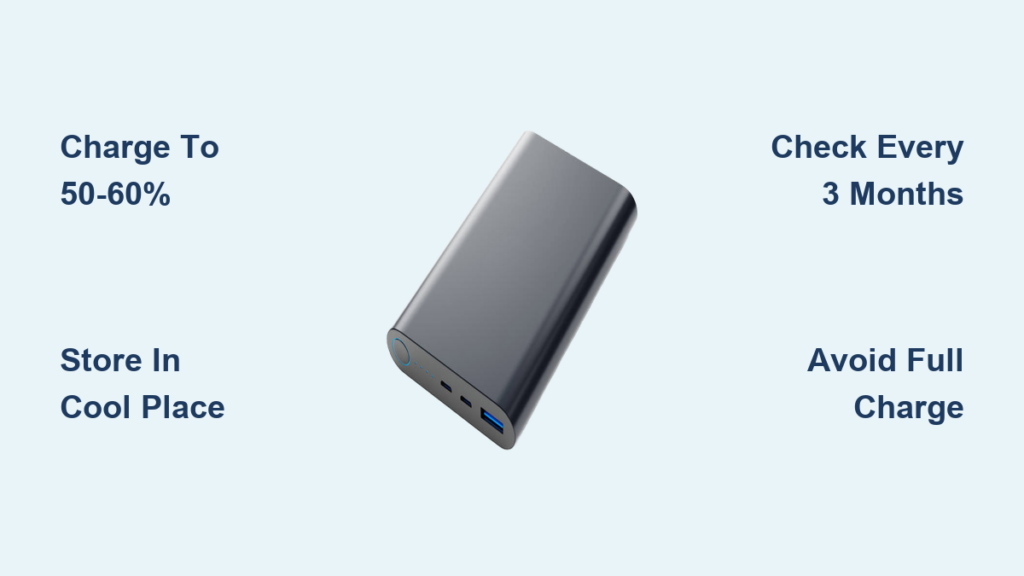
The 20-80% Charging Rule That Doubles Battery Life
Lithium-ion batteries suffer maximum stress at extreme states. Instead of:
❌ Charging to 100% daily
❌ Draining to 0% before recharging
Do this:
1. Plug in when power bank hits 20-30% (per indicator lights)
2. Unplug at 70-80% for daily use
3. Only charge to 100% before long trips
This reduces chemical wear by 300% compared to full cycles. For storage over 30 days, discharge to 50% first—fully charged units lose 20% capacity per year in storage versus 4% at 50% charge.
When to Replace Your Power Bank: Non-Negotiable Signs
Don’t gamble with these clear end-of-life indicators. Replace immediately when you see:
Why Below 60% Capacity Makes It Unsafe for Travel
Power banks below 60% health exhibit dangerous instability:
– Voltage collapses under moderate load (e.g., when charging tablets)
– Temperature spikes 2-3× faster during use
– Protection circuits fail to prevent over-discharge
At 50% health, a power bank that once delivered 10W might now output 7W with massive voltage swings. This stresses your phone’s battery and can corrupt data during transfers. If your unit can’t deliver one full charge to your primary device, recycle it—even if it still “works.” Airlines increasingly ban degraded power banks due to fire risks in cargo holds.
Knowing how to check power bank health transforms you from a passive user to an informed owner who avoids safety risks and maximizes value. Start with the one-phone charge test today—you’ll instantly see if your portable power is reliable. For precise tracking, invest in a $10 USB meter and test quarterly. Remember the golden rules: never ignore swelling or excessive heat, maintain 20-80% charge cycles, and retire units below 60% capacity. By implementing these methods, you’ll double your power bank’s usable life while ensuring it never fails when you’re counting on it most. If you found this guide helpful, share it with travelers and remote workers who depend on portable power—this knowledge could prevent their next battery emergency.