That sleek new power bank you just unboxed holds the promise of keeping your devices charged anywhere, but plugging it in for the first time requires more attention than you might think. Properly charging your power bank for the initial cycle establishes the foundation for its long-term performance and battery health. Many users make critical mistakes during this first charge that can reduce their power bank’s lifespan by months or even years. Following the correct first-time charging procedure ensures you get maximum capacity, reliable performance, and extended service life from your investment. This guide reveals exactly how to charge your power bank for the first time to optimize its performance right from the start.
Unlike regular electronic devices, power banks contain sophisticated battery management systems that benefit from proper initial charging techniques. Lithium-based batteries—which power virtually all modern portable chargers—respond best to specific charging patterns during their first use. Getting this step right means your power bank will deliver consistent power output, accurate charge indicators, and maintain its capacity over hundreds of charging cycles. Whether you’ve purchased a compact 5,000mAh model for daily commutes or a high-capacity 20,000mAh powerhouse for extended trips, these first-charge protocols apply universally.
Unboxing and Preparing Your Power Bank for Initial Charging
Before connecting any cables, proper preparation prevents common first-time user errors that could compromise your power bank’s performance. Many consumers overlook these critical pre-charge steps, jumping straight to plugging in without understanding their specific model’s requirements.
Inspect Packaging and Components Thoroughly
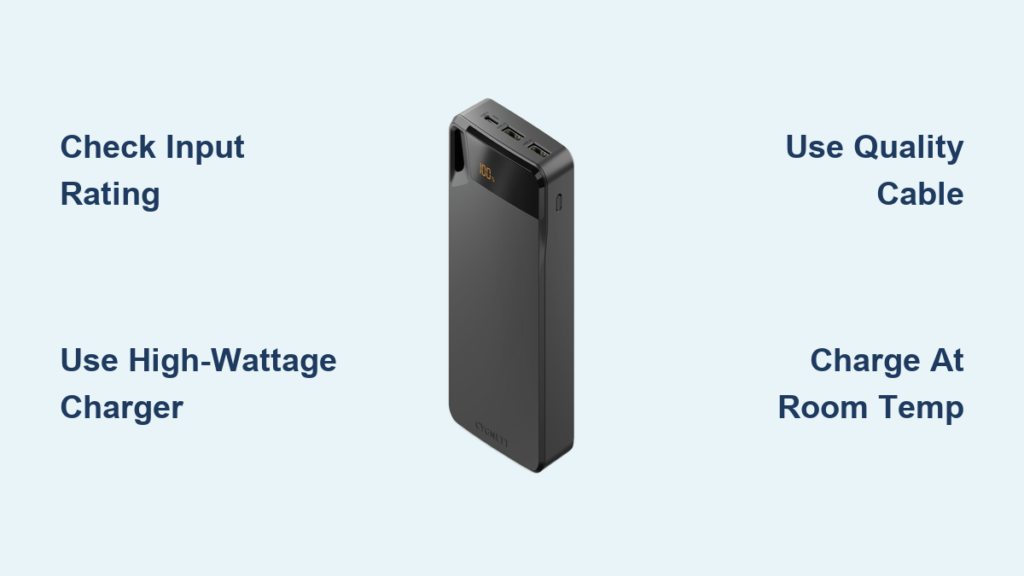
Carefully remove all protective packaging from your power bank and examine both the device and included accessories for shipping damage. Locate the input port (typically labeled “IN” or featuring a lightning bolt symbol) and verify you have the correct charging cable—most modern models use USB-C, while older versions may require Micro-USB. Check that the cable shows no fraying, bent connectors, or exposed wires that could cause charging issues or safety hazards. High-quality power banks often include a cable specifically designed for optimal charging rates, so use this rather than a random cable from your drawer.
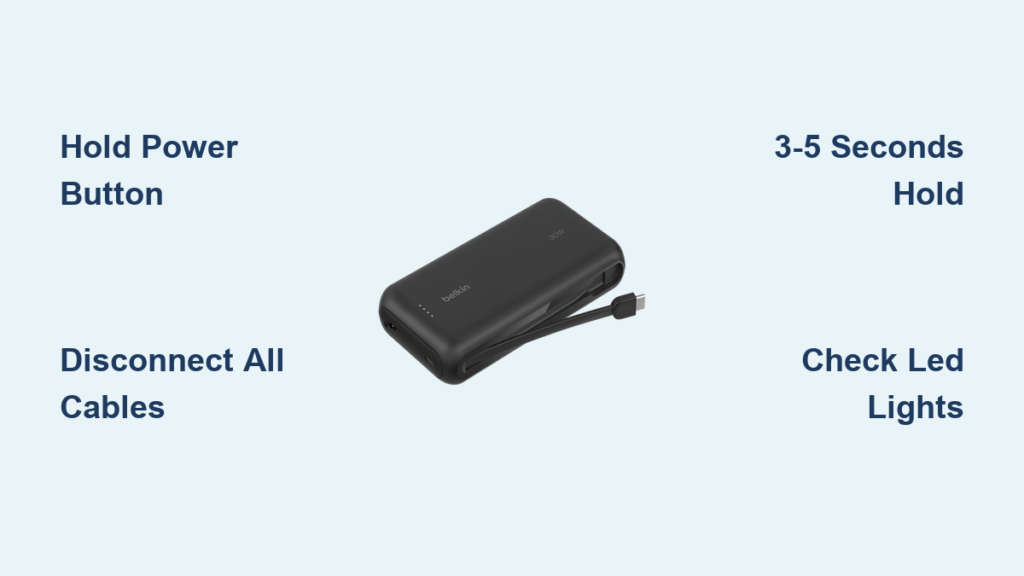
Verify Initial Battery Level Before First Charge
Most reputable manufacturers ship power banks with a 30-50% charge to maintain battery health during storage. Press the power button once to activate the LED indicators—these lights reveal your starting charge level. A single blinking light usually indicates low charge (under 25%), while two or more steady lights suggest moderate charge. Consult your manual to interpret the specific indicator pattern for your model, as configurations vary between brands. This initial check establishes your baseline before beginning the critical first full charge cycle.
Study Manufacturer-Specific Charging Requirements
The user manual contains crucial information often overlooked by first-time users. Pay special attention to:
– Maximum input wattage specifications
– Recommended charger types and power outputs
– Special charging indicators unique to your model
– Any model-specific safety warnings
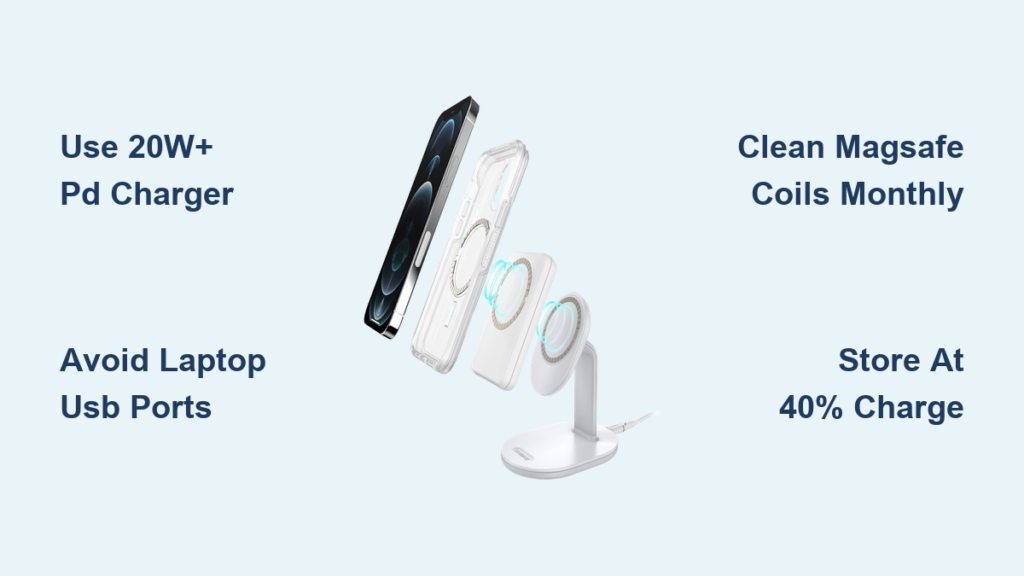
Power banks with fast-charging capabilities (like Power Delivery or Quick Charge) require compatible chargers to activate these features. Using an incompatible charger won’t damage your device but will significantly increase charging time for that crucial first cycle.
First-Time Power Bank Charging: Step-by-Step Execution

Following these precise steps for your power bank’s initial charge optimizes battery calibration and establishes maximum capacity from day one. Rushing or skipping any of these steps can lead to inaccurate charge indicators and reduced overall battery lifespan.
Connect Using Manufacturer-Recommended Charging Equipment
Plug the correct end of your cable into the power bank’s input port, then connect the other end to a wall adapter rather than a computer USB port. Wall adapters provide consistent power delivery essential for proper initial charging. For best results, use the charger that came with your smartphone (if it’s from a reputable brand) or the one included with your power bank. Avoid cheap, no-name chargers that may deliver unstable current—this stresses the battery management system during its most sensitive phase.
Monitor Charging Indicators for Optimal Results
Within seconds of connecting, your power bank should display charging indicators. Most models show:
– Blinking or pulsing lights during active charging
– Sequential lighting of indicator LEDs as capacity increases
– All lights illuminating steadily when 100% charged
Some premium models feature a dedicated charging indicator light that changes color (typically from red to green) when full. If no lights activate after 30 seconds, check your connections and try a different cable—your power bank may require higher power input than your current setup provides.
Complete the Full Initial Charge Cycle
Leave your power bank connected for the complete charge cycle without interruption. For most standard 10,000mAh models, this takes 4-6 hours with a 15W charger. Larger capacity units (20,000mAh+) may require 8-12 hours. Crucially, once the indicators show 100% charge, keep it connected for an additional 30-60 minutes to allow the battery management system to balance internal cells. This extra time ensures accurate future capacity readings and maximizes usable power.
Why Proper First Charging Matters for Power Bank Longevity
Understanding the science behind your power bank’s initial charge reveals why these steps aren’t just manufacturer suggestions but battery health necessities. Lithium-ion and lithium-polymer batteries—used in virtually all modern power banks—require specific initial treatment to reach their rated capacity.
Battery Cell Calibration During First Charge
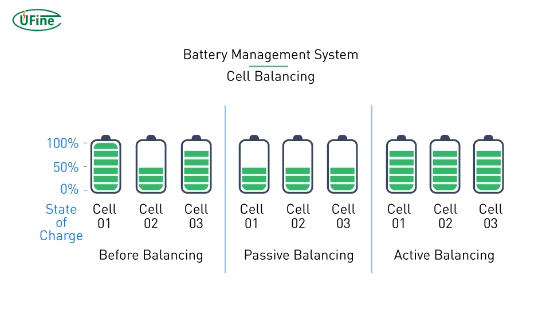
That extra 30-60 minutes after “full” charge serves a critical function: it allows the battery management system to balance voltage across all internal cells. Without this balancing period, some cells may consistently underperform, reducing your power bank’s effective capacity by 10-15% over time. Properly calibrated cells maintain consistent output voltage throughout discharge cycles, preventing premature shutdowns when powering your devices.
Establishing Accurate Charge Indicators
The first charge-discharge cycle trains your power bank’s internal gauge to accurately report remaining capacity. Skipping the complete initial charge leads to common frustrations like:
– “Ghost charging” where indicators show full but drain rapidly
– Inconsistent power delivery during device charging
– Premature shutdown before reaching actual zero capacity
This calibration process ensures your power bank’s LED indicators reliably reflect true remaining capacity for hundreds of subsequent cycles.
Critical First Charge Mistakes That Damage Power Banks
Avoiding these common errors preserves your power bank’s maximum capacity and extends its usable life significantly. Many users unknowingly sabotage their device’s performance during this critical initial phase.
Using Incompatible or Low-Quality Charging Cables
That frayed cable from 2015 might connect physically, but its degraded wiring can’t deliver the stable current needed for proper initial charging. Low-quality cables often:
– Cause intermittent charging interruptions
– Limit maximum charging speed unnecessarily
– Generate excess heat at connection points
– Trigger false error signals in the battery management system
Always use the cable provided with your power bank or a certified replacement from a reputable manufacturer. The difference in charging efficiency can be 30-40% with proper cabling.
Charging in High-Temperature Environments
Lithium-based batteries degrade rapidly when charged in hot conditions. Never charge your power bank:
– In direct sunlight (like on a car dashboard)
– Near heat sources (radiators, stoves, electronics)
– While covered by fabrics or other insulating materials
Ideal charging temperature ranges between 50-86°F (10-30°C). If your power bank becomes noticeably warm during charging, disconnect it immediately and let it cool before resuming.
Post-First-Charge Best Practices for Maximum Performance
Your power bank’s journey to optimal performance continues after that initial charge cycle. Implement these practices to maintain peak efficiency throughout its lifespan.
Complete the Initial Discharge-Recharge Cycle
Within 48 hours of the first full charge, use your power bank to charge a device until it automatically shuts off (reaches 0%). Then, recharge it fully again. This complete discharge-recharge sequence:
– Further calibrates the battery management system
– Activates maximum available capacity
– Establishes consistent performance patterns
Repeat this full cycle 2-3 times during the first month for best results, then maintain regular usage patterns without deep discharges.
Establish Healthy Charging Habits Moving Forward
For long-term power bank health:
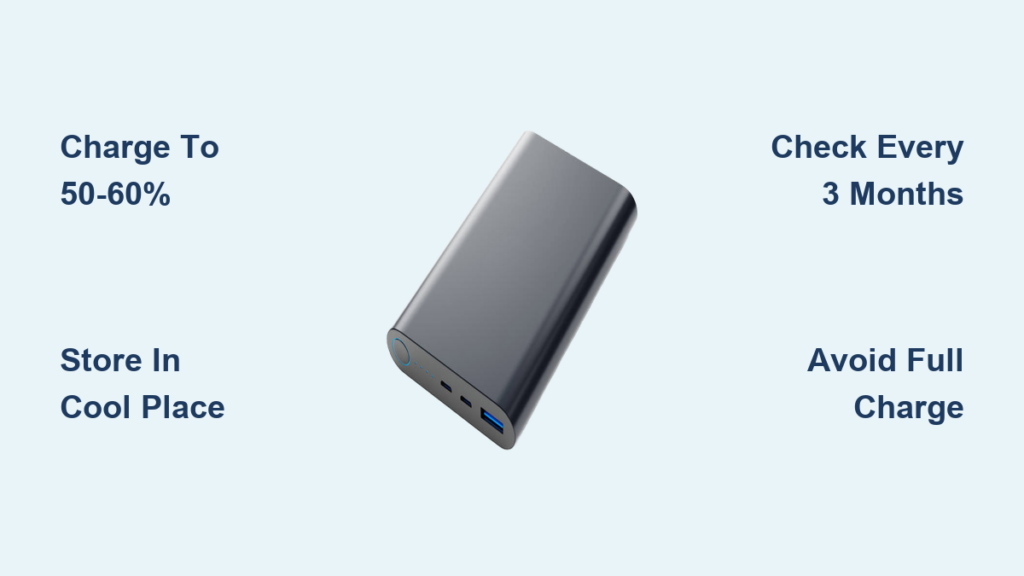
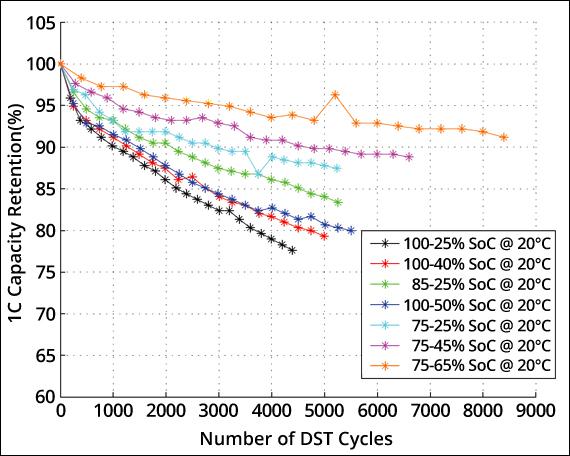
– Avoid charging to 100% daily—80% is optimal for battery longevity
– Never store completely discharged (maintain 40-60% charge)
– Use every 2-3 weeks to prevent battery dormancy
– Clean ports gently with a dry toothbrush monthly
Power banks left unused for extended periods lose calibration, requiring reconditioning through multiple full cycles.
Frequently Asked First Charge Questions Answered
Why does my new power bank show partial charge out of the box?
Manufacturers ship power banks at 30-50% charge to preserve battery health during storage. Lithium batteries degrade fastest at 0% or 100% charge states, so this middle range maintains maximum lifespan during shipping and retail display.
How can I tell when my power bank is fully charged?
Most models use 4 LED indicators where:
– 1 light = 0-25%
– 2 lights = 25-50%
– 3 lights = 50-75%
– 4 lights = 75-100%
When all lights illuminate steadily (not blinking), your power bank has reached full capacity. Some models turn off all lights when fully charged—always verify with your specific model’s manual.
Is it safe to use my phone while charging the power bank?
While some models support pass-through charging, it’s strongly discouraged during the initial charge cycle. Simultaneous input and output creates additional heat and stresses the battery management system during its most vulnerable phase. Wait until after the first full charge before using this feature.
Properly executing your power bank’s first charge establishes the foundation for reliable performance throughout its lifespan. By following these precise steps—using quality equipment, completing the full charge cycle, and avoiding common mistakes—you ensure maximum capacity, accurate indicators, and extended service life. That initial 6-8 hour investment pays dividends through hundreds of reliable charging cycles. Now that your power bank is properly charged and calibrated, it’s ready to deliver dependable power whenever and wherever you need it.