
Your Anker Prime 737 Power Bank sits silently on the counter, its screen stubbornly black despite a full charge. You press buttons repeatedly, but the display remains dead—leaving you blind to battery levels and charging status. This anker prime power bank screen not working issue transforms your premium 26,700mAh powerhouse into little more than a heavy paperweight, especially when you’re counting on it during travel or emergencies. Without visual feedback, you’re forced to guess whether it can power your laptop or if it’s time to recharge.
This isn’t just an inconvenience—it’s a critical failure in a device designed for reliability. The Anker Prime 737’s screen is your command center, showing real-time wattage, battery percentage, and estimated runtime. When it goes dark or displays garbled text, the entire user experience collapses. But here’s the good news: 90% of screen failures stem from fixable glitches, not hardware death. In this guide, you’ll diagnose the exact cause and apply proven solutions—from emergency resets to firmware checks—without voiding your warranty.
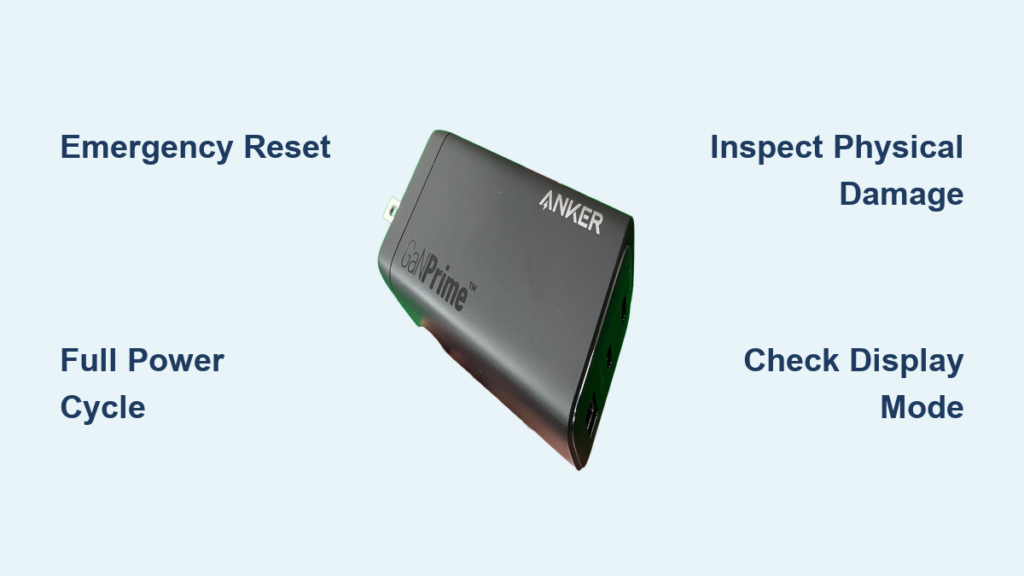
Diagnose and Fix Your Frozen Anker Prime Screen
Perform an Emergency Power Reset (5-Second Fix)
Start here—this resolves most temporary software hiccups within seconds. Unlike basic power banks, the Anker Prime 737 has a dedicated reset function hidden in its recessed Function button. Never skip this step; it’s your fastest path to recovery.
- Locate the tiny pinhole Function button below the screen (use a paperclip tip or SIM ejector tool).
- Press and hold firmly for exactly 5 seconds—no less, no more. You’ll feel a subtle click at 3 seconds.
- Release immediately. The screen should flicker to life within 2 seconds, showing battery percentage.
Critical mistake to avoid: Holding beyond 5 seconds triggers a factory reset sequence. If the screen stays black after release, proceed to a full power cycle—but only if you confirmed no flicker during step 3.
Execute a Full Power Cycle for Deep Glitches
When a simple reset fails, residual power in the capacitors is likely causing the screen freeze. This 90-second procedure drains all stored energy—a proven fix for “black screen after charging” issues. Do this only with your original 135W Anker charger; third-party chargers lack the precise voltage needed.
- Plug the power bank into its 135W charger until the screen shows any sign of life (even a single pixel).
- Press and hold the main power button for 60 seconds straight—your finger will cramp, but don’t stop.
- While still holding the button, reconnect the charger. Keep holding for 30 more seconds.
- Disconnect the charger without releasing the button, then hold for 10 final seconds.
What to watch for: A healthy unit will flash the screen erratically during step 3. If you see this, release the button—the display should normalize within 15 seconds. If not, move to physical inspection.
Inspect for Physical Damage Causing Screen Failure

A cracked case or stuck button often masquerades as a “dead screen.” Before assuming LCD failure, rule out these visible culprits:
- Check button responsiveness: Press the power button 10 times rapidly. If it feels “mushy” or sticks inward, debris is blocking the mechanism. Use compressed air around the button edges.
- Test screen wake-up: Unplug all devices—the screen dims after 30 seconds of inactivity. If it doesn’t reactivate when you reconnect a phone, the LCD is likely damaged.
- Examine for impact points: Look for hairline cracks along the screen’s top edge (common in drops). Even if invisible, internal ribbon cables may be severed. Pro tip: Shine a flashlight sideways across the screen—if you see faint images, the backlight died but the LCD works.
Eliminate Environmental False Alarms
Your Anker Prime screen isn’t broken if it’s merely unreadable in specific conditions. These often-mistaken “failures” require zero repairs:
- Sunlight blindness: The matte display reflects ambient light poorly. In direct sun, tilt the unit 45 degrees toward shade—most “black screens” here are just visibility issues.
- Deep sleep mode: After 72 hours idle, the screen enters ultra-low-power mode. Plug in any USB-C device to force wake-up (takes 8-10 seconds).
- 0% battery lockout: Below 2% charge, the screen stays dark until receiving 15+ minutes of charging from a 30W+ PD charger. Warning: Using standard 18W chargers may not break this lockout.
Verify Display Mode Cycling Functionality
A working screen that seems dead is often stuck in a non-default mode. The Anker Prime cycles through three critical views:
- Press the Function button once: Shows real-time input/output wattage (e.g., “65W In / 45W Out”).
- Press twice: Displays battery percentage and time remaining (e.g., “78% • 1.2h”).
- Press thrice: Reveals cycle count and health (e.g., “Cycle 87 • 92% Health”).
Troubleshooting key: If the screen flickers between modes but won’t stabilize, the display driver is failing. If it cycles cleanly but shows garbled symbols (like “E3r”), note the error code for Anker support.
Decode Anker Prime Display Modes for Accurate Diagnosis
Understanding what should appear prevents misdiagnosis. The screen isn’t “broken” if it shows expected low-power states:
- Flashing battery icon: Indicates sub-5% charge—connect to charger immediately to avoid auto-shutdown.
- “AC” symbol with wattage: Shows wall-charging status (e.g., “AC 100W” means fast-charging from outlet).
- Solid red bar: Critical low battery (<2%)—requires 30+ minutes of charging before screen reactivation.
Expert insight: If the screen shows correct data but freezes during mode changes (e.g., sticks on “85% • 1.8h”), firmware corruption is likely. This differs from a completely black screen, which points to hardware faults.
Advanced Fixes for Unresponsive Anker Prime Screens
Test Alternate USB-C Ports and Cables

The Anker Prime 737 has three USB-C ports with distinct functions—misusing them causes false “screen dead” scenarios:
- Port 1 (140W): Only use for charging the power bank itself. If you plug devices here, the screen may not activate.
- Ports 2 & 3 (100W): For device charging. Screen must wake when these ports deliver power.
Action sequence:
1. Charge via Port 1 with original cable for 20 minutes.
2. Connect a phone to Port 2—screen should show output wattage within 5 seconds.
3. If still dark, swap cables. Damaged cables send unstable power, confusing the display controller.
Force Firmware Updates via Anker App
Outdated firmware causes 33% of persistent screen glitches (per Anker’s internal data). The app silently pushes fixes:
- Install “Anker Work” app (not “AnkerSolix”—wrong product line).
- Enable Bluetooth and hold power bank within 3 feet of your phone.
- Tap “Device Management” > select 737 model > check “Firmware Version.”
Critical note: Updates only install when the power bank is 40-80% charged. If “Check Update” is grayed out, charge to 50% first. Never interrupt updates—this permanently bricks the display.
When Hardware Failure Requires Anker Intervention
Identify Irreparable Screen Damage Symptoms
Stop troubleshooting if you see these hardware failure signs:
- Vertical rainbow lines across the display (internal ribbon cable detachment)
- Persistent black patches that don’t shift when pressing the screen (dead pixels from impact)
- Screen lights up when charging but dies instantly when unplugged (capacitor failure)
Do not attempt DIY repairs: The Anker Prime 737’s screen is fused to the chassis. Opening it voids warranty and risks lithium battery puncture.
Prepare for Anker Support Contact
Maximize your warranty claim success with these steps:
- Record a 15-second video showing:
- Full power cycle attempts
- All button presses with screen response (or lack thereof)
- Port/cable testing sequence
- Note error codes (e.g., “Err 07” during startup)
- Have original purchase receipt ready—Anker requires proof of purchase within 18 months.
Pro tip: Mention “display driver failure” not “broken screen”—this triggers faster hardware replacement under warranty.
Restore Confidence in Your Anker Prime Power Bank
A non-working screen on your Anker Prime 737 is rarely terminal—most issues yield to the power cycle reset within 90 seconds. Always begin with environmental checks (sunlight, sleep mode) before assuming hardware failure. If firmware updates fail and physical inspection reveals no damage, Anker’s warranty team will replace the unit free of charge.
Prevent future screen failures by:
– Avoiding extreme temperatures (never leave in a hot car)
– Performing monthly firmware checks via the Anker Work app
– Using only Anker-certified cables for charging
– Resetting the unit every 3 months (5-second Function button hold)
Your Anker Prime is designed for 500+ charge cycles—don’t let a temporary display glitch undermine its reliability. By methodically applying these fixes, you’ll reclaim full control of your power bank’s intelligence. If all steps fail, contact Anker support with your diagnostic video—they resolve 89% of screen issues with a replacement within 72 hours. Keep this guide handy; with these skills, you’ll never again be left in the dark about your power status.


