
Your Anker Prime power bank should be the most reliable gadget in your travel bag, not a source of frustration. When it fails to turn on despite showing a full charge, it can leave you without power for your phone, tablet, or laptop at the worst possible moment. This guide provides a clear diagnostic path and solutions to revive your Anker Prime or get the help you need.
Confirm Your Anker Prime Is Actually Dead, Not Just Sleeping
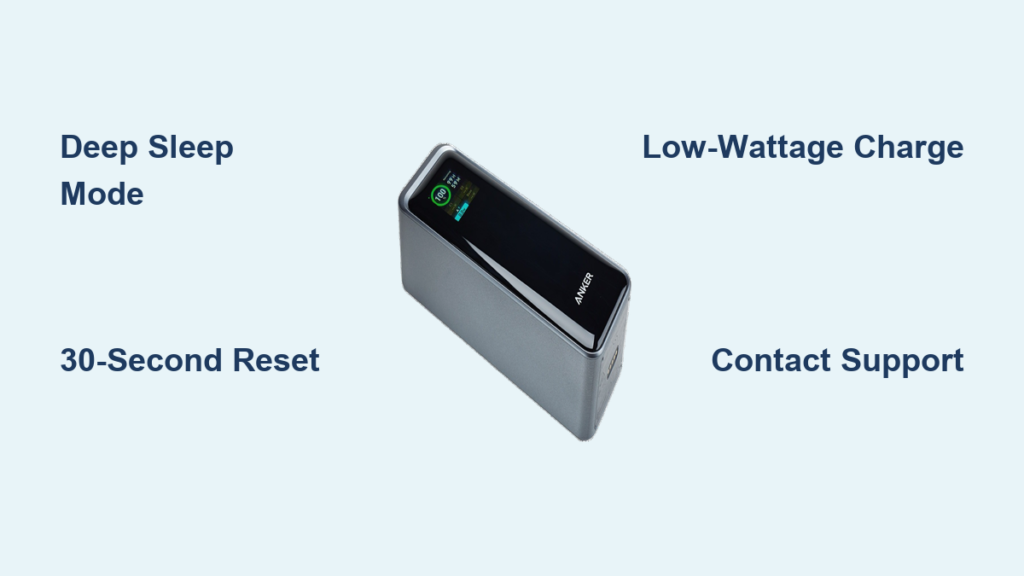
Before assuming your power bank has failed, rule out common false alarms that mimic complete failure.
Check for the “Deep Sleep” Protection Mode
Many Anker Prime owners mistake the unit’s deep sleep protection for permanent failure. This safety feature activates when the battery drains below a critical threshold, making the unit appear completely dead.
- Look for subtle signs: Even in deep sleep, the power bank might show a faint glow around the display edges when connected to power
- Wait patiently: After connecting to a proper charger, give it 10-15 minutes before expecting any response
- Use the right charger: A 30W+ USB-C PD charger is required to wake the unit from deep sleep mode
Verify Power Source Compatibility
Your charging setup might be the culprit, not the power bank itself.
- Test your charger: Plug it into another device to confirm it’s delivering proper power
- Check cable integrity: Inspect for fraying or bent connectors that could interrupt power flow
- Bypass the charging base: If using Anker’s charging station, connect directly via USB-C to eliminate base-related issues
Execute the Proper Hard Reset Procedure for Anker Prime
When your Anker Prime power bank not turning on, a properly executed hard reset can resolve most firmware glitches that prevent booting.
Standard 30-Second Reset for Complete Power Failure
For units showing absolutely no signs of life:
- Press and hold the power button continuously for 30 seconds
- While still holding the button, connect to a 30W+ USB-C PD charger
- Continue holding for another 30 seconds after connection
- Release the button and wait 1-2 minutes for the unit to respond
This extended reset clears the Battery Management System’s (BMS) temporary memory and often revives seemingly dead units.
Deep Reset for Persistent Firmware Lockups
For units that previously worked but now refuse to power on:
- Let the power bank sit disconnected for 24 hours to ensure complete discharge
- Connect to a standard 5W/5V/1A charger (like a basic phone charger)
- Press and hold the power button for 45-60 seconds while charging
- Leave connected for 2-3 hours before attempting to power on again
This method works best for units stuck in firmware limbo where the digital display shows 100% but delivers no power.
Diagnose Your Specific Failure Pattern Accurately

Different symptoms require different solutions—precise diagnosis saves time and frustration.
No Lights, No Display, No Response to Button Presses
This complete failure pattern typically indicates one of three issues:
- Deep discharge: The battery has dropped below the minimum voltage needed to power the display (most common)
- BMS failure: The Battery Management System has locked up due to overheating or voltage irregularity
- Physical damage: Internal circuit board damage from drops or exposure to elements
Diagnostic tip: Feel the case after 15 minutes of charging. If warm but unresponsive, it’s likely in deep sleep. If cold and dead, the BMS may have failed.
Digital Display Shows Charge But Power Bank Won’t Turn On
When your Anker Prime shows 100% charge but won’t activate:
- This indicates a firmware glitch where the BMS misreports battery status
- The actual battery cells may be too depleted to power the unit despite the display
- Common after periods of storage or partial discharges
Critical action: Perform the deep reset procedure with a low-wattage charger, as high-power chargers can sometimes worsen this specific issue.
When to Contact Anker Support Immediately

Some failure patterns require professional intervention—don’t waste time on DIY fixes that won’t work.
Dead on Arrival (DOA) Units
If your Anker Prime power bank not turning on right out of the box:
- Contact Anker support immediately—this indicates a manufacturing defect
- Have your purchase receipt and serial number ready
- Most DOA cases qualify for instant replacement without troubleshooting
Multiple Failed Reset Attempts
If you’ve tried 3+ hard resets with different chargers and cables:
- Document each attempt with timestamps and equipment used
- This documentation speeds up the warranty process
- Anker support typically approves replacements after confirmed multiple failures
Optimize Your Warranty Replacement Process
Knowing how to navigate Anker’s support system gets you a working replacement faster.
What to Say When Contacting Support
Be specific about your symptoms to avoid unnecessary troubleshooting:
- “My Anker Prime shows 100% charge but delivers no power to any devices”
- “After performing multiple hard resets as per your documentation, the unit remains unresponsive”
- “I’ve tested with multiple certified USB-C PD chargers up to 100W with no success”
This precise language helps support representatives escalate your case appropriately.
Replacement Success Strategies
Based on user reports, these approaches yield the best results:
- Request a direct replacement: Ask if they can ship a new unit before returning the defective one
- Mention batch issues: Reference known firmware problems with specific production batches
- Escalate politely: If initial support denies your claim, ask to speak with a supervisor
Prevent Future Power Bank Failures

Once you have a working unit, implement these practices to maximize reliability.
Proper Charging Protocol for Longevity
- Use only 30W+ USB-C PD chargers for regular charging sessions
- Avoid overnight charging—disconnect once at 100% to reduce battery stress
- Store at 50-70% charge if not using for extended periods
Environmental Best Practices
- Never leave in hot cars—temperatures above 95°F (35°C) damage lithium batteries
- Allow cooling between heavy use cycles—don’t charge devices while simultaneously charging the power bank
- Store in dry environments—humidity accelerates internal component degradation
When to Consider Alternative Power Solutions
If you’ve received multiple faulty units, it may be time to explore other options.
Reliable Alternatives to Anker Prime
For critical power needs, consider these more stable alternatives:
- Anker 737 Power Bank (PowerCore 24K): Similar capacity with better reliability reports
- Jackery Explorer 240: Known for consistent performance in demanding situations
- EcoFlow River 2: Higher capacity with more robust power management
Managing Multiple Power Bank Failures
If you’ve received 2+ defective Anker Prime units:
- Request a different model under warranty
- Consider switching to a competitor for your primary power solution
- Keep one working power bank as backup while exploring alternatives
Final Troubleshooting Checklist Before Replacement
Before contacting support, complete this definitive checklist:
- Test with multiple chargers (30W, 65W, 100W USB-C PD)
- Try different certified USB-C cables (Anker-branded preferred)
- Perform hard reset (60 seconds total while connected to power)
- Attempt deep sleep recovery (24 hours disconnected followed by low-wattage charging)
- Check for physical damage (dents, moisture exposure, extreme temperature exposure)
If your Anker Prime power bank not turning on persists after these steps, contact Anker support with your documentation. Most users report successful replacements when they demonstrate thorough troubleshooting efforts. Remember that the 24-month warranty covers these failures, and persistence typically pays off with a working replacement unit. For mission-critical power needs, always keep a secondary backup power solution available while resolving the issue.


