Your Romoss 60000mAh power bank is a powerhouse capable of charging multiple devices for extended trips, but improper charging can turn this essential travel companion into a fire hazard or prematurely kill its battery. Learning how to charge Romoss power bank 60000mah correctly isn’t just about plugging in a cable—it’s about understanding the specific voltage requirements and safety protocols that protect your investment. Many users unknowingly damage their high-capacity power banks by using incompatible chargers, leading to reduced lifespan or dangerous overheating. This guide cuts through the confusion with precise, model-specific instructions that ensure your Romoss 60000mAh charges safely while maintaining peak performance for years. You’ll discover why standard phone chargers can harm this beast of a power bank and the exact charging routine that prevents irreversible battery damage.
Essential Charging Equipment for Romoss 60000mAh Power Bank

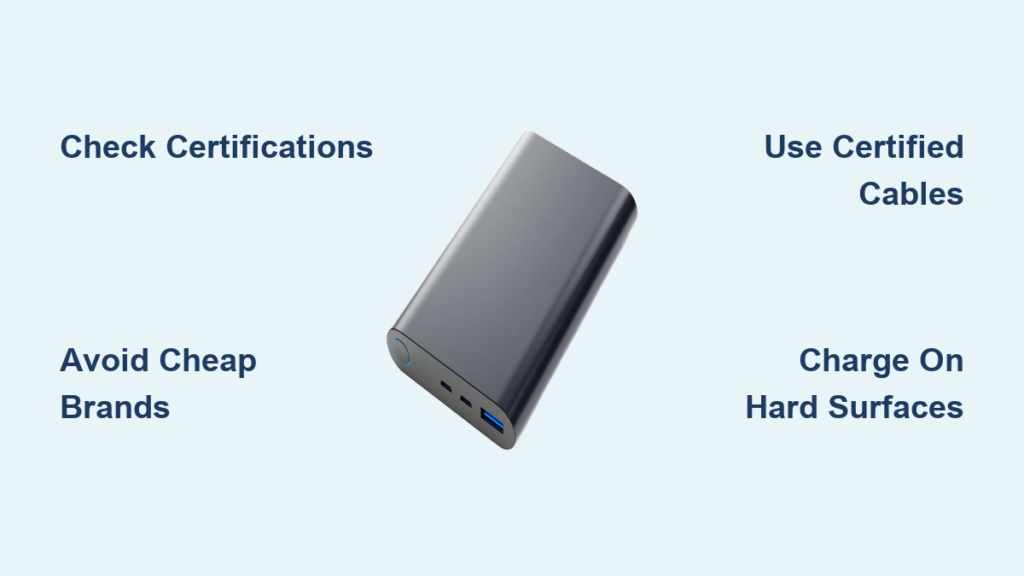
Using incorrect accessories is the #1 cause of preventable damage to high-capacity power banks like your Romoss 60000mAh. This section details the exact equipment specifications that match your power bank’s engineering requirements—not generic advice that applies to smaller models.
Locate the Correct Input Port on Your Romoss 60000mAh
Your Romoss 60000mAh features two distinct input ports, but only one is safe for regular charging. The USB-C port labeled “IN/OUT” serves dual purposes, while the Micro-USB port (present on some variants) is strictly for input. Critical distinction: The USB-C port supports both charging the power bank and outputting power to devices, whereas the Micro-USB port is input-only. Before connecting anything, verify you’re using the port marked with an “IN” symbol—plugging into an output port won’t charge your unit and may damage circuitry. If your model has both ports, prioritize the USB-C input for faster charging, but never use both simultaneously.
Choose the Right USB Cable for Charging
Never assume your phone’s cable works for this power bank. The Romoss 60000mAh requires a cable specifically rated for 3A current transfer, which most standard phone cables lack. Look for these visual indicators on your cable:
– USB-C to USB-A connectors (not USB-C to USB-C)
– Braided nylon exterior (standard rubber cables overheat)
– “3A” or “5A” printed near the connectors
– Thick gauge wiring (at least 24AWG)
If your original cable is missing, purchase a replacement labeled “for power banks” with 3A+ capacity—cheap $2 cables from gas stations often melt during the 8-14 hour charging cycle. Test your current cable by feeling it after 30 minutes of charging; if it’s warm beyond the connector heads, replace it immediately.
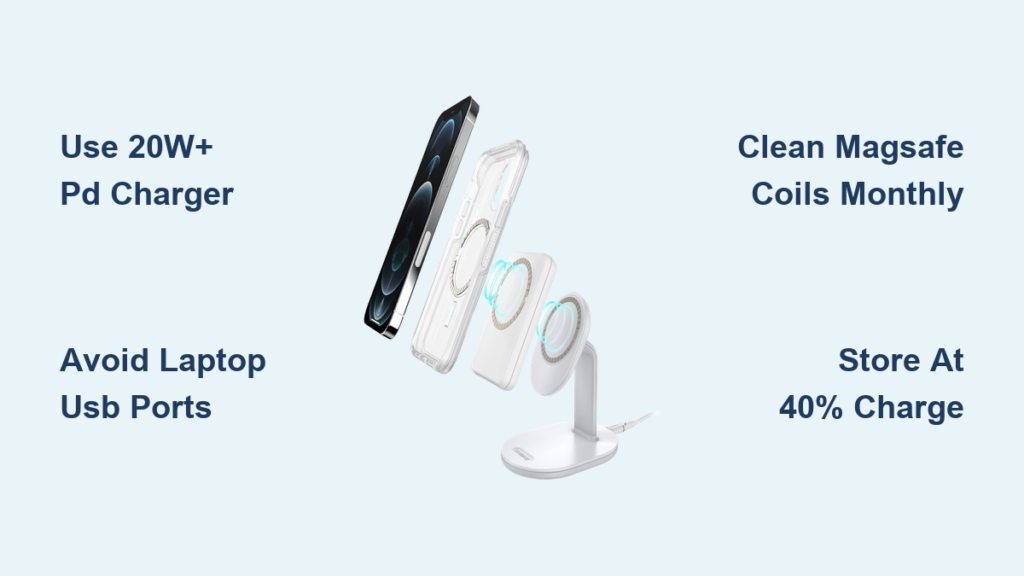
Select a Safe Wall Charger (Not Just Any Adapter)
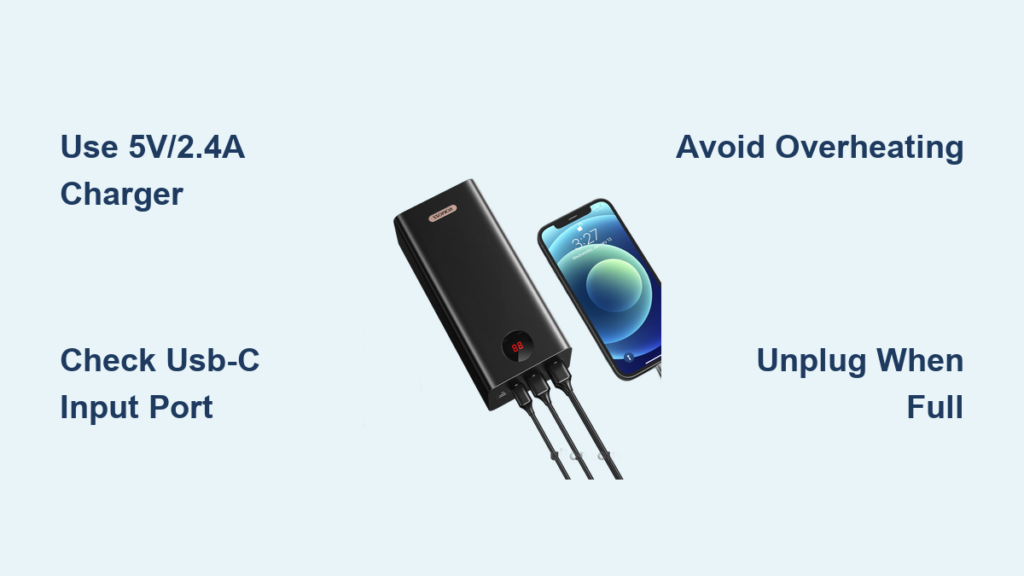
This is where most users destroy their Romoss 60000mAh. Your power bank requires a strictly 5V/2.4A output—no exceptions. Standard smartphone chargers (5V/1A or 5V/2.1A) will work but take 50% longer, while dangerous “fast chargers” (65W+ laptop adapters, Quick Charge 3.0/4.0, or Power Delivery units) deliver excessive voltage that fries the battery management system. To identify a safe charger:
– Look for “5V===2.4A” printed on the adapter (not “5V-9V-12V”)
– Avoid any charger labeled “QC,” “PD,” “Super Charge,” or “Turbo”
– Use only the Romoss-branded adapter that came with your unit
– If replacing, choose a basic Anker or Samsung 10W USB-A wall adapter
Plugging into a 65W laptop charger might seem convenient, but it bypasses critical voltage regulators, causing irreversible lithium-ion cell damage within just 2-3 charges.
Correct Way to Charge Romoss 60000mAh Power Bank in 5 Steps
Following this exact sequence prevents the slow battery degradation that plagues high-capacity power banks. Deviating from these steps—even slightly—reduces total charge cycles by up to 40%.
Step 1: Connect the USB-C Cable to the Power Bank Input Port
Insert the USB-C end firmly but gently into the input port marked “IN.” You should hear a soft click indicating full insertion. Critical check: Verify the cable isn’t forcing the port—Romoss ports have precise tolerances, and forcing causes internal pin damage. If resistance occurs, rotate the connector 180 degrees (USB-C is reversible) before retrying. Never yank cables out sideways; pull straight out to avoid port misalignment.
Step 2: Plug Into a Safe Power Source (Wall vs. Computer)
Wall outlet charging is mandatory for full capacity—laptop USB ports lack sufficient power for this 60,000mAh unit. Here’s the safe connection sequence:
1. Plug USB-A end into your 5V/2.4A wall adapter
2. Connect adapter to wall outlet (not a power strip)
3. Only then plug the adapter into power
Never reverse this order—connecting the power bank to the adapter before plugging into the wall causes voltage spikes. If using a computer (only for emergency top-ups), select a USB 3.0 port (usually blue inside) and ensure your laptop is fully awake—not in sleep mode.
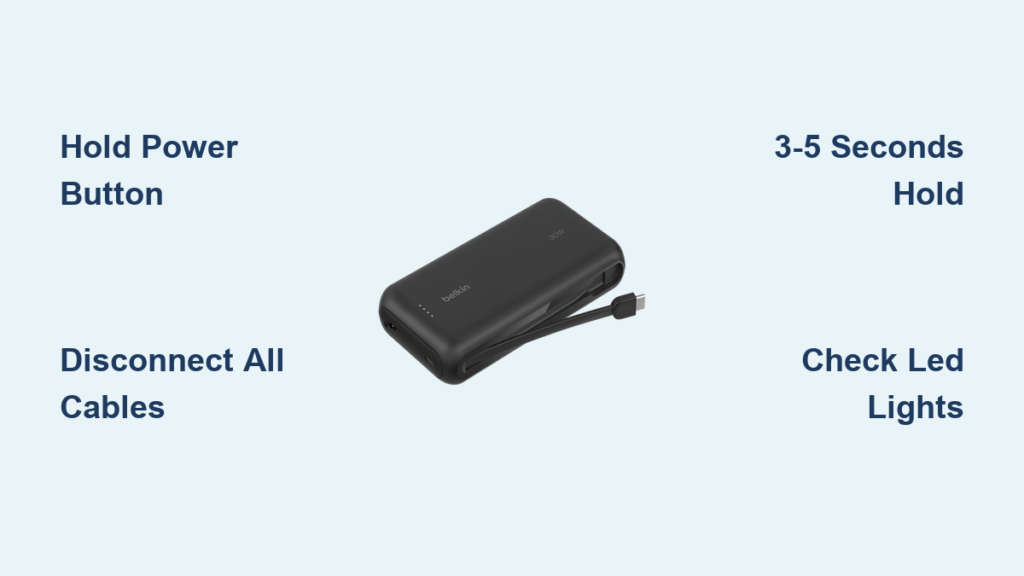
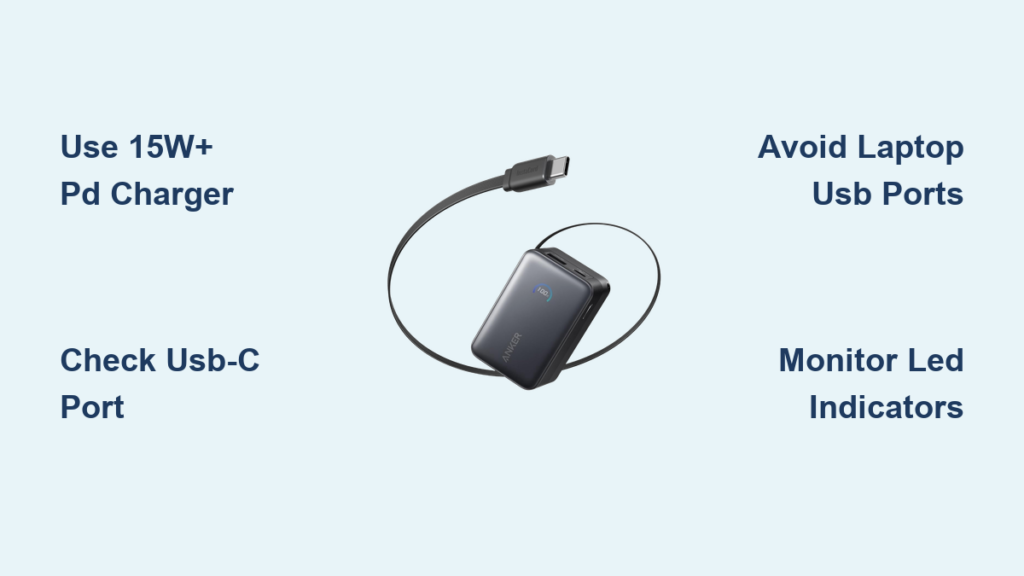
Step 3: Verify Charging with LED Indicator Lights
Your Romoss 60000mAh uses a 4-LED system where each light represents 15,000mAh. Correct charging behavior:
– All 4 LEDs flash sequentially when charging begins
– Lights stay solid as battery fills (1 light = 15,000mAh)
– All 4 lights remain solid when full (8-14 hours later)
Red flags requiring immediate disconnection:
– Single LED blinking erratically (circuit fault)
– Lights turning off after initial flash (overheating)
– Only 2-3 lights activating at full charge (battery degradation)
If indicators behave abnormally, unplug for 10 minutes before retrying—persistent issues require professional inspection.
Step 4: Monitor Temperature During the Charging Process
Lithium-ion batteries charge safely only between 0°C-40°C (32°F-104°F). Check every 30 minutes:
– Touch the power bank’s center (not edges)
– Safe: Warm to the touch (like a laptop during use)
– Dangerous: Too hot to hold comfortably (>45°C/113°F)
If overheating occurs, unplug immediately and move to a cooler location. Never charge under pillows, blankets, or in direct sunlight—this model generates significant heat during its 12+ hour charge cycle. Place it on ceramic tile or metal surfaces that dissipate heat, never on wood or fabric.
Step 5: Unplug Immediately When Fully Charged
Leaving it plugged in after full charge degrades battery health. The moment all 4 LEDs stay solid:
1. Unplug from wall outlet first
2. Then disconnect USB cable from power bank
3. Store in a cool location for 15 minutes before use
Extended “trickle charging” stresses the BMS (Battery Management System), reducing total lifespan. Your Romoss 60000mAh performs best when used within 24 hours of full charge.
Critical Safety Steps and Long-Term Care for Romoss 60000mAh

Proper charging habits alone won’t maximize your power bank’s 500-cycle lifespan—these maintenance protocols prevent the slow degradation that turns high-capacity units into paperweights.
Why Partial Charging Cycles Destroy Lithium Batteries
Never “top off” your Romoss 60000mAh from 80% to 100%. Lithium-ion cells degrade fastest at extreme states of charge. Instead:
– Discharge to 20% before recharging
– Charge directly to 100% in one session
– Avoid stopping at 50-80% for “battery health”
This high-capacity unit suffers significant stress when held at partial charges—each “top-up” cycle counts as 3x normal wear. Full discharge/recharge cycles actually extend total lifespan for power banks over 20,000mAh.
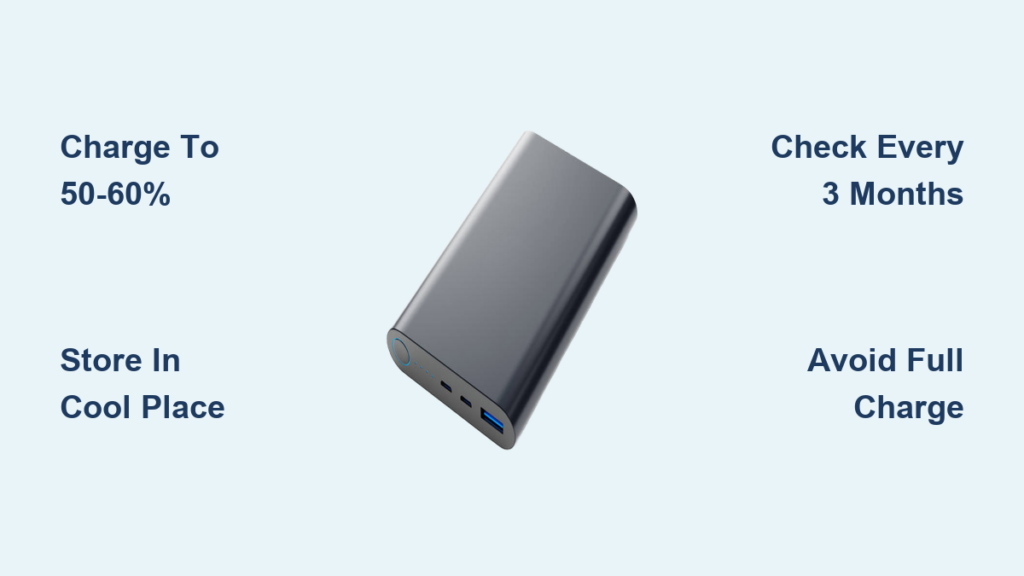
Ideal Storage Conditions for Long-Term Power Bank Health
If storing for >30 days, charge to exactly 55% first (2 lights solid). Then:
– Store in a sealed anti-static bag with silica gel
– Keep in a dark place between 15°C-25°C (59°F-77°F)
– Recharge to 55% every 90 days
Storing at 100% charge accelerates electrolyte decomposition, while 0% causes copper shunting. Your 60,000mAh unit loses 20% capacity after 1 year at full charge versus just 5% at 55% storage.
Fix Romoss 60000mAh Power Bank Not Charging: 3 Common Solutions

When your Romoss won’t accept charge, these targeted fixes address the specific failure points in high-capacity units—no generic “try another cable” advice.
Power Bank Won’t Charge from Wall Outlet? Try These Fixes
First, eliminate the #1 culprit: outlet voltage drop. High-capacity power banks require stable 110-120V input. Test with:
1. A different room’s outlet (kitchen/bathroom circuits often underpower)
2. A dedicated circuit (not shared with refrigerators or AC units)
3. A voltage meter (must read 110V+ under load)
If outlets test fine, inspect the USB-C port for lint buildup using a wooden toothpick—compressed air can force debris deeper. If pins appear bent, stop immediately and seek professional repair; DIY straightening often causes shorts.
Computer USB Port Not Powering Your Romoss? Here’s Why
Standard USB 2.0 ports (black inside) deliver only 0.5A—insufficient for any meaningful charge on a 60,000mAh unit. You’ll see flickering lights but negligible capacity gain. For emergency top-ups:
– Use only USB 3.0+ ports (blue or red inside)
– Disable USB selective suspend in Windows Power Options
– Connect directly to the computer (no hubs)
– Expect 5 hours for just 5,000mAh gain
This method should only be used once per year—repeated low-current charging degrades the battery’s ability to accept proper wall charges.
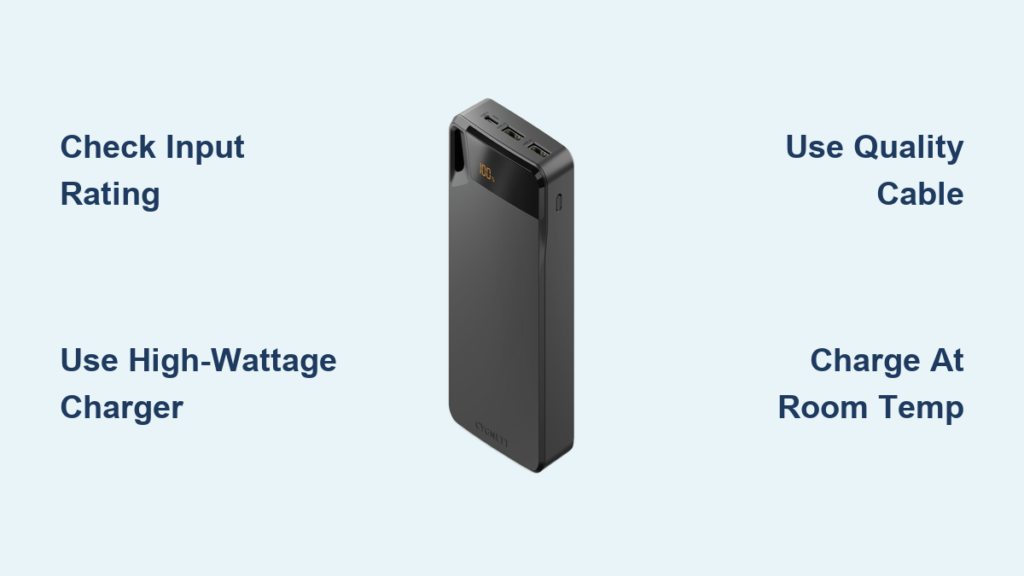
Speed Up Slow Charging on Your 60000mAh Power Bank
If charging takes >14 hours with a 5V/2.4A adapter, your cable is likely the bottleneck. Upgrade to a 5V/3A solution:
– Replace standard USB-A to USB-C cable with a 3A-rated version
– Use a 12W (5V/2.4A) wall adapter instead of 10W
– Ensure no devices are connected to output ports during charging
This reduces charge time to 8-10 hours. Never exceed 3A input—Romoss’ circuitry lacks overcurrent protection at higher amperages. If still slow, your battery may have degraded; check if all 4 LEDs activate when full.
Your Romoss 60000mAh power bank represents a significant investment in reliable power, but its longevity depends entirely on proper charging discipline. By using only 5V/2.4A adapters, monitoring temperature during the 8-14 hour charge cycle, and avoiding partial top-ups, you’ll preserve over 80% of its original capacity through 500+ charge cycles. Remember to store it at 55% charge in cool, dark conditions during off-seasons, and always inspect ports for debris before charging. When traveling, pack a dedicated 3A-rated cable—not your phone’s cable—to prevent mid-trip failures. For optimal performance, fully discharge and recharge your unit every 3 months even when unused. Following these exact protocols ensures your Romoss 60000mAh remains a dependable power source for years, not just months. If you encounter persistent charging issues after trying these solutions, consult Romoss’ official service centers rather than risking further damage with unapproved repairs.