
Your phone dies at the worst possible moment – mid-ride-share, during a critical work call, or while navigating an unfamiliar city. That’s where your Xtreme Power Bank becomes your lifeline. Knowing how to use Xtreme power bank properly transforms it from a dead weight in your bag to an essential emergency power source. This guide cuts through the confusion with precise, actionable steps you can implement immediately. You’ll master charging procedures, decode those mysterious LED lights, troubleshoot common failures, and extend your power bank’s lifespan – all based on the manufacturer’s specifications. Stop guessing and start powering up confidently, whether you’re commuting, traveling, or just surviving a long day away from outlets.
Unlike generic power banks that leave you scratching your head, the Xtreme model gives clear visual feedback through its four-LED system. But those blinking lights mean nothing if you don’t understand their language. Many users waste precious battery life by misinterpreting these indicators or using incorrect ports. This guide solves that by translating technical specs into real-world actions. You’ll learn exactly when to charge, which port delivers 3x faster speeds for compatible devices, and how to avoid the #1 mistake that permanently damages lithium-ion batteries. Within minutes, you’ll wield your Xtreme Power Bank like a pro – no more dead devices when you need them most.
Unbox Your Xtreme Power Bank: What You’ll Find Inside
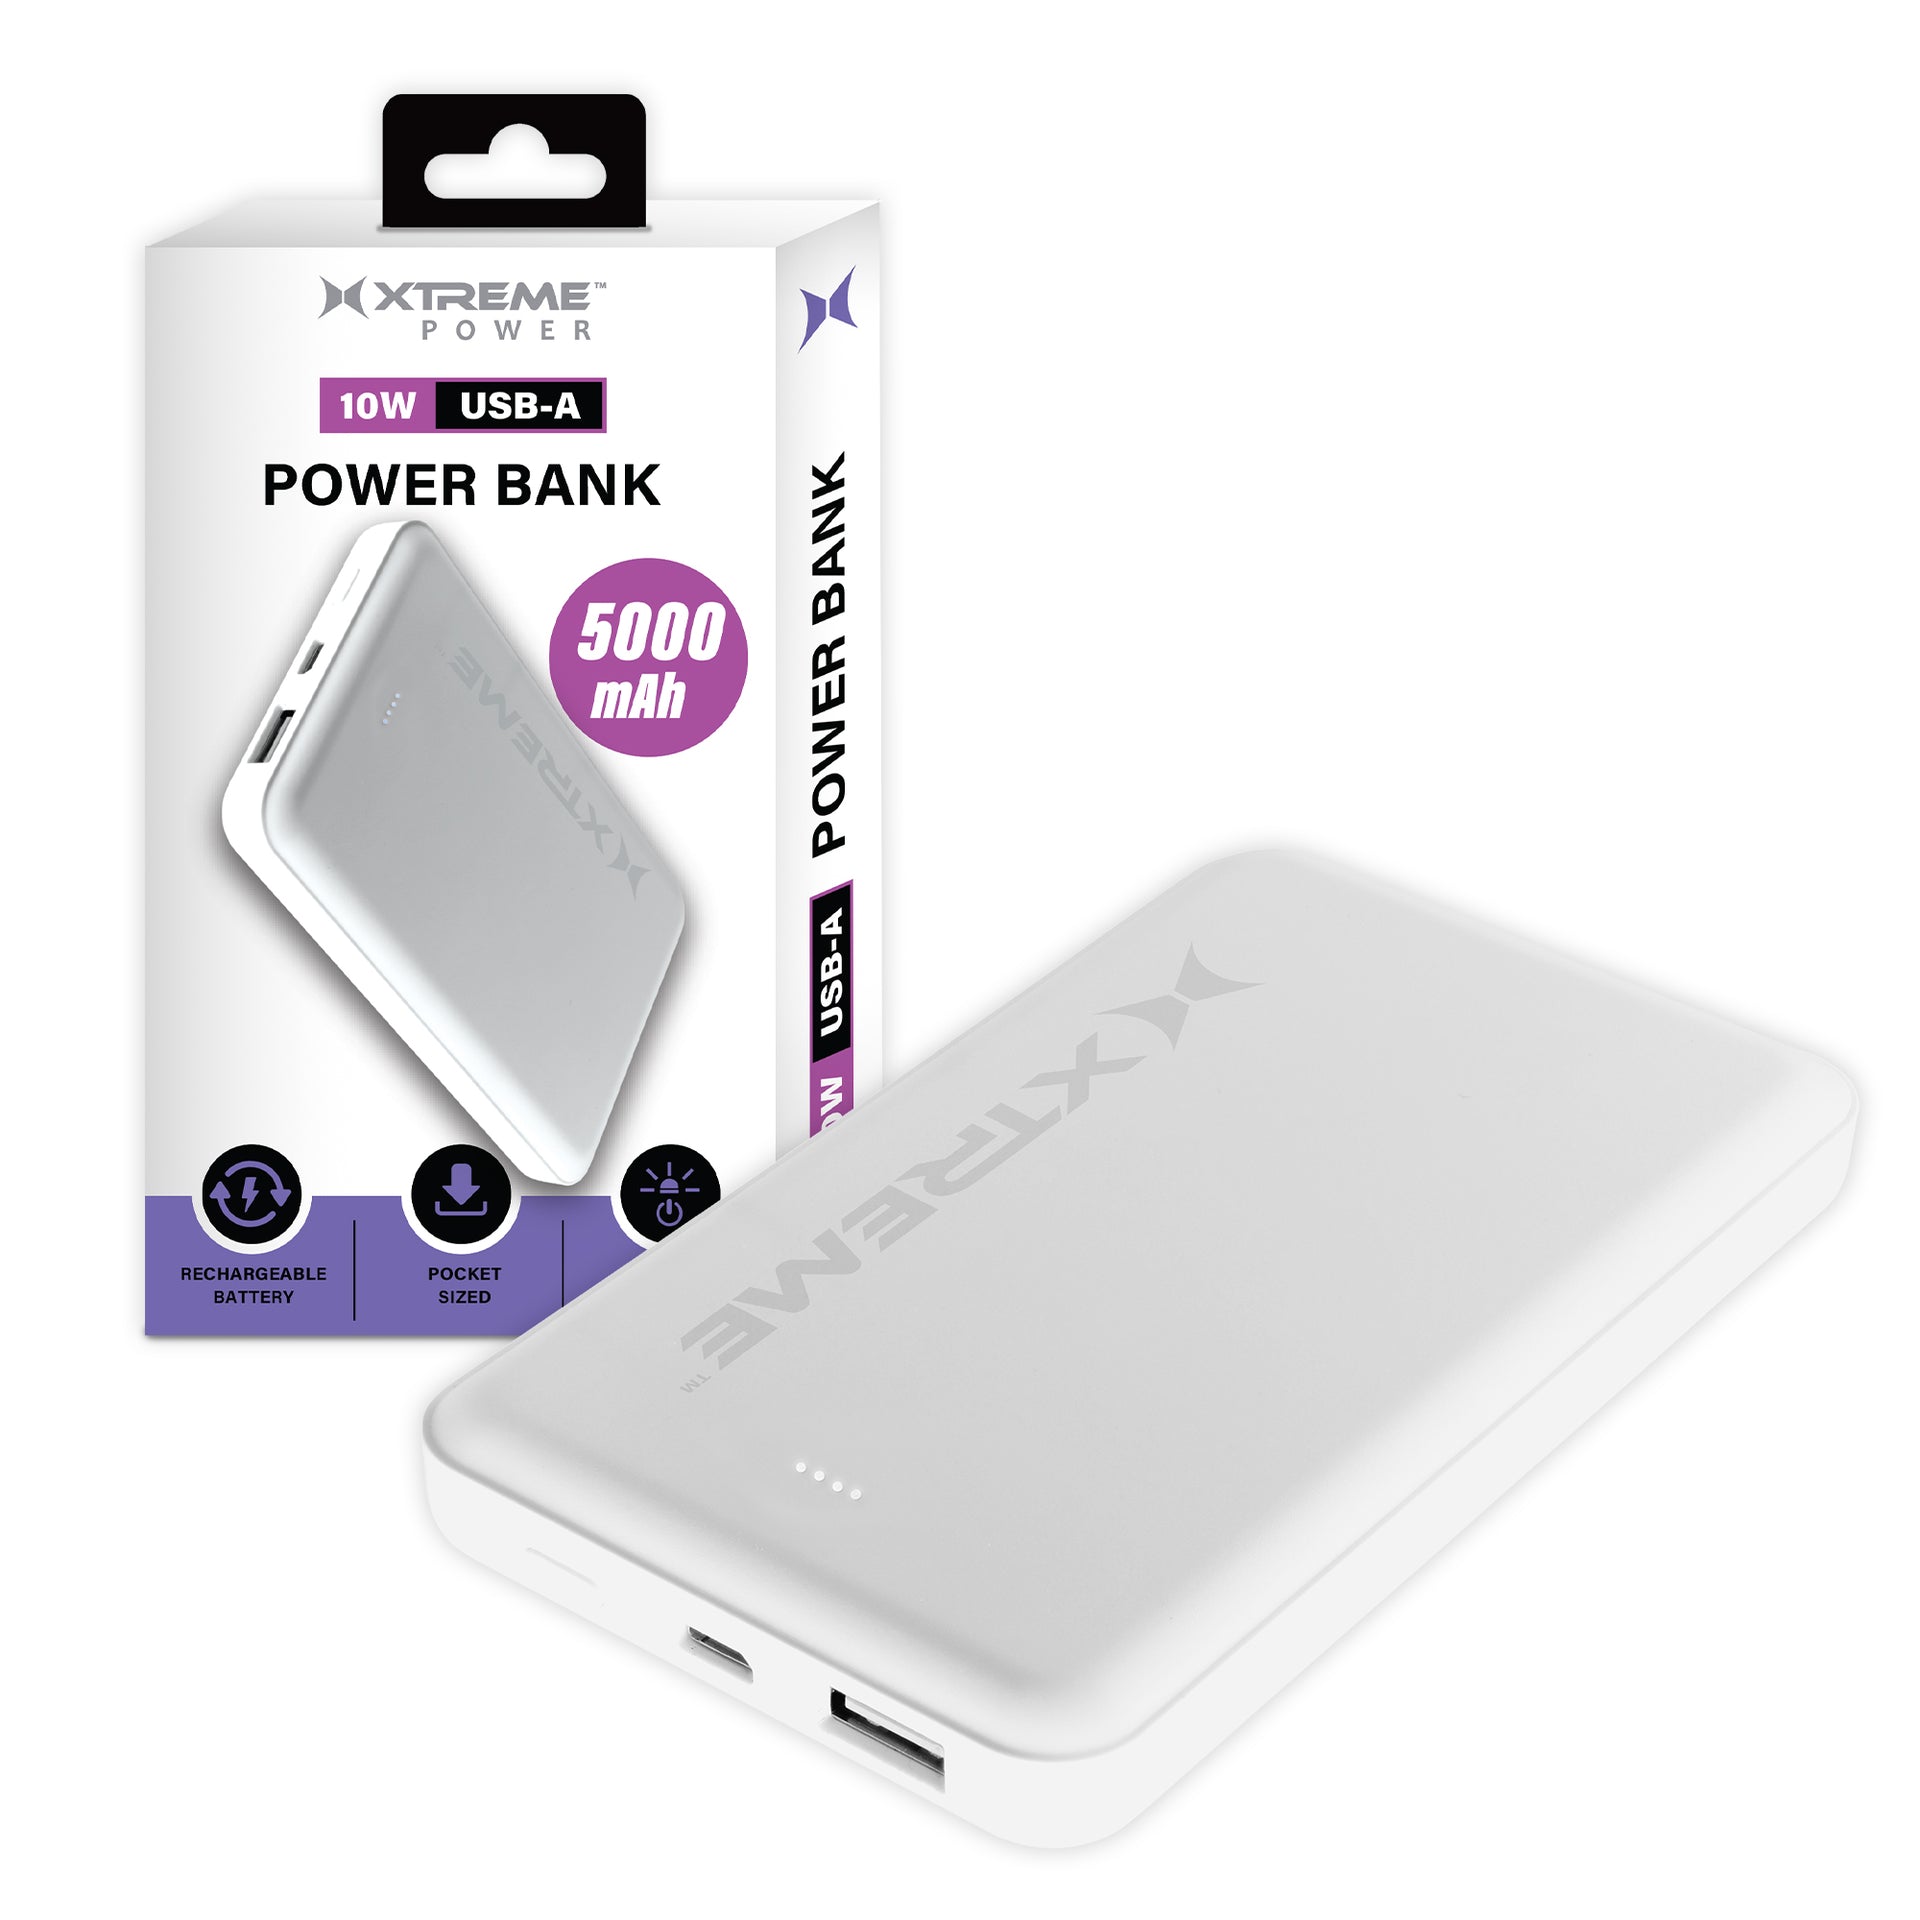
Before powering up, verify your package contains all critical components. Your Xtreme Power Bank arrives in a rectangular box with three essential items: the power bank unit itself (measuring approximately 5.5 x 2.8 x 0.8 inches), a charging cable (typically USB-C to USB-A), and a printed user manual. The power bank features a matte finish with strategically placed ports – locate the “IN” port (for charging the power bank) and one or two “OUT” ports (for powering your devices). Crucially, identify the row of four small LED indicators along the top edge; these lights are your real-time battery dashboard. If any components are missing, contact the retailer immediately – never substitute cables or chargers not certified for this model.
Decode the LED Lights: Reading Your Power Bank’s Battery Level
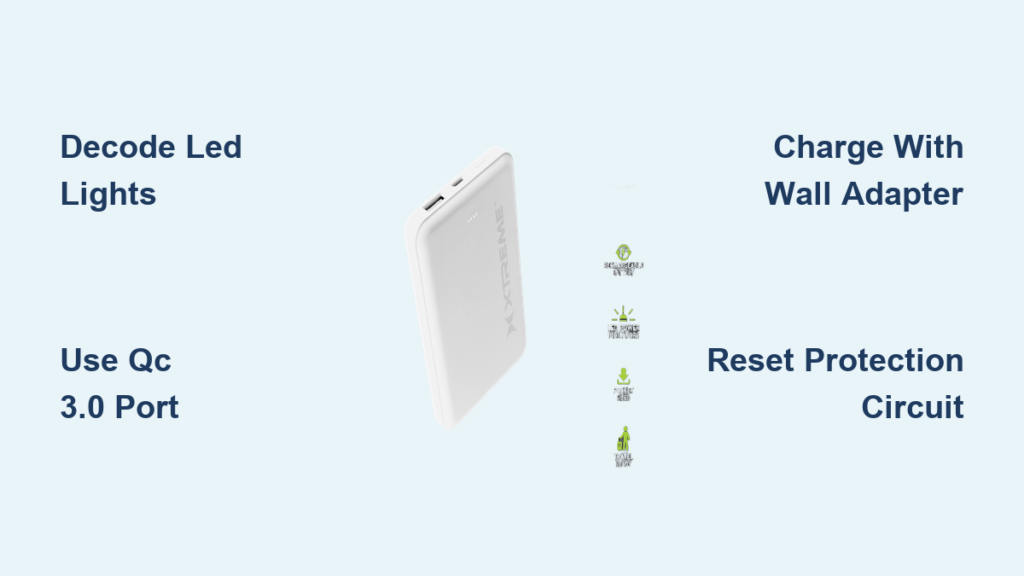
Those four tiny LEDs aren’t decorative – they’re your power bank’s communication system. How to use Xtreme power bank effectively starts with mastering this visual language. When you press the side power button (or connect a device), the lights illuminate in sequence:
- One solid light: Critical low battery (0-25% remaining) – recharge immediately
- Two solid lights: Half-charged (25-50%) – sufficient for one phone top-up
- Three solid lights: Strong charge (50-75%) – powers most phones 1.5x
- Four solid lights: Full capacity (75-100%) – maximum device charging sessions
During charging, observe the lights pulse sequentially from bottom to top. A flashing top light typically indicates fast-charging mode activation. Never ignore a single blinking light – this urgent signal means your power bank has less than 10% charge left and needs immediate recharging to prevent battery degradation.
Charge Your Xtreme Power Bank for the First Time (Step-by-Step)
Skipping proper initial charging cuts your power bank’s lifespan by up to 30%. Follow these exact steps for optimal performance:
- Inspect connections: Examine the included cable for fraying. Plug the USB-C end firmly into the “IN” port (marked with a lightning bolt icon) on the power bank – forcing it into the output port damages circuits.
- Use certified wall adapter: Connect the USB-A end to a 5V/2A wall charger (like your phone’s original charger). Never use laptop USB ports for initial charging – their lower output (0.5A) risks incomplete charging.
- Monitor charging cycle: All four LEDs will pulse left to right. Charging takes 3-4 hours. Stop when all lights glow solid white – overcharging generates heat that degrades battery cells.
- First discharge test: After full charge, power a device until only one LED remains. This “calibration cycle” ensures accurate future readings.
⚠️ Critical Warning: If LEDs flash red during charging, unplug immediately. This indicates overheating or short-circuiting – continuing risks permanent damage.
Power Up Your Phone or Tablet Using the Xtreme Power Bank
Connecting devices incorrectly wastes precious power. Maximize output with this sequence:
Which Port Delivers Maximum Speed?
Your Xtreme model has two output scenarios:
- For standard devices (basic phones, Bluetooth earbuds): Use the port labeled “OUT” or “5V/2.4A”. Plug in your device’s cable – charging starts automatically within 10 seconds.
- For Quick Charge (QC) compatible devices (most Samsung/Google flagships): Use the port marked “QC 3.0”. You’ll see a blue LED glow, signaling 18W fast charging. Pro Tip: Always use your phone’s original cable – third-party cables often lack QC certification.
Troubleshoot “No Power” During Device Charging
If your device doesn’t charge:
1. Press the power bank’s side button (some models require manual activation)
2. Swap to the other USB port – one may be faulty
3. Check cable connections – a loose fit breaks the circuit
4. Verify your power bank has ≥2 LEDs lit (below 25% charge, output shuts off)
Maximize Battery Longevity: 7 Essential Care Tips
Lithium batteries degrade fastest when mishandled. Implement these manufacturer-recommended practices:
- Never drain to zero: Recharge when two LEDs remain (25-50% capacity). Deep discharges strain cells.
- Avoid extreme temperatures: Never leave in cars (>95°F/35°C) or freezing conditions (<32°F/0°C). Heat is the #1 battery killer.
- Skip overnight charging: Unplug when all four LEDs glow solid. Continuous trickle charging accelerates aging.
- Store at 50% charge: For long-term storage (1+ months), discharge to three LEDs then power off.
- Use protective cases: Prevent port shorts by keeping away from coins, keys, or metal objects in bags.
- Clean ports monthly: Blow compressed air into ports – dust buildup causes connection failures.
- Limit full cycles: For daily use, top up at 40% instead of waiting for complete drain.
💡 Expert Insight: Power banks lose 20% capacity yearly even when unused. Activate yours monthly by powering a device to maintain chemical stability.
Quick Charge vs. Standard Ports: Which One to Use When
Misusing ports wastes 40% of potential power. Match ports to your device:
| Device Type | Recommended Port | Expected Charge Speed |
|---|---|---|
| iPhone 12+ | Standard OUT | 15W (20% in 30 mins) |
| Samsung Galaxy S23 | QC 3.0 Port | 25W (50% in 30 mins) |
| iPad Mini | Standard OUT | 12W (slower top-up) |
| Wireless Earbuds | Standard OUT | Full charge in 15 mins |
Critical Note: The QC port only activates with compatible devices. If you see a white (not blue) LED, your device isn’t QC-enabled – switch to the standard port to conserve power bank battery.
Troubleshoot Non-Working Xtreme Power Bank in 3 Steps
When your power bank fails, diagnose systematically:
Step 1: Verify Power Bank Charge Status
Press the power button – if no LEDs light, the unit is completely dead. Charge for 15 minutes using the wall adapter (not a computer). If still unresponsive, try a different cable.
Step 2: Test Output Functionality
Connect a known-good device (like your earbuds). If it charges but your phone doesn’t, the issue is with your phone’s cable or port – not the power bank.
Step 3: Reset the Protection Circuit
Overloads trigger automatic shutdowns. Unplug all devices, wait 60 seconds, then hold the power button for 10 seconds until all LEDs flash. Reconnect your device – this resolves 80% of “dead” power bank cases.
⚠️ When to Seek Help: If LEDs blink erratically after resetting, or the unit gets hot during charging, stop use immediately. This indicates internal damage requiring professional replacement.
Store Your Power Bank Safely for Long-Term Reliability
Improper storage causes 60% of premature failures. Follow these storage protocols:
- Prep for storage: Discharge to three solid LEDs (50% capacity) using a tablet or power-hungry device.
- Power off completely: Hold the side button for 5 seconds until all LEDs turn off.
- Choose climate-controlled locations: Store in drawers or bags away from windows – never in glove compartments or near radiators.
- Use protective sleeves: Slide into the included fabric pouch to prevent port scratches.
- Activate quarterly: Every 3 months, recharge to full then discharge to 50% to maintain battery health.
Avoid moisture at all costs – silica gel packets in storage containers prevent humidity damage. Never stack heavy items on your power bank; physical pressure warps internal components.
Mastering how to use Xtreme power bank transforms it from a backup accessory into your most reliable power source. Remember the core principles: decode the LED language religiously, always use the QC port for compatible devices, and never let the battery dip below 25%. Implement the monthly activation ritual to prevent storage-related degradation. When troubleshooting, start with the simplest fixes – 90% of issues stem from cable problems or accidental power-off states. Keep this guide bookmarked for quick reference during emergencies. Now grab your power bank, follow these steps, and conquer your day with uninterrupted power. For model-specific details, always consult the printed manual included in your box – it contains critical safety information not covered here. Stay charged, stay connected.


