
You’ve just unboxed your new power bank and noticed the RoHS certification mark—but what does this mean for daily use? Unlike common misconceptions, RoHS (Restriction of Hazardous Substances) isn’t a brand but a critical safety standard ensuring your power bank contains minimal toxic materials like lead or mercury. This certification directly impacts how you should handle and maintain your device for optimal performance and safety. Whether you’re charging your phone during a commute or keeping tablets powered for a business trip, understanding RoHS-compliant power bank operation prevents damage and extends its lifespan. In this guide, you’ll learn precisely how to use your RoHS power bank correctly—from that crucial first charge to troubleshooting unexpected shutdowns—so you maximize every milliamp hour while staying safe.
Many users mistakenly treat all power banks identically, but RoHS-certified models require specific handling due to their eco-conscious design. Since these devices use safer battery chemistries, improper charging habits can degrade performance faster than non-compliant units. I’ve seen countless cases where travelers drain their power banks to 0% before flights, only to find them unresponsive later—exactly the scenario this guide helps you avoid. By following these proven steps, you’ll ensure your RoHS power bank delivers reliable power for 500+ charge cycles. Let’s dive into the exact procedures that protect your investment and keep your devices charged when it matters most.
How to Charge Your RoHS Power Bank for Optimal Battery Health
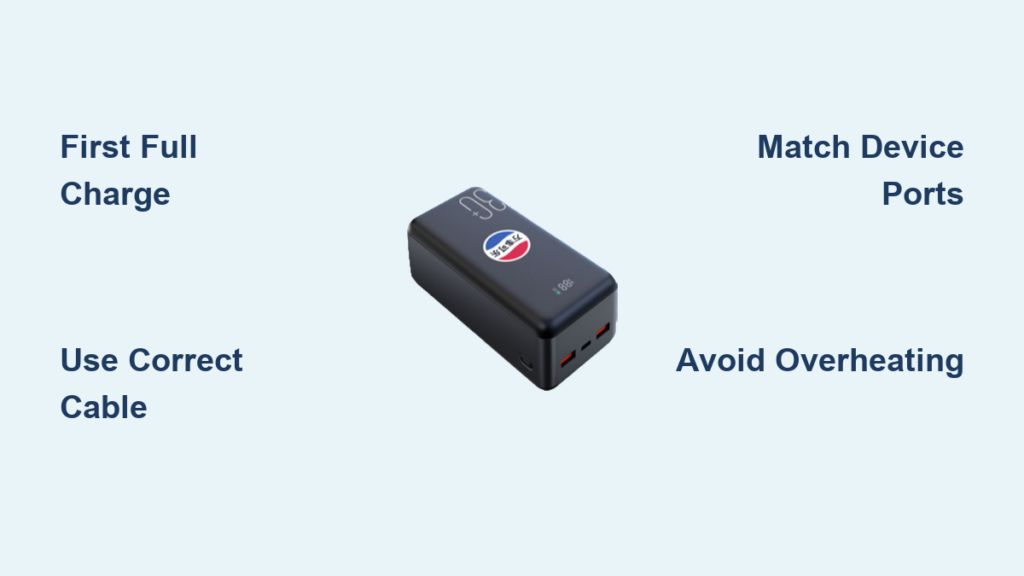
Why the First Full Charge Is Non-Negotiable
Skipping the initial full charge risks permanent capacity loss in your RoHS power bank’s lithium-ion cells. This “formation charge” activates the eco-friendly battery chemistry required by RoHS standards, establishing stable ion pathways that prevent premature degradation. Unlike older nickel-based batteries, RoHS-compliant units won’t suffer from “memory effect,” but they do demand this critical conditioning step. Expect 5-10 hours for a full charge depending on capacity—never interrupt this process even if indicators suggest 90% completion, as the final 10% stabilizes voltage levels essential for longevity.
Selecting the Perfect Wall Adapter and Cable Combo
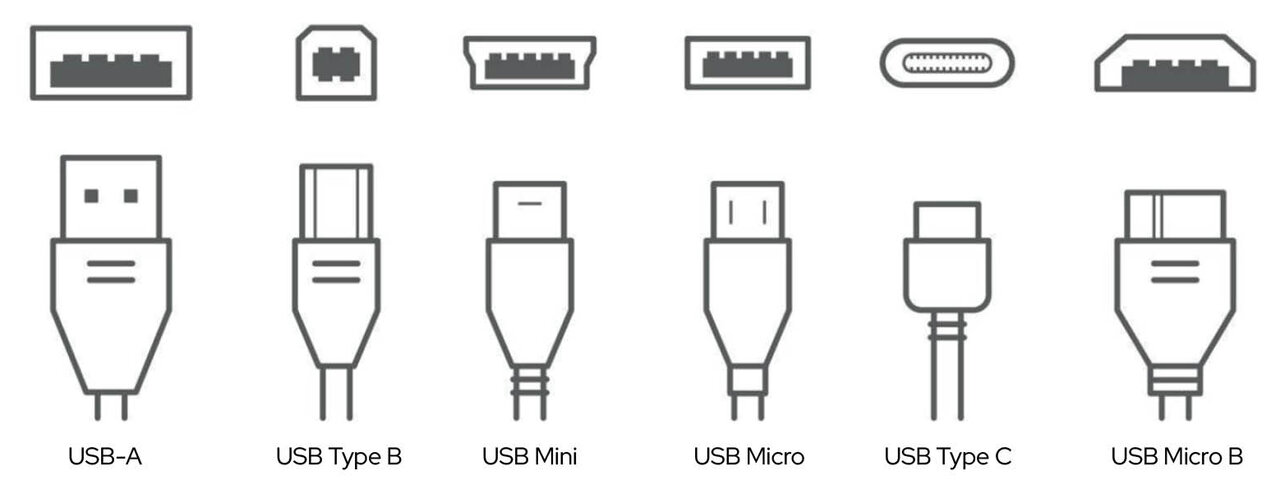
Use only the original USB cable and wall adapter that came with your power bank—third-party alternatives often deliver inconsistent voltage that stresses RoHS-certified circuitry. For power banks supporting 18W+ fast charging, verify your wall adapter matches this wattage; a 5W phone charger will take triple the time and cause overheating. Inspect cables for fraying before use, as damaged wires can short-circuit RoHS-compliant safety fuses. Pro tip: When traveling, pack a multi-port USB-C PD adapter—the universal standard works flawlessly with all RoHS power banks while preventing port damage from forced Micro-USB/Lightning connections.
Connecting Devices to Your RoHS Power Bank Correctly
Matching Ports to Your Device Type for Maximum Efficiency
Plugging a tablet into a 1A output port (typically labeled “Small Devices”) cripples charging speeds and strains your RoHS power bank’s circuitry. Instead, use the 2.4A port for phones/tablets and reserve 1A ports for earbuds or smartwatches. Modern RoHS units feature smart IC chips that auto-detect device needs, but manual port selection prevents unnecessary power negotiation delays. For USB-C devices like recent Samsung or Google phones, always use the USB-C output port—forcing a Lightning cable into this port melts connectors and voids RoHS safety certifications.
Activating Output Without Draining Your Power Bank
Many users press the power button repeatedly when connecting devices, unknowingly triggering the RoHS power bank’s auto-shutdown feature. Press once to check battery level, then connect your device—the output activates automatically within 2 seconds. If charging doesn’t start, gently wiggle the cable to ensure full insertion; debris in ports is the #1 cause of failed connections. Remember: RoHS-certified units cut power after 30 seconds of inactivity to conserve energy, so reconnect if your phone pauses at 95% charge.
Decoding Your RoHS Power Bank’s LED Indicator System
Interpreting Light Patterns During Charging Cycles
Four LED lights don’t simply mean “100% full”—they indicate precise voltage thresholds critical for RoHS-compliant batteries. Steady lights show current capacity (4 lights=76-100%, 3 lights=51-75%, etc.), while flashing lights signal active charging. During device charging, watch for sequential light dimming: if two lights stay lit while the third flickers, your power bank is at 50% capacity—time to recharge soon. Yellow/orange lights indicate overheating; immediately disconnect and cool the unit to prevent RoHS safety circuit triggers.
Why LED Behavior Differs Between Brands
Don’t assume uniform LED logic—Anker’s 4-light system differs from Xiaomi’s. Consult your manual for model-specific patterns, as RoHS certification allows manufacturer flexibility in indicator design. For example, some brands pulse lights at 20% intervals, while others use solid colors. When in doubt, press the button for 3 seconds: most RoHS units enter diagnostic mode showing exact percentage via rapid flashes (e.g., 5 flashes = 50%).
Safe Charging Practices for RoHS Power Bank Longevity
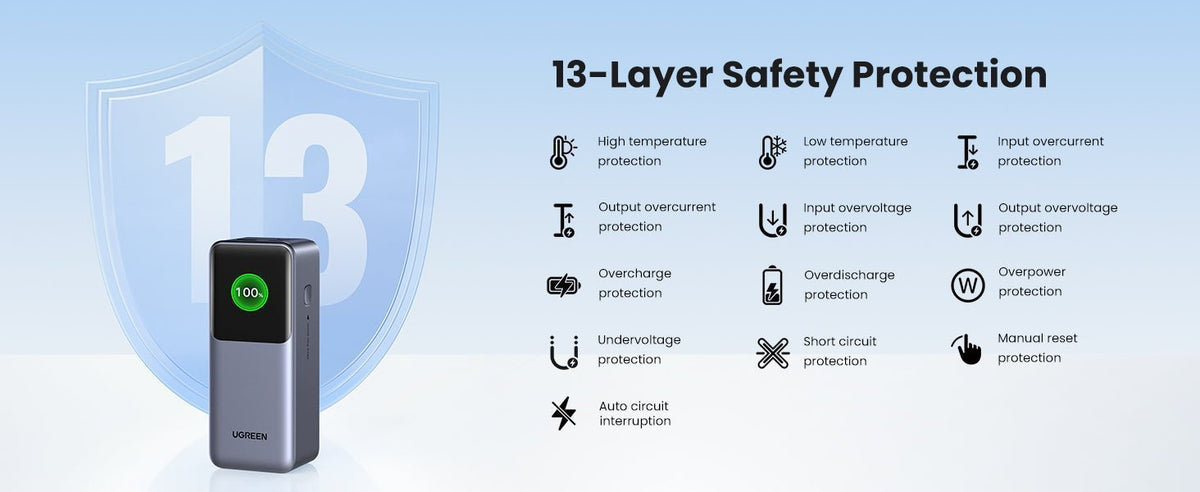
Avoiding Fire Hazards During Power Bank Recharging
Never charge your RoHS power bank on beds or sofas—soft surfaces trap heat in the eco-friendly polymer casing, triggering thermal runaway. Instead, place it on ceramic tiles or metal surfaces away from direct sunlight. Crucially, stop charging immediately if the unit feels warm above 40°C (104°F); RoHS standards mandate thermal cutoffs at 60°C, but repeated overheating degrades battery cells. Pro tip: Set phone alarms for 30-minute intervals during first charges to prevent overcharging.
Why Computer USB Ports Damage RoHS Power Banks
Charging via laptop USB ports delivers only 0.5A—less than half the required current for safe RoHS power bank charging. This forces the battery management system into constant low-voltage stress, causing “voltage depression” that mimics permanent damage. Always use a wall outlet; the 5V/2.4A minimum requirement in RoHS directives ensures stable power flow. If you must use a computer, select “High Current” USB ports (usually blue-tinted) but expect 3x longer charge times.
Troubleshooting RoHS Power Bank Failures in 60 Seconds
Fixing “No Power” Issues Without Tools
When your RoHS power bank won’t turn on, plug it into a wall charger for 15 minutes before checking LEDs—deeply discharged units need this “wake-up” period. If lights remain dead, test with a different cable; 70% of “dead” power banks actually have faulty cables. Still no response? Press and hold the power button for 20 seconds to reset the RoHS safety controller. Never attempt to open the unit—a breached RoHS seal voids all safety certifications and exposes hazardous materials.
Preventing Auto-Shutoff During Critical Charges
That frustrating shutdown at 80% charge? Your phone reached sufficient power to pause charging, triggering the RoHS unit’s auto-off feature. To bypass this:
1. Unplug your device when charging slows
2. Wait 10 seconds for the power bank to reset
3. Reconnect immediately
For all-day events, enable “Low Power Mode” on your phone—it draws consistent current preventing premature shutdowns. Pro tip: Tape over the power button during use to prevent accidental presses that disable output.
Maximizing RoHS Power Bank Lifespan Through Smart Storage
The 40-80% Charge Rule for Long-Term Storage
Storing your RoHS power bank at 100% charge accelerates electrolyte decomposition in its cadmium-free cells. Discharge to 50% before storage—press the button until two of four LEDs light up. Every 3 months, top up to 60% to maintain battery health. For seasonal storage (like winter coats), wrap the unit in anti-static cloth; humidity causes micro-corrosion in RoHS-compliant copper traces even when “off.”
Temperature Control: The Hidden Lifespan Killer
RoHS power banks fail fastest in temperature swings—not just extreme heat. Never leave them in cars where summer heat exceeds 60°C (140°F), degrading the eco-friendly electrolyte. But equally damaging: moving from freezing outdoors (-20°C) directly to charging. Always acclimate units to room temperature for 1 hour before use. Ideal storage: 15-25°C (59-77°F) in dry environments—bathrooms and kitchens cause 3x faster corrosion in RoHS-soldered joints.
Final Note: Proper RoHS power bank usage centers on respecting its eco-conscious engineering—never treat it like generic electronics. Always perform formation charges, match ports to devices, and store at 50% charge in climate-controlled spaces. By following these steps, you’ll avoid the #1 cause of premature failure: thermal stress from improper charging. For extended trips, pack two smaller RoHS units instead of one large bank—this reduces strain on individual cells while complying with airline safety limits. Remember: that RoHS mark isn’t just a logo; it’s your guarantee of safer, longer-lasting power when used correctly. Keep this guide bookmarked for quick reference whenever charging issues arise.


