
You’re stranded at the airport with a dying phone, your work presentation is in 20 minutes, and your Anker power bank sits unused in your bag because you’re not sure how to get it working properly. This frustrating scenario happens to travelers every day—despite owning one of the most reliable portable chargers on the market. Anker power banks deliver exceptional performance, but only when used correctly. Whether you’ve just unboxed your first Anker power bank or you’ve been struggling with inconsistent charging results, this guide shows you exactly how to use an Anker power bank to its full potential. You’ll learn the critical initial setup steps, the precise charging workflow, and professional techniques to extend your device’s lifespan.
Most users make the same critical mistake: skipping the proper initial charge. Your Anker power bank arrives partially charged from the factory, but maximum performance requires a complete first charge. Understanding your specific model’s indicator lights prevents confusion during operation—some Anker models automatically deliver power when connected, while others require you to press the power button to activate charging. By the end of this guide, you’ll confidently power multiple devices anywhere, troubleshoot common issues, and get up to 50% more cycles from your investment.
Initial Setup: Preparing Your Anker Power Bank for First-Time Use
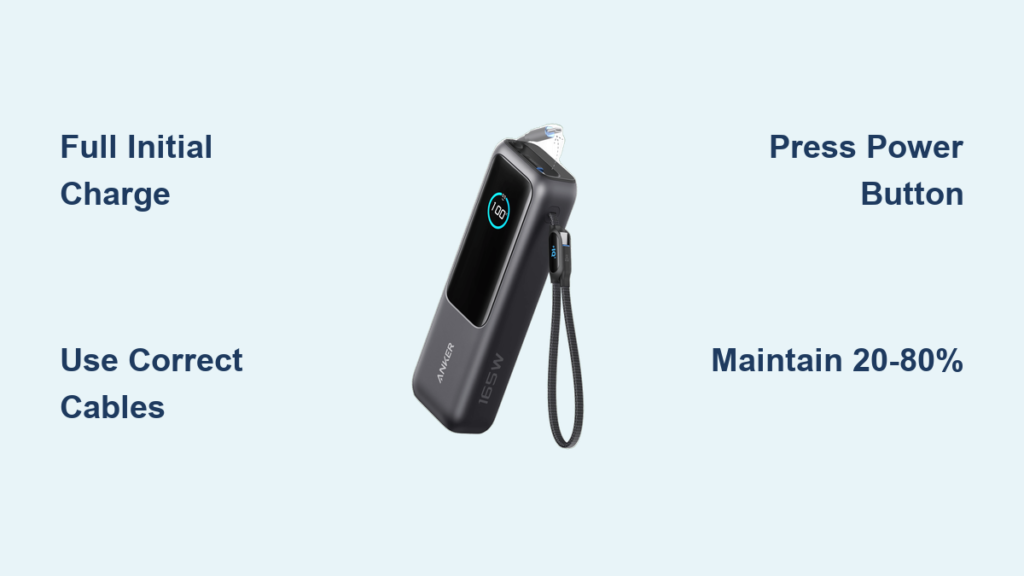
Before charging your devices, you must properly prepare your Anker power bank. Skipping this step leads to reduced capacity and shorter lifespan. Unlike cheaper alternatives, Anker devices require a complete initial charge to calibrate the battery management system correctly.
Locate Your Model-Specific Specifications Before Proceeding
Your Anker power bank’s manual contains critical information you can’t afford to ignore. Find the exact input/output specifications—most Anker models support 18W-30W input charging, but using a lower-wattage adapter adds 30-60 minutes to recharge time. Check the safety certifications specific to your region (FCC, CE, or PSE markings) and note the maximum output current, which determines compatible devices. For example, models with 3A output can charge tablets, while 2.4A models work best with smartphones.
Complete the Critical Initial Charge Process
- Connect your Anker power bank to a wall outlet using the provided USB-C cable and a compatible wall adapter (18W or higher for fastest results)
- Watch the LED indicators—most Anker models show charging progress with 4 lights (each representing 25%)
- Charge until all indicator lights remain solid (this typically takes 3-5 hours depending on capacity)
- Disconnect once fully charged—overcharging won’t damage modern Anker models but wastes electricity
Never skip this step. Anker’s lithium-polymer batteries perform best when initially charged to 100% before first use. Using the power bank before this calibration reduces your effective capacity by up to 15%.
Charging Your Devices: The Complete Anker Power Bank Workflow

Knowing how to use an Anker power bank properly transforms it from a basic charger to your most reliable power source. The exact process varies slightly between models, but follows the same fundamental workflow. Getting this sequence right ensures maximum efficiency and prevents common charging failures.
Connect Devices Using the Correct Port Configuration
Anker power banks feature multiple port types that serve different purposes. Here’s what most users get wrong: using the USB-C port as output when it’s designed primarily for input on some models. For optimal results:
- Smartphones: Use USB-A ports with your device’s original cable (USB-C to Lightning for iPhones, USB-C to USB-C for Android)
- Tablets: Connect to the highest-output port (often labeled with “2.4A” or “3.0A”)
- Laptops: Only certain Anker models support laptop charging—verify your model’s wattage (minimum 30W required)
Pro Tip: When charging multiple devices simultaneously, connect higher-power devices first. This prevents the power bank from throttling output when near capacity.
Activate Charging and Monitor Power Delivery
Most Anker power banks require a specific activation step that users frequently miss. After connecting your device:
- Press the power button once (models like PowerCore 10000 require this step)
- Watch for the output indicator—most models show flashing LEDs during active charging
- Check your device’s battery indicator within 30 seconds to confirm charging
If charging doesn’t start immediately, try these fixes:
– Clean both the power bank port and your cable connectors with a dry toothbrush
– Press and hold the power button for 3 seconds to force activation
– Try a different cable—many charging failures stem from faulty cables, not the power bank
Boost Charging Speed: Optimizing Your Anker Power Bank Settings
Standard usage gives decent results, but unlocking your Anker power bank’s full potential requires understanding its smart features. PowerIQ technology automatically adjusts output, but you can optimize performance further with these expert techniques.
Leverage PowerIQ Technology for Device-Specific Charging
Anker’s proprietary PowerIQ system detects your connected device and delivers the optimal charging speed, but many users don’t maximize this feature. For fastest results:
- iPhone users: Enable “Optimized Battery Charging” in iOS settings to work with PowerIQ
- Android users: Activate “Fast Charging” mode in your device settings
- Tablet users: Connect directly to the highest-output port (usually labeled 2.4A or 3.0A)
Warning: Using non-Anker cables often bypasses PowerIQ technology. For true fast charging, use Anker’s own cables or MFi-certified alternatives.
Prevent Common Charging Speed Reductions
Three factors silently reduce your Anker power bank’s output speed:
- Cable quality: Damaged or thin-gauge cables create resistance that slows charging
- Temperature: Performance drops 20-30% when above 35°C (95°F)
- Multiple devices: Charging two devices simultaneously often cuts speed by 40%
Time-Saving Shortcut: For emergency fast charging, disconnect all devices, then reconnect only the one needing power—this resets the power management system for maximum output.
Longevity Secrets: Proper Anker Power Bank Maintenance Schedule
Your Anker power bank can deliver 500+ charge cycles when maintained properly, but improper care cuts lifespan in half. Follow this precise maintenance routine to protect your investment.
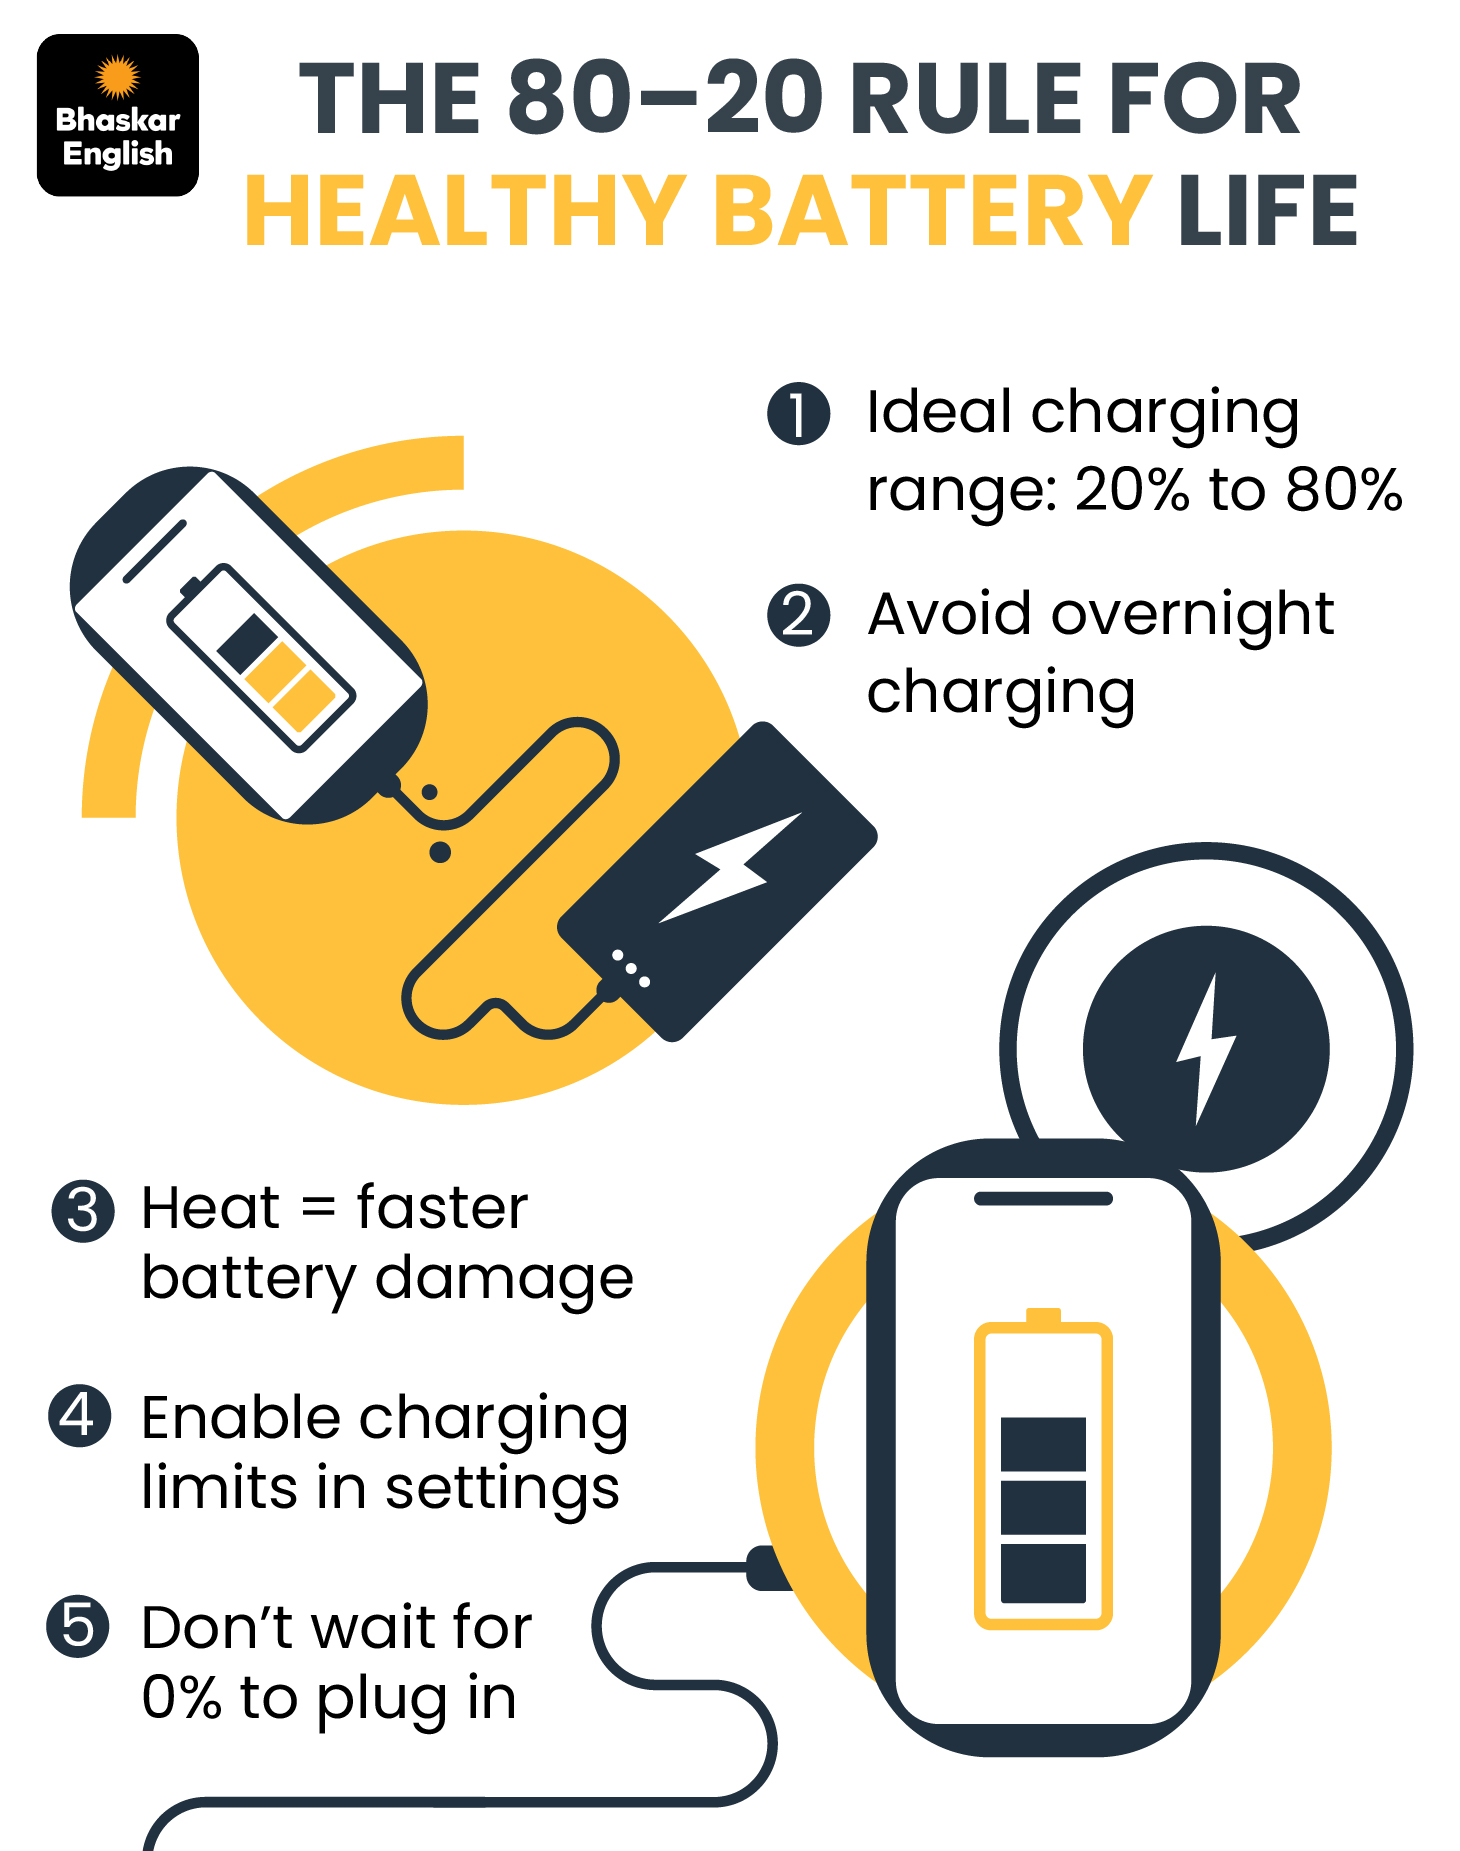
Implement the 20-80 Charging Rule for Maximum Lifespan
Unlike older battery technology, lithium-polymer cells in Anker power banks perform best when kept between 20-80% charge. Critical maintenance steps:
- Daily use: Recharge when indicator shows 20% (1 light remaining)
- Storage: For long periods, store at 50% charge in a cool, dry place
- Monthly: Fully discharge and recharge once to recalibrate the battery gauge
Leaving your Anker power bank at 0% or 100% charge for extended periods causes permanent capacity loss—up to 20% in just 3 months.
Avoid These 3 Damage-Inducing Scenarios
Most Anker power banks fail prematurely due to preventable issues:
- Extreme temperatures: Never leave in a hot car (above 45°C/113°F) or freezing conditions
- Moisture exposure: Even small amounts of humidity corrode internal circuits over time
- Physical stress: Dropping causes micro-fractures in battery cells that reduce capacity
Pro Tip: Store your Anker power bank in the included pouch—it provides cushioning and reduces static electricity buildup.
Fix Common Problems: Anker Power Bank Troubleshooting Guide
When your Anker power bank stops working correctly, systematic troubleshooting saves time and prevents unnecessary replacements. These solutions resolve 95% of common issues.
Power Bank Won’t Charge: The 4-Step Diagnostic Process
Follow this sequence when your Anker power bank refuses to accept a charge:
- Test the power source: Plug another device into the same outlet to verify power
- Replace the cable: Try a different USB-C cable (many failures stem from cable issues)
- Check the adapter: Use a known-working 18W+ wall adapter
- Perform a reset: Press and hold the power button for 15 seconds
If still unresponsive after these steps, contact Anker support—most models have an 18-month warranty covering battery failures.
Device Charges Intermittently: The Connection Fix Protocol
Intermittent charging usually indicates a connection problem rather than power bank failure. Fix it in 3 minutes:
- Power off both your device and the Anker power bank
- Clean the USB ports on both devices with a toothpick (gently!)
- Reconnect using a different cable
- Press the power bank’s button to activate output
Warning: If your device shows “Accessory Not Certified” when using an Anker power bank, you’re using a non-MFi cable with an iPhone—replace the cable immediately.
Maximize Your Anker Power Bank’s Value: Properly maintained, your Anker power bank delivers 2-3 years of reliable service. Always start with a full initial charge, use the correct cables for your devices, and follow the 20-80 charging rule for maximum lifespan. When problems arise, systematically work through the troubleshooting steps before assuming hardware failure. Keep your power bank in a temperature-controlled environment and avoid full discharges for daily use. For future reference, bookmark Anker’s official support page for model-specific firmware updates and compatibility information—these small habits ensure you get every possible charge cycle from your investment. Now that you know exactly how to use an Anker power bank correctly, you’ll never face a dead device again when you’re away from an outlet.


