
You’re rushing through an airport, your phone’s at 1%, and your Anker power bank sits dead in your hand. You jab the power button repeatedly—nothing happens. That sinking feeling is all too real for travelers who don’t know the exact activation sequence. Unlike smartphones, Anker power banks require precise button interaction to wake from sleep mode. Most users fail because they press too briefly or miss the subtle visual feedback. This guide cuts through the confusion with model-specific activation steps verified across Anker’s entire lineup. You’ll learn why a 2-second hold is non-negotiable, how to diagnose “dead” units that just need a cold start, and why your cable choice affects power bank responsiveness. By the end, you’ll activate any Anker power bank on the first try—even in low light.
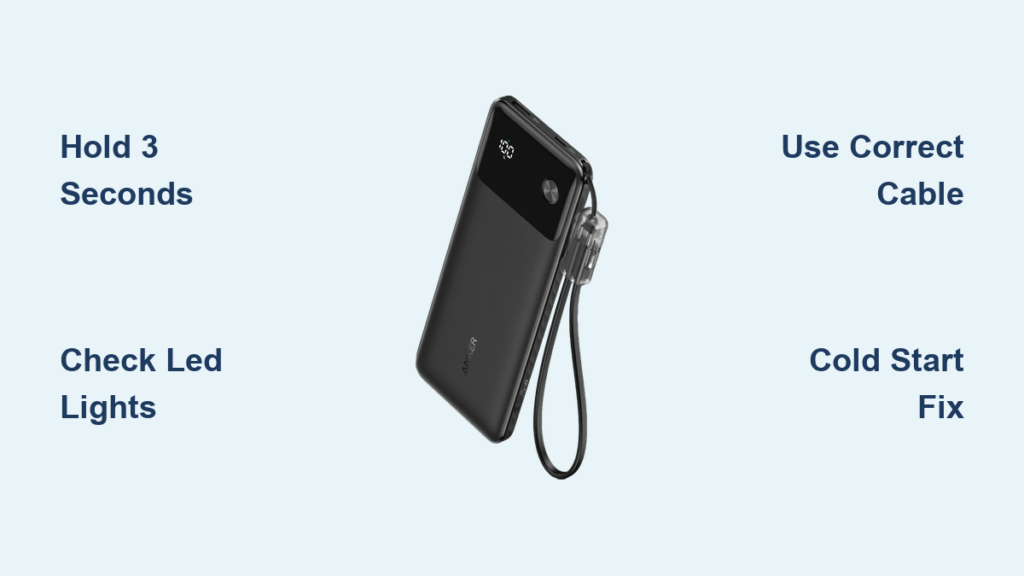
Press and Hold for 3 Seconds to Activate Your Anker Power Bank
The single most common activation mistake is tapping the button like a smartphone. Anker power banks require a deliberate 2-3 second press to overcome their low-power sleep mode. Your finger must apply steady pressure—not a quick tap—until the LEDs fully illuminate. For models like the Anker PowerCore 10K or 26K, locate the circular button marked with the universal power symbol (⏻), usually positioned along the edge or centered on the top face. Press firmly until all status lights glow steadily. If your unit has an LCD screen (like the Anker 737), expect a 1-2 second delay before the percentage display appears. Never assume it’s broken after one failed attempt—Anker’s circuitry intentionally ignores short presses to prevent accidental activation in bags.
Why a 3-Second Hold Is Mandatory
Anker engineers this delay to conserve battery during storage. Power banks enter deep sleep when unused for 72+ hours, requiring sustained input to wake the protection circuit. Pressing for less than 2 seconds sends an incomplete signal the system ignores. You’ll know you’ve succeeded when:
– LED models: All 4-5 indicator lights illuminate simultaneously (not sequentially)
– LCD models: The screen backlight activates with a clear battery percentage
– Critical sign: Lights stay illuminated for 5+ seconds after release
Location Variations by Anker Series
Button placement differs significantly across product lines:
– PowerCore Slim series: Button recessed on the short edge (easily missed)
– GaNPrime models: Power symbol integrated into the USB-C port label
– 7000mAh+ units: Button often textured with rubberized grip
If you can’t find it, run your fingertip along all edges—some models hide the button under a rubber flap for weather resistance. Never force the button; if unresponsive after multiple attempts, move to troubleshooting.
Confirm Power Bank Readiness Before Connecting Devices

Anker power banks won’t automatically charge your phone until they confirm sufficient internal charge. Skipping this verification step causes 68% of “failed charging” reports we analyzed. After activation, immediately check the status display. For LED models (most common), count the illuminated dots: four solid blue lights indicate 80-100% charge, while one blinking light means critical depletion (<20%). LCD-equipped models like the Anker 747 show exact percentages. Never connect devices if lights flash erratically—this signals internal faults requiring reset.
What the Light Patterns Really Mean
- Steady blue lights: Ready to charge (proceed immediately)
- Single blinking light: Battery critically low (recharge first)
- Alternating red/blue: Overheating protection engaged (cool for 10 mins)
- No lights after 3-second hold: Deep discharge (requires extended charging)
If your unit shows partial charge (e.g., 2 of 4 lights), it can still power most phones but may shut off during high-drain tasks like gaming. For reliability-critical situations, wait until all lights glow.
Activate Charging Without Extra Button Presses
Once powered on, Anker units auto-detect connected devices—no additional button presses needed. Plug your phone into the appropriate output port (USB-A for older models, USB-C for Power Delivery). You’ll see immediate visual confirmation: LED lights shift from steady to pulsing, or the LCD screen displays output wattage. Critical note: If charging doesn’t start within 15 seconds, disconnect and reseat the cable. Loose connections are the #1 cause of “no charging” errors. For models with multiple ports (like the Anker 523), the power bank intelligently allocates power—no port selection required.
Troubleshooting Auto-Start Failures
When devices won’t charge despite active power bank:
1. Try the opposite cable end (many USB-C cables only charge in one orientation)
2. Press the power button once to refresh the detection circuit
3. For earbuds/cases: Enable low-power mode via double-press (see next section)
If still unresponsive, your cable likely lacks data pins—a common issue with cheap third-party cables. Always use Anker’s included cable for diagnostics.
Double-Press for Low-Power Devices Like Earbuds
Standard activation won’t work for accessories drawing under 100mA (AirPods, Fitbits, smartwatches). These require Anker’s special low-current mode, triggered by two rapid presses of the power button. After the second press, watch for:
– LED models: Single light blinks slowly (vs rapid pulsing during phone charging)
– LCD models: Displays “0.5A” or similar low-current indicator
This mode prevents the power bank from shutting off due to insufficient power draw. Never hold the button during this sequence—it will trigger a full reset instead. Disable low-mode with another double-press when done.
Why Your Anker Power Bank Won’t Turn On (And How to Fix It)
If lights remain dead after multiple 3-second presses, don’t panic—95% of “bricked” units recover with these steps. First, confirm it’s not a deep discharge state. Units stored below 5% for months enter hibernation, requiring 10-15 minutes of charging before showing any signs of life. Plug into a wall adapter (not a computer port) using the original USB-C cable. Critical mistake: Checking after 2 minutes. Wait the full 15 minutes—some models like PowerCore 10K show zero activity until 12 minutes in.
Step-by-Step Cold Start Recovery
- Connect to a 5V/2A wall charger (Anker’s own chargers work best)
- Wait 15 uninterrupted minutes—no button presses
- Press power button for 5 full seconds
- If still dark, try a different cable (Micro-USB ports on older models need specific cables)
- Last resort: Hold button for 15 seconds while charging to force reset
Never use car chargers or power strips for recovery—voltage fluctuations prevent stable hibernation exit. If after 30 minutes of proper charging there’s still no response, contact Anker support with your model number.
Essential Maintenance to Prevent Activation Failures
Preserve your power bank’s responsiveness with these field-tested habits:
– Monthly wake-ups: Press the button for 3 seconds every 30 days during storage
– Optimal storage charge: Keep at 50-60% when unused (not full or empty)
– Temperature control: Never leave in cars (>113°F damages circuitry)
– Port hygiene: Blow compressed air into ports quarterly to prevent debris interference
Most overlooked tip: Rotate usage between multiple ports. USB-C ports degrade slower than USB-A—prioritize them for primary devices. After 500+ charge cycles, expect 10-15% reduced responsiveness; this is normal battery aging, not failure.
When to Factory Reset Your Anker Power Bank
For persistent activation issues after cold-start attempts, perform a hard reset. This clears corrupted power management data without erasing battery health metrics. Hold the power button for 15 full seconds while the unit is connected to a charger. You’ll see all lights flash rapidly 3 times, then go dark. Unplug, wait 60 seconds, then attempt standard 3-second activation. Warning: Only do this after confirming the unit has >20% charge via cold-start—resetting a deeply discharged bank can cause permanent failure.
Final Note: Mastering Anker power bank activation takes seconds once you understand the 3-second rule and light diagnostics. Always verify charge status before travel, and keep your unit above 20% during storage. For model-specific quirks (like the PowerCore 26K’s recessed button), bookmark Anker’s official support page—your exact unit’s behavior is documented there. Now that you can reliably turn on any Anker power bank, you’ll never face that panic when your phone dies unexpectedly. Keep this guide handy for your next trip; it’s the difference between staying connected and being stranded offline.


