
Your Romoss power bank suddenly stops charging your devices or won’t turn on at a critical moment, leaving you stranded without power. This frustrating scenario affects thousands of users monthly, but the solution is often simpler than you think—a proper reset can resolve most issues without needing replacement. Knowing how to reset Romoss power bank units properly can save you money and extend the life of your portable power source. This guide delivers step-by-step reset procedures for every Romoss model, including specific techniques for stubborn units that won’t respond to standard methods.
Why Your Romoss Power Bank Needs Resetting
Romoss power banks occasionally malfunction due to software glitches in the battery management system (BMS), causing your device to stop charging devices or display inaccurate battery levels. Common symptoms include unresponsive power buttons, frozen LED displays showing incorrect percentages, or the power bank turning on but failing to charge connected devices. These issues often stem from firmware conflicts that occur when the BMS miscalculates remaining capacity after multiple partial charge cycles. A reset clears these temporary errors by restarting the internal controller chip that manages power distribution and display functions.
Essential Safety Steps Before Resetting
Power Down and Disconnect All Devices
Before attempting any reset procedure, disconnect all charging cables and devices from your Romoss power bank. Remove any protective case that might trap heat during the process. Work in a cool, dry environment away from flammable materials—lithium-polymer batteries can overheat if handled improperly. Never attempt a reset on a visibly damaged power bank showing signs of swelling, leakage, or burn marks, as this creates serious safety hazards.
Inspect and Clean Critical Components
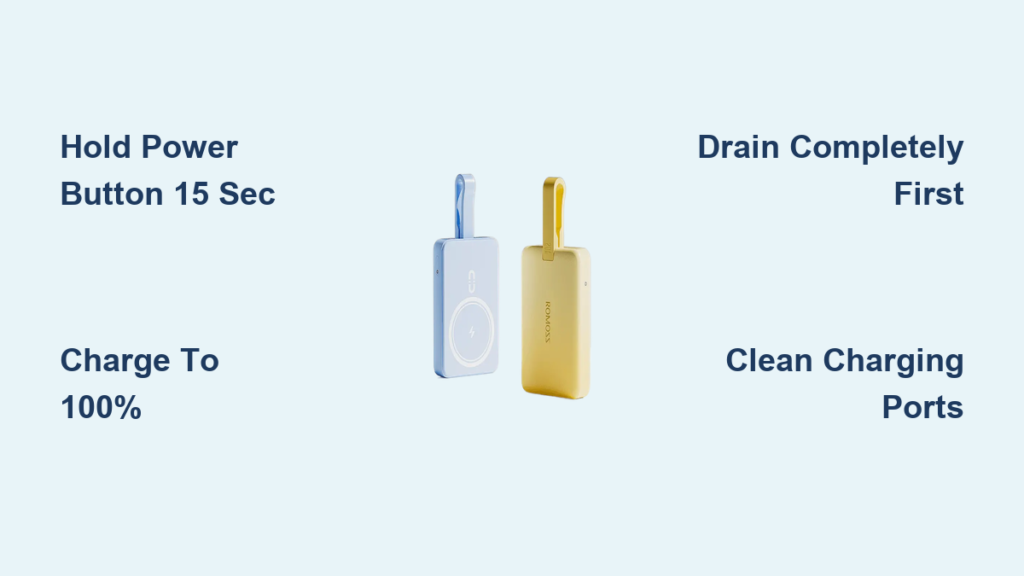
Examine the charging ports for dust, pocket lint, or debris that could interfere with reset procedures. Use compressed air to gently clear obstructions from both input and output ports. Check your charging cable for fraying or damage—using a faulty cable during reset attempts can prevent success. Ensure the power bank has at least 10% charge remaining, as reset procedures require minimal power to execute properly.
How to Perform a Soft Reset (15-Second Button Hold)

This standard reset method works for 90% of Romoss power bank issues and should always be your first troubleshooting step.
Step-by-Step Soft Reset Procedure
- Disconnect everything from your Romoss power bank—no cables attached to any ports
- Press and hold the main power button firmly (don’t tap it)
- Continue holding for 15 full seconds—you should see all LED indicators flash or turn off completely
- Release the button, wait 30 seconds, then press once to restart
Pro Tip: For models with digital displays like the Romoss 60000mAh, watch for the screen to completely reset to 0% before releasing the button. If your power bank has multiple buttons, focus only on the primary power button during this process.
How to Execute a Hard Reset (Factory Reset)
When the soft reset fails, a hard reset recalibrates the battery management system through a complete power cycle.
Complete Hard Reset Process
- Fully charge your Romoss power bank to 100% using its original charger
- Completely drain the battery by using it to charge devices until it shuts off
- Leave it disconnected from all power sources for 1-2 hours
- Recharge uninterrupted back to 100% using the original cable
This deep discharge cycle resets the battery’s voltage calibration, which often resolves persistent issues with inaccurate battery percentage displays. For models with digital screens showing 1% increments, this method is particularly effective for fixing display errors.
Advanced Reset Methods for Specific Romoss Models

Resetting Romoss 60000mAh Power Banks with LCD Screens
The high-capacity Romoss 60000mAh model requires a specialized reset sequence due to its sophisticated digital display:
- Press and hold the power button for 30 seconds
- While still holding, connect a charging cable for exactly 3 seconds, then disconnect
- Release the power button, wait 10 seconds, then press it 5 times rapidly
- Wait 60 seconds before attempting to power on normally
Critical Note: This model’s 4-digit LED screen must show “0000” during the reset process—any other display means you need to repeat the sequence.
Romoss Slim 4 Reset Procedure
The ultra-portable Slim 4 responds best to this precise sequence:
- Hold the power button for 20 seconds with nothing connected
- Connect to a charger for 10 seconds, then disconnect
- Wait 60 seconds without any connections
- Press the power button once normally to restart
This method clears the Slim 4’s smart IC chip that sometimes locks up during multi-device charging sessions.
Troubleshooting Failed Reset Attempts

When Your Romoss Power Bank Still Won’t Respond
If your power bank remains unresponsive after multiple reset attempts, follow this diagnostic path:
Check for deep discharge state: Leave the unit connected to a wall charger for 2+ hours—completely drained lithium batteries sometimes won’t respond to reset procedures until they receive minimal charge.
Test different charging equipment: Try a certified 2.4A+ charger with the original cable. Faulty chargers often deliver insufficient power to initiate reset sequences.
Port-specific issues: If only certain output ports malfunction, clean those specific ports with compressed air—debris in individual ports won’t respond to standard resets.
LED Indicator Troubleshooting Guide
- Solid blue light: 75-100% charge (normal operation)
- Flashing red light: Below 25% charge (needs immediate charging)
- No lights: Completely discharged or serious fault
- Red light with blue flash: 50-75% charge (check for overheating)
If your Romoss power bank shows no lights after 2 hours of charging, the internal protection circuit may have triggered—a sign you should contact Romoss support.
Maintaining Your Romoss Power Bank After Reset
Optimal Charging Practices
After successfully resetting your Romoss power bank, follow these critical steps to prevent future issues:
- Complete the first charge cycle uninterrupted (8-12 hours for 60000mAh models)
- Use only certified chargers delivering at least 2.4A output
- Avoid charging to 100% daily—keeping between 20-80% extends battery lifespan
- Perform monthly maintenance cycles by fully discharging and recharging
Preventative Care Routine
Establish this simple monthly routine to minimize future reset needs:
- Clean all ports with compressed air
- Test each output port with a known-working device
- Check for physical damage or swelling
- Store at 40-60% charge if not using for extended periods
Pro Tip: Never leave your Romoss power bank charging unattended overnight—the built-in smart charging stops at 100%, but prolonged connection stresses the battery management system.
When to Contact Romoss Support
If you’ve performed 3+ reset attempts using the correct method for your specific model and still experience issues, your power bank likely has hardware failure. Contact Romoss support immediately if you notice:
- Visible swelling or deformation of the casing
- Unusual chemical odors during charging
- Excessive heat (too hot to touch comfortably)
- Persistent error messages after multiple resets
Have your model number and purchase receipt ready—Romoss offers 12-18 month warranties covering manufacturing defects. Do not attempt to open or repair the power bank yourself, as this voids warranties and creates serious safety risks with lithium-polymer batteries.
A properly executed reset can restore your Romoss power bank to full functionality, saving you the expense of replacement. Always start with the soft reset procedure, then progress to model-specific methods if needed. By following these precise steps and maintaining your power bank properly, you’ll maximize its lifespan and reliability. Remember that even well-maintained power banks eventually reach end-of-life—typically after 300-500 full charge cycles—so track your usage and plan for replacement when performance significantly declines despite proper resets.


