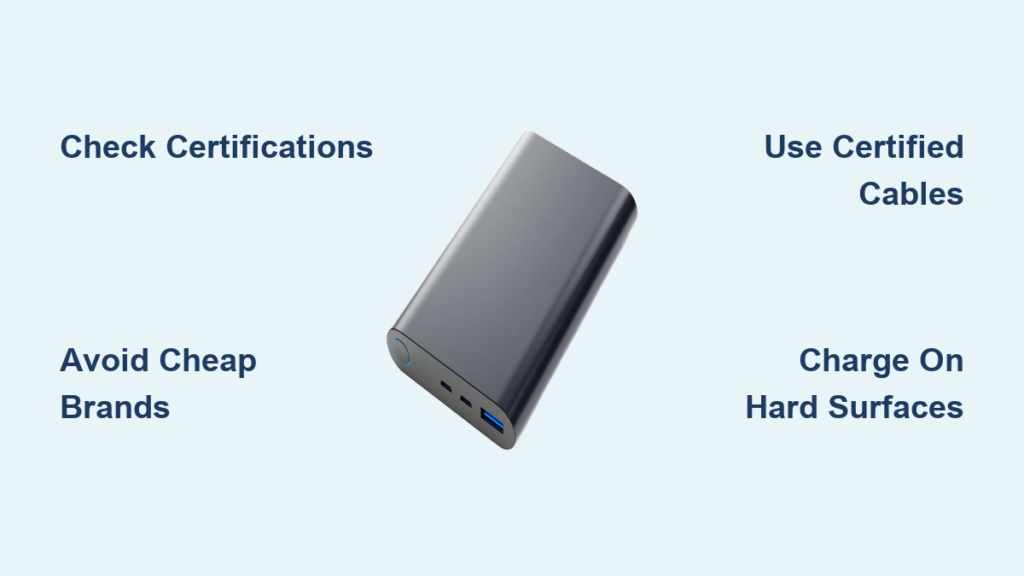
Your portable charger died mid-trip, and you’re staring at a dead device that won’t accept a charge. Before you toss it in the trash or buy a replacement, you might salvage usable components or even fix the problem—but one wrong move could trigger a lithium battery fire. Opening a power bank charger requires precision techniques that avoid puncturing its volatile heart: the lithium-ion battery pack. This guide delivers the exact non-destructive methods technicians use to access internals safely, based on real disassembly protocols. You’ll learn how to identify your power bank’s hidden design traps, apply the right pressure points, and recognize when to stop before risking fire or explosion—all while using tools you likely already own.
Critical Safety Gear Checklist Before Touching Your Power Bank
Skipping proper protection risks severe burns or battery ignition. Lithium-ion cells inside power banks contain enough energy to reach 1,000°F instantly if short-circuited. Your workspace must be a non-flammable surface like concrete or metal away from curtains or paper. Immediately stop if you detect chemical odors or hear hissing sounds. Here’s your non-negotiable safety kit:
- ANSI Z87.1-rated safety glasses: Flying plastic shards from prying can cause permanent eye damage
- Cut-resistant gloves (Level 5 ANSI): Protects against snapped prying tools and sharp case edges
- Fireproof container: Keep a metal bucket filled with sand nearby for emergency battery disposal
- Fully discharged unit: Charge your power bank until all LEDs die and connected devices shut off—never open a charged unit
Pro Tip: Test discharge by connecting a low-power device like earbuds until they cut out. Residual charge above 3.0V per cell significantly increases short-circuit risks during disassembly.
Why Discharging Is Non-Negotiable for Power Bank Safety
Lithium-ion batteries store energy chemically, meaning even “off” units maintain dangerous voltage potential. A partially charged power bank (above 20% capacity) can deliver 5-10 amps through accidental metal contact—enough to melt tools or ignite flammable materials. Discharging eliminates this stored energy, reducing fire risk by over 90%. Never skip this step, even for “quick inspections.” If your unit won’t discharge normally, do not attempt opening—take it to a recycling center immediately.
Decoding Your Power Bank’s Secret Sealing Method

Manufacturers use three primary case designs to deter user access, each requiring distinct opening approaches. Identify yours before applying tools:
- Snap-fit clamshell (60% of models): Visible seam with faint “teeth” pattern when viewed sideways. Common in Anker and Xiaomi units. Releases with plastic prying tools.
- Ultrasonic welded (30% of models): Perfectly smooth seam with no gap—halves are fused by high-frequency vibration. Typical in slim Samsung and Apple-branded banks. Requires Dremel cutting.
- Hidden screw + adhesive hybrid (10% of models): Rubber feet covering Torx screws with industrial glue along seams. Found in rugged Anker models. Needs screw removal plus heat application.
How to Locate Hidden Screws in 60 Seconds
Flip your power bank upside down and press firmly on each rubber foot with your thumb. If any depress deeper than others, that’s a screw cover. Peel back discreetly using tweezers—don’t tear the rubber. Check under warranty labels too; manufacturers often place screws beneath “Void If Removed” stickers. Critical: If you find screws, remove them before prying—forcing snap-fit clips with screws still in place guarantees case breakage.
Spudger Method: Non-Destructive Opening for Snap-Fit Power Banks
This technique preserves your case for potential reassembly and works on 60% of consumer models. Success depends on tool selection and pressure control.
Step-by-Step Clip Release Technique
- Insertion point selection: Target the narrowest seam gap (usually at charging port corners). Slide a guitar pick or iFixit opening tool in at 15-degree angle—never straight down.
- Clip release motion: Apply steady outward pressure while slowly rotating the tool like a door key. You’ll hear faint clicks as clips disengage. Stop immediately if resistance increases—you’re likely hitting a glued section.
- Perimeter progression: Work in 2-inch segments clockwise. Never pry opposite sides simultaneously; this cracks the case. After each clip releases, reposition your tool 1/2 inch over before continuing.
- Final separation: Once 75% of clips are released, gently twist the halves like opening a book. Watch for hidden ribbon cables connecting the top half to circuitry.
Time Estimate: 8-12 minutes for first-time disassembly. Difficulty: Moderate (⭐️⭐️☆)
Common Spudger Mistakes That Cause Battery Damage
- Using metal tools: Even aluminum screwdrivers can slip and pierce battery cells. Only non-conductive plastic tools allowed.
- Prying at 90 degrees: Vertical pressure cracks plastic housings. Maintain shallow 10-15° angle.
- Ignoring internal wires: Many Anker models have thin USB port flex cables running along the seam. Separate these before full case opening.
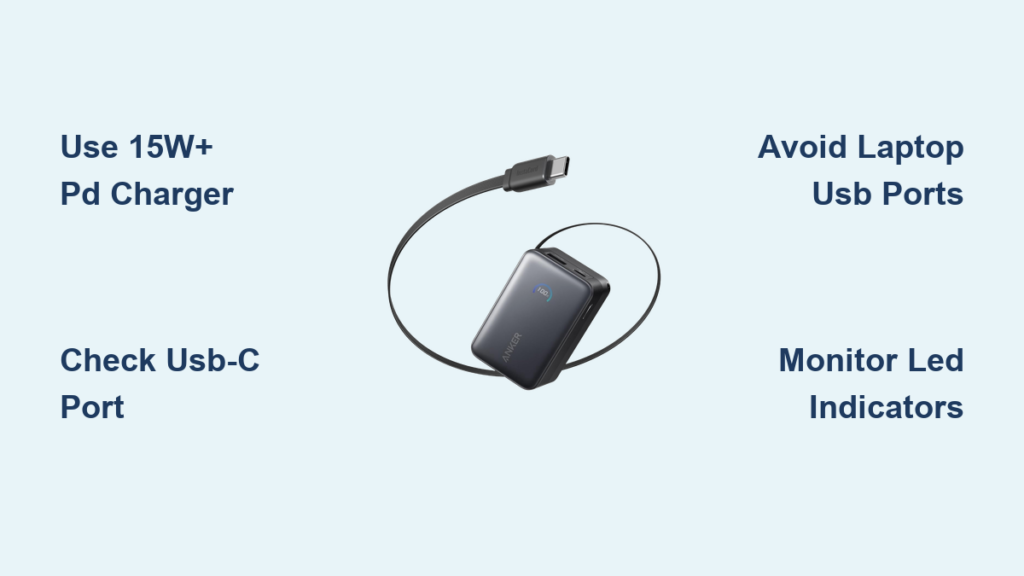
When and How to Apply Heat Safely to Power Bank Seams
Heat softens adhesives but risks thermal runaway in lithium batteries. Never apply heat if the battery is still inside the case. This method is strictly for units where you’ve already disconnected the battery or confirmed internal damage.
Controlled Heat Protocol
- Set hair dryer to LOW heat (max 60°C/140°F)—higher temperatures degrade battery electrolytes.
- Hold dryer 6 inches from seam, moving continuously in 10-second intervals.
- Test flexibility by gently pressing seam with plastic tool after each heat cycle.
- Stop immediately if you smell plastic melting—this indicates overheating.
Pro Tip: Apply isopropyl alcohol (90%+) along stubborn seams with a toothpick. It breaks down adhesives without damaging electronics. Wipe excess before heat application.
Dremel Method: Last Resort for Ultrasonically Welded Power Banks
Use this only for dead units you’re salvaging—not repairable devices. Ultrasonic welding fuses plastic molecules, making non-destructive opening impossible.
Safe Cutting Procedure
- Secure the unit: Clamp power bank in vise with wooden jaw protectors—never metal-to-metal contact.
- Depth control: Set Dremel cutting wheel to 2mm depth max. Mark depth with tape on the tool shaft.
- Cutting path: Follow the seam line at 5,000 RPM, applying feather-light pressure. Never cut deeper than case wall thickness (typically 1.5-2mm).
- Cooling breaks: Cut 1-inch segments, then pause 30 seconds to prevent plastic melting or battery heating.
Warning: Wear N95 mask and eye protection—plastic dust from cutting is carcinogenic. Do this outdoors with a vacuum running nearby.
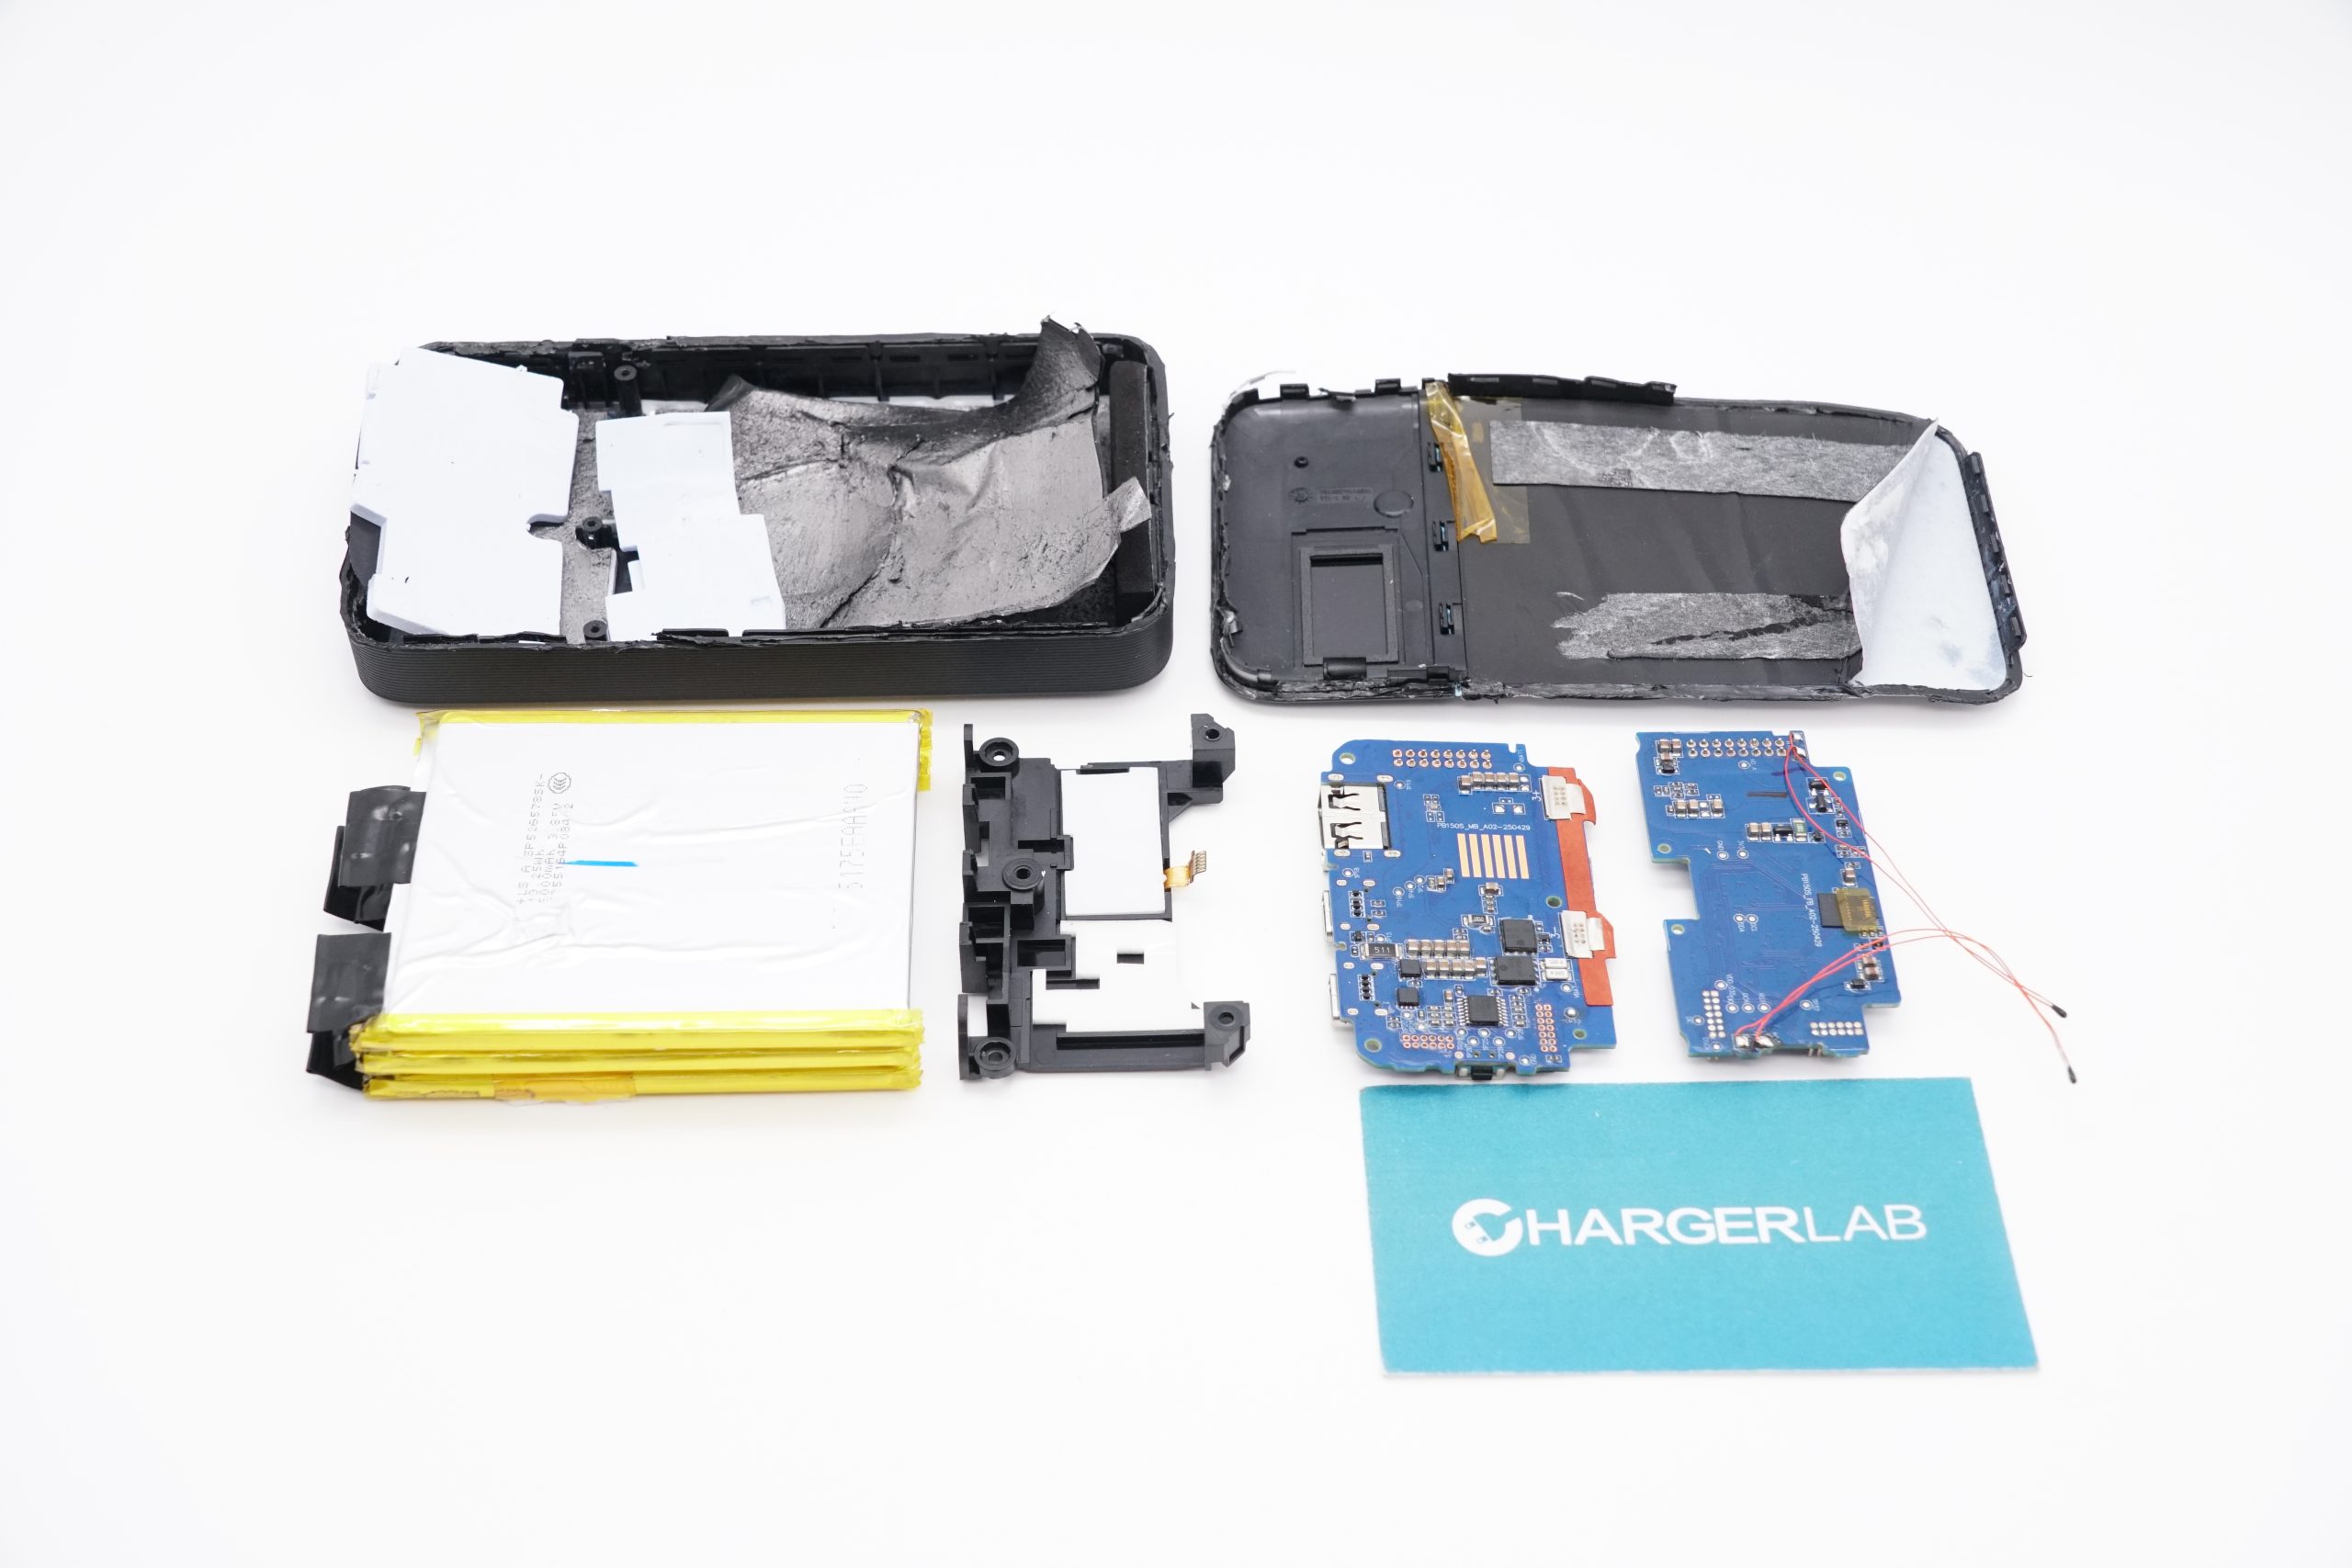
What to Do When You See the Battery Pack
The moment your case opens, you face critical decisions. Stop all movement if you observe:
- Swelling (“puffy” appearance where cells bulge beyond flat surfaces)
- Discoloration (yellowish stains or white powder)
- Any moisture or oily residue
Safe Battery Handling Protocol
- Photograph connections before touching anything—note wire colors and connector orientations.
- Disconnect NEGATIVE (black) wire first using plastic spudger to lift connector tabs.
- Isolate the battery in a fireproof container immediately after removal.
- Never stack salvaged cells—place each in separate anti-static bags.
Critical Fact: Damaged lithium batteries can ignite hours after disassembly. Store in metal container outdoors for 48 hours before disposal.
Salvage vs. Repair: Realistic Expectations After Opening
Most power banks cannot be reassembled functionally after opening. Snap-fit clips break, adhesives lose stickiness, and cases warp. Be honest about your goal:
- Component salvage: Recover 18650 cells for solar projects (test voltage first—discard below 2.5V)
- Circuit board repair: Fix USB port issues or blown capacitors (requires soldering skills)
- Diagnostics only: Identify why unit failed (e.g., swollen battery pressing power button)
Pro Tip: If replacing internal batteries, match exact mAh/voltage ratings. Mixing cell types causes dangerous imbalances.
When to Abandon Your Power Bank Opening Attempt
Stop immediately if you encounter:
– Swollen or leaking battery cells (place in sand bucket outdoors)
– Burning smell during disassembly (evacuate area for 15 minutes)
– Visible wire damage near battery terminals
– Inability to disconnect battery after case opening
Final Reality Check: For functional units under warranty, professional repair costs often exceed replacement value. Only attempt disassembly on dead units you’d otherwise discard. If in doubt, find a battery recycling center—many Best Buy and Staples locations accept them free.
Key Takeaways: Opening a power bank charger demands strict safety protocols—notably full discharge and plastic-only tools—to avoid fire hazards. Most consumer units use snap-fit or welded cases requiring specific techniques: start with spudger prying at seams, apply heat only after battery removal, and use Dremel cutting as absolute last resort. Never ignore battery swelling signs, and prioritize component salvage over reassembly since cases rarely close properly post-disassembly. Always keep a fireproof container nearby, and when uncertainty strikes, take damaged units to certified recyclers instead of risking DIY attempts. For functional power banks, manufacturer warranty service remains the safest path.