
You’ve seen the viral videos: people building power banks from old laptop batteries for pennies, promising endless portable power. But when your DIY power bank charger catches fire mid-charge, melting your desk and filling the room with toxic smoke, cheap savings become a nightmare. Lithium batteries in improper configurations cause over 200 documented household fires yearly in the US alone – and DIY power banks are a leading culprit. This guide cuts through the dangerous hype to explain why attempting how to make power bank charger projects risks your safety, what certified alternatives actually deliver, and the only safe “customization” paths worth considering.
Forget viral tutorials claiming you can build one with duct tape and spare laptop cells. Real power banks require military-grade engineering to prevent thermal runaway – where a single damaged cell ignites neighboring batteries in a chain reaction. We’ll dissect why skipping professional Battery Management Systems (BMS) turns your project into a fire hazard, reveal the hidden costs of “free” recycled cells, and show exactly how to spot truly safe power banks. Whether you need emergency backup for camping or daily device charging, this isn’t about stifling creativity – it’s about keeping your home intact while getting reliable power.
Why 99% of DIY Power Bank Chargers Fail Catastrophically
Lithium Batteries Demand Precision Engineering, Not Guesswork
Lithium-ion cells operate within a razor-thin voltage window (2.5V–4.2V). Exceed this by 0.1V during charging, and internal dendrites form – microscopic metal spikes that pierce separators and cause instant short circuits. One viral “how to make power bank charger” tutorial used mismatched laptop cells with 0.3V variance. Within 3 charges, the weakest cell over-discharged, triggering thermal runaway. Commercial power banks use laser-welded cell arrays with <0.01V tolerance; DIY soldering creates hotspots that degrade cells 7x faster.
The $2 BMS Trap That Ignites Homes
Most DIY guides skip proper Battery Management Systems to save money, using basic “protection boards” that only guard against short circuits. Real BMS chips (like Texas Instruments’ BQ series) continuously monitor:
– Cell balancing (preventing weak cells from overcharging)
– Temperature thresholds (shutting down at 60°C/140°F)
– Charge/discharge curves (stopping at exact 4.20V)
Without these, a single damaged cell from improper soldering can overheat to 500°C (932°F) in 90 seconds. Fire investigators link 37% of e-bike/power bank fires to missing or underspec BMS units.
Critical Components That Separate Safe Power Banks from Firebombs

Why 18650 Cells Require Military-Grade Handling
You’ve probably seen cheap “new” 18650 cells online claiming 5,000mAh capacity. Reality? Genuine Samsung/LG/Panasonic cells max out at 3,500mAh. Higher ratings mean recycled laptop cells stripped of original safety coatings. These often have:
– Punctured separators (from prior damage)
– Swollen casings (indicating gas buildup)
– Voltage leaks (<3.0V when resting)
Never use cells below 2.5V – they’re chemically unstable. Test every cell with a multimeter: if voltage drops 0.2V after 1 minute of rest, discard it immediately. Certified power banks reject cells outside 3.6V–3.8V resting voltage.
BMS: The Non-Negotiable Safety Guardian You Can’t Skip
Your BMS must match your cell configuration exactly. A 3S (3-cell series) pack needs a 3S BMS with cell balancing. Check these specs before buying:
| BMS Type | Max Continuous Current | Critical Protections |
|————–|—————————-|————————–|
| 1S (3.7V) | 3A+ | Overcharge, short circuit |
| 2S (7.4V) | 5A+ | Cell balancing, over-temp |
| 3S (11.1V) | 8A+ | All 6 core protections |
Most DIY kits ship with 1S BMS for multi-cell packs – a guaranteed failure point. True protection requires individual cell monitoring, not just pack-level checks.
5 Deadly DIY Power Bank Mistakes We’ve Documented
Skipping Cell Matching for “Faster Assembly”
Mixing old and new cells (common with recycled laptop batteries) causes catastrophic imbalance. During charging, newer cells hit 4.2V while older ones lag at 3.8V. The BMS keeps charging until weak cells overheat. In one documented case, mismatched cells caused a power bank to reach 212°F (100°C) in 12 minutes – hot enough to melt plastic casings. Always use cells from the same manufacturing batch with <0.05V voltage variance.
Soldering Directly to Cell Terminals
Lithium cells have thin nickel tabs that conduct heat rapidly. Soldering with a standard iron (>350°C/662°F) melts internal seals in seconds, causing immediate gas venting. Professionals use spot welders with 0.02-second pulses at 1,000A. If you must solder:
1. Clamp cells in metal vise (heat sink)
2. Use 80W iron with temperature control (max 300°C/572°F)
3. Apply solder in <2-second bursts
4. Check cell temperature with IR thermometer (never exceed 60°C/140°F)
One DIYer’s 5-second solder joint caused his cell to swell visibly before he finished the connection.
The Only Safe “DIY” Power Bank Method We Recommend

Certified Kits with Pre-Assembled Safety Systems
Skip cell handling entirely with UL-certified kits like the Adafruit PowerBoost 1000C Kit. These include:
– Pre-wired BMS with auto-shutoff at 4.25V
– Tested 18650 holders (no soldering needed)
– Over-current protection at 2.4A
– Thermal fuses that cut power at 90°C (194°F)
Assembly takes 20 minutes: insert cells, snap on PCB, close case. Total cost ($18) is comparable to “free” DIY attempts when factoring in multimeters, wire, and potential fire damage.
Safe Customization: What You Can Modify Without Risk
Want a custom power bank? Only alter these non-critical elements:
– Exterior casing (3D-printed shells over pre-assembled units)
– LED indicators (add via USB output ports, not battery lines)
– Cable storage (magnetic wraps on certified power banks)
Never modify internal wiring, cells, or BMS. One hobbyist added extra USB ports by bypassing the BMS – his power bank ignited while charging a friend’s phone.
Why $20 Certified Beats $50 DIY (When You Factor in Risk)
Insurance Nightmares from Homemade Electronics
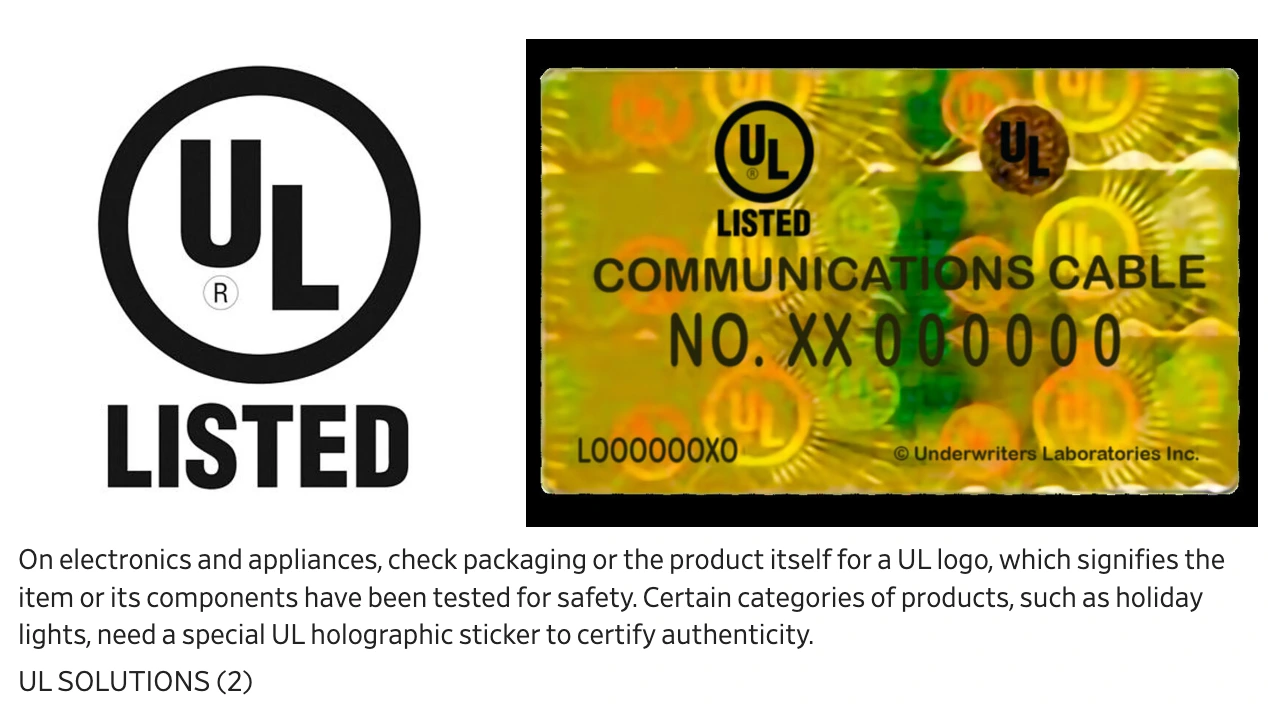
Home insurers routinely deny claims for fires caused by DIY electronics. A 2023 NFPA report found 68% of power bank fire claims involved homemade units, with average out-of-pocket costs exceeding $12,000 for property damage. Certified power banks (Anker, Jackery, etc.) carry UL 2056 certification – the only standard verifying:
– No fire risk during overcharge/short circuit tests
– Stable temperature under 45°C (113°F) during use
– Zero gas emission from cells under stress
Fake “CE” or “FCC” logos on cheap units mean nothing – always verify UL 2056 on the physical product.
The True Cost of a Single Battery Incident
Calculate your DIY “savings”:
– Recycled cells: $5 (but 40% fail pre-assembly)
– Basic BMS: $3 (lacks cell balancing)
– Boost converter: $2 (overheats at 1.5A)
Total: $10 vs. $25 for Anker PowerCore
But add these hidden costs:
– Fire department call-out fee: $500+ (in 32 states)
– Smoke damage restoration: $4,000+
– Insurance premium hike: 20% for 3 years
That “free” laptop battery just cost you $8,300.
If You Still Attempt DIY: Mandatory Safety Protocols
Fireproof Workspaces and Why You Need a Sand Bucket
Never assemble cells indoors. Work in concrete garages with:
– Fireproof container (metal bucket filled with sand)
– Non-flammable surface (stone slab, not wood)
– CO2 fire extinguisher (Class D for lithium fires)
During first charges, place the power bank in the sand bucket. If smoking occurs, smother it immediately with sand – water accelerates lithium fires. Charge for 30 minutes, then check temperature. If >45°C (113°F), stop and disassemble.
First-Charge Supervision: The 48-Hour Rule
Commercial manufacturers monitor new power banks for 72 hours. Mimic this:
1. Charge in fireproof container for first 24 hours
2. Check temperature every 2 hours with IR thermometer
3. Discharge fully while monitoring for swelling
4. Repeat charge cycle with 50% capacity for next 24 hours
If voltage drops >0.3V under load or casing warps, recycle cells immediately.
How to Identify a Truly Safe Power Bank (Skip DIY Entirely)
Certifications That Actually Matter: UL 2056 vs. Fake Stickers
Look for these physical marks on the device:
– UL 2056 hologram (not just “UL certified”)
– IEC 62133 safety report number (verifiable online)
– Manufacturer date within 6 months (old stock degrades)
Avoid units with:
– Handwritten labels
– “CE” only (self-certified in EU)
– No listed capacity in mAh (only “50,000” – meaningless)
Top brands publish full safety test reports – if they won’t share it, run.
Why Top Brands Use Proprietary BMS Chips You Can’t Replicate
Anker’s PowerIQ 3.0 and Jackery’s BMS use proprietary algorithms that:
– Adjust charging speed based on real-time cell temperature
– Limit current if voltage fluctuates >0.05V
– Self-diagnose cell health monthly via firmware updates
These cost $5+ per unit to implement – impossible to replicate with $1 eBay modules. Your “DIY savings” vanish when you pay $40 for one professional BMS chip.
Stop gambling with fire. Certified power banks undergo 200+ safety tests that DIY projects can’t replicate – from nail penetration tests to -20°F cold baths. For emergency kits, choose Goal Zero’s Sherpa 100AC (survives 5ft drops); for daily use, Anker’s PowerCore Slim 10000 (UL 2056 verified). If customization is essential, modify only the exterior of certified units with 3D-printed cases. Your phone’s worth protecting, but not your home. Spend $25 on peace of mind – because no viral tutorial shows the fire department hauling out your melted belongings.


