
You’ve probably experienced this frustration: your 10,000mAh power bank claims to charge your phone twice, but in reality, it barely manages one full charge. The advertised capacity on power banks is often misleading because it refers to the internal battery’s rating at 3.7V, not the actual power delivered to your devices at 5V. This discrepancy happens due to voltage conversion losses and circuit inefficiencies. If you’ve ever wondered why your power bank doesn’t deliver what it promises, you’re not alone—many consumers fall victim to inflated capacity claims. In this guide, you’ll learn exactly how to check battery capacity of power bank units with professional accuracy, so you can determine whether you’re getting what you paid for or if it’s time to replace that underperforming backup power source.
Knowing your power bank’s true capacity matters for more than just avoiding marketing deception. It helps you plan for travel, ensures you have enough power for emergencies, and identifies when a unit has degraded significantly. Most quality power banks deliver only 60-80% of their advertised capacity to your devices due to conversion losses, while counterfeit or low-quality units may deliver as little as 30-40%. By learning how to check battery capacity of power bank models properly, you’ll gain reliable data to make informed decisions about your portable power solutions.
Essential Tools for Accurate Power Bank Testing
Without the right equipment, your capacity test results will be unreliable. Using a simple phone charge test gives you vague results at best—professional testing requires specific tools that measure voltage, current, and capacity precisely throughout the discharge cycle.
Must-Have Testing Equipment for Reliable Results
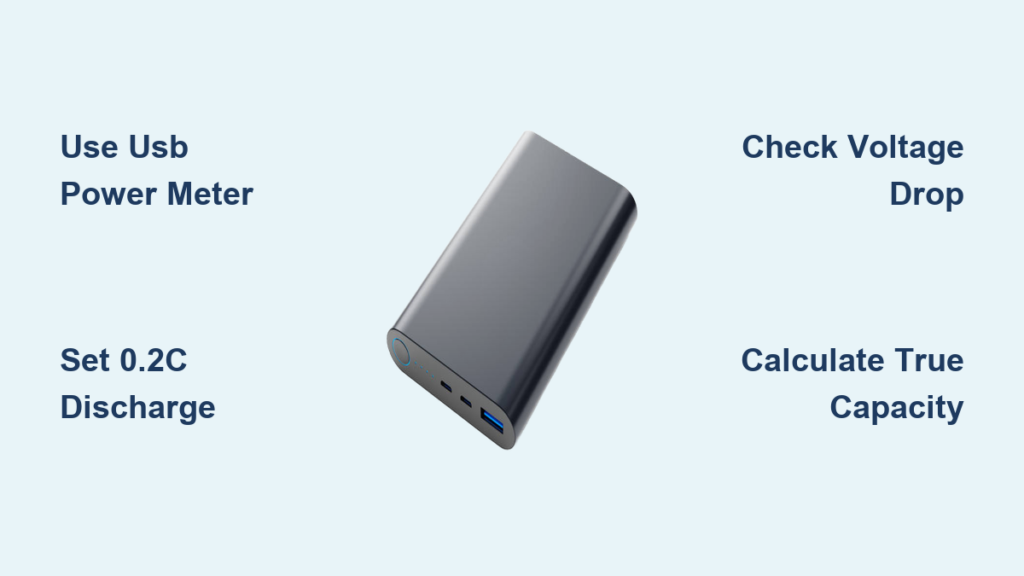
You need three critical tools to properly check battery capacity of power bank units. First, a USB power meter like the KWS V20 is essential—it sits between your power bank and load, displaying real-time voltage, current, and cumulative capacity in mAh. Second, an electronic dummy load that can draw a consistent current is crucial; this replaces your phone with a stable, predictable power draw. Third, a quality multimeter serves as a backup for spot-checking voltage readings. Avoid using cheap, uncalibrated meters as they can introduce significant errors—your results are only as good as your measuring tools. For the most accurate testing, ensure your equipment has at least 0.01V voltage resolution and 0.01A current resolution.
Setting Up Your Testing Environment for Precision
Temperature dramatically affects lithium battery performance, so controlling your environment is non-negotiable when you check battery capacity of power bank units. Conduct tests at room temperature between 20-25°C (68-77°F) with no direct sunlight or nearby heat sources. After fully charging your power bank, let it rest for 30-60 minutes to stabilize—this eliminates “surface charge” that gives falsely high initial readings. Never test immediately after charging, as internal cell temperature affects voltage readings. For consistent results, perform all tests in the same location at the same time of day to minimize environmental variables that could skew your capacity measurements.
Step-by-Step Power Bank Capacity Test Procedure
Following a precise testing protocol ensures you get repeatable, trustworthy results. Guesswork won’t cut it when you need to check battery capacity of power bank models accurately—every step matters for reliable data.
1. Proper Power Bank Preparation Before Testing
Start by fully charging your power bank using its original cable and a quality wall adapter—not your computer USB port. Once the indicator shows 100% charge, disconnect it and let it rest for exactly 60 minutes. This stabilization period allows the internal voltage to settle after charging. Next, apply a small 0.1A load for 5 minutes to discharge any remaining surface charge. Skipping this step is the #1 mistake that leads to inflated capacity readings. For accurate results, your power bank must begin the test in a stable, representative state—not immediately after charging when voltage is artificially high.
2. Executing the Discharge Test Correctly
Connect your equipment in this sequence: Power Bank → USB Power Meter → Electronic Load. Set your dummy load to draw 0.2C current—for a 10,000mAh power bank, this means 2,000mA (2A). This standard discharge rate balances test duration with accuracy. Start the test and monitor your USB meter’s cumulative mAh reading. Continue until the power bank automatically shuts off (typically when output drops below 4.75V). Record the final mAh value from your USB meter—this is your “output capacity” at 5V. Never force discharge below 3.0V as this permanently damages lithium cells. A quality power bank will have protection circuits that prevent dangerous over-discharge.
3. Calculating True Internal Capacity from Test Results
Your USB meter shows output capacity at 5V, but power banks store energy at 3.7V internally. To check battery capacity of power bank units properly, convert your reading: Multiply the 5V mAh by 5, then divide by 3.7. For example, if your meter shows 6,500mAh at 5V: (6,500 × 5) ÷ 3.7 = 8,784mAh. Now account for conversion efficiency—typically 85-92% for quality units. Multiply by 0.9: 8,784 × 0.9 = 7,906mAh. Compare this 7,906mAh figure to the advertised capacity. Pro tip: If your calculated capacity is below 75% of the advertised rating, the power bank is either degraded, low-quality, or counterfeit.
Interpreting Your Power Bank Capacity Test Results

Raw numbers alone don’t tell the full story—you need to understand what your test results actually mean for real-world performance and longevity.
What Your Capacity Percentage Really Indicates
Compare your calculated true capacity to the advertised rating to determine quality:
– 90-100%: Premium quality cells, excellent efficiency (rare in budget models)
– 80-89%: Good performance, typical of quality mid-range power banks
– 70-79%: Acceptable for budget units but indicates moderate losses
– Below 70%: Poor quality, significant degradation, or potential counterfeit
If your power bank delivers less than 70% of its advertised capacity, it’s either severely degraded (if older) or fundamentally misrepresented (if new). Critical warning: A brand-new power bank showing 50% capacity is almost certainly counterfeit—reputable brands don’t sell units this far below spec.
Troubleshooting Common Test Anomalies
Several issues can skew your results when you check battery capacity of power bank units. If you notice rapid voltage drop after minimal discharge, your power bank likely has poor-quality cells or mismatched cell groups. Inconsistent readings between tests often indicate high internal resistance from aging cells or manufacturing defects. If the power bank shuts off prematurely under moderate load, check for faulty protection circuits or failing cells. For accurate diagnostics, repeat tests 2-3 times with 1-hour rest periods between, and always test at consistent temperatures—lithium performance varies significantly with ambient conditions.
Advanced Power Bank Testing Techniques
Once you’ve mastered basic capacity testing, these advanced methods reveal deeper insights about your power bank’s performance across different scenarios.
Multi-Port and Fast Charging Protocol Verification
Modern power banks have multiple output ports with different capabilities. Test each port individually to identify inconsistencies—some manufacturers allocate more capacity to USB-C ports while skimping on USB-A performance. For fast charging, verify protocol support by setting your load to request specific voltages (9V, 12V, 15V, 20V) and confirming your USB meter shows corresponding voltage and current increases. Red flag: If a “30W PD” power bank can’t sustain 20V/1.5A (30W), its fast charging claims are exaggerated. Test under maximum load for 15 minutes—quality units maintain voltage without significant sag or overheating.
Long-Term Performance and Safety Assessment
For a complete picture, conduct cycle life testing by repeating full charge-discharge cycles 50-100 times while tracking capacity retention. Quality power banks retain 80%+ capacity after 500 cycles. Also perform safety checks: intentionally create a short circuit (with proper precautions) to verify overcurrent protection activates within milliseconds. Monitor temperature throughout testing—excessive heat (>45°C) during normal operation indicates poor thermal management that could shorten lifespan or create safety hazards. Never skip these safety validations, especially with third-party or no-name power banks.
Final Note: Regularly checking your power bank’s capacity helps you catch degradation early and avoid being stranded with dead devices. For best results, test every 3-6 months or if you notice reduced performance. Always store power banks at 50% charge in cool, dry places to maximize lifespan. When shopping for replacements, prioritize brands that publish real-world capacity data rather than just advertising internal battery ratings. By knowing how to check battery capacity of power bank units properly, you’ll never again be fooled by inflated specifications—only reliable, tested performance that keeps your devices powered when it matters most.


