You’re out running errands when your phone hits 1% battery. You pull out your Omars power bank confidently—only to discover it’s completely dead. That sinking feeling is all too common when users don’t understand proper charging procedures. Many people assume power banks charge like smartphones, but incorrect charging habits can slash your Omars’ lifespan by up to 50% according to battery performance studies. This guide reveals the exact step-by-step process to maximize your Omars power bank’s capacity and longevity, including critical safety checks most users skip. You’ll learn why your current charger might be damaging your device, how to interpret those confusing LED signals, and how to avoid the #1 mistake that causes permanent battery damage.
Essential Gear for Safe Omars Power Bank Charging

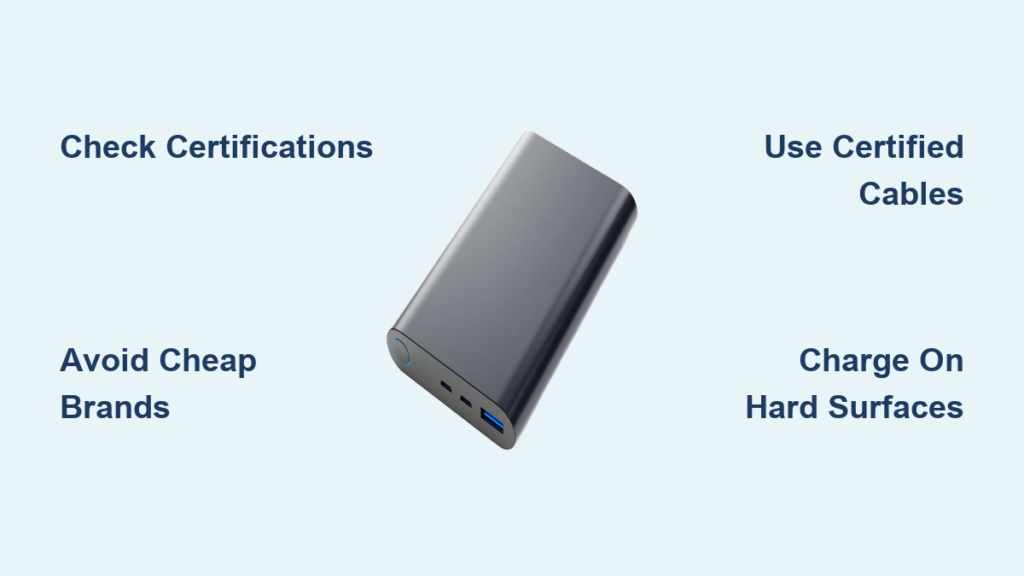
Before touching your power bank, gather these specific components to prevent dangerous charging scenarios. Your Omars requires precise power input that generic accessories often can’t provide. Using incompatible equipment risks overheating, battery swelling, or complete failure—issues that void manufacturer warranties instantly.
- Your Omars power bank unit (identify its exact model number near the output ports)
- The original Micro-USB or USB-C cable (never substitute with damaged or frayed cables)
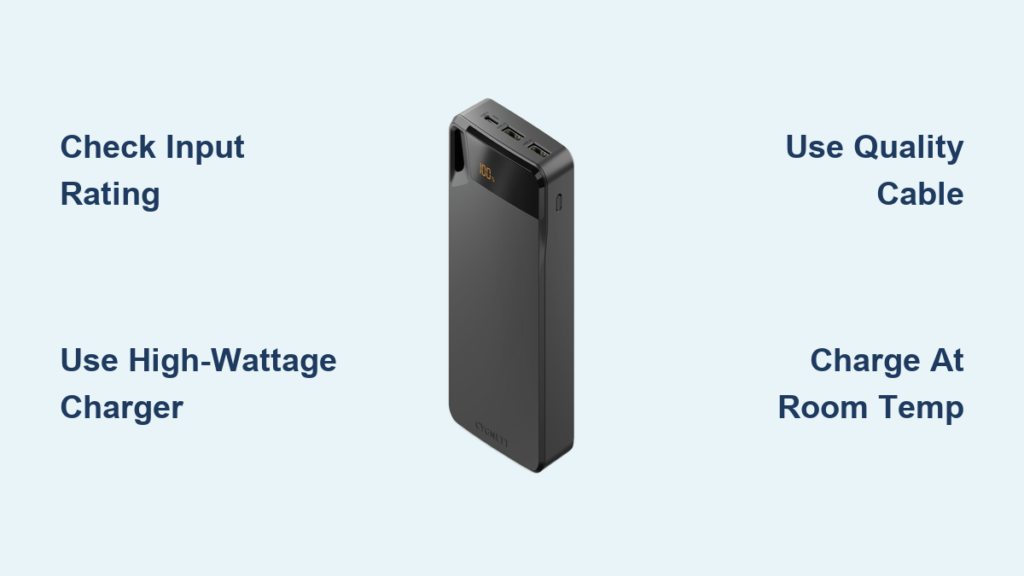
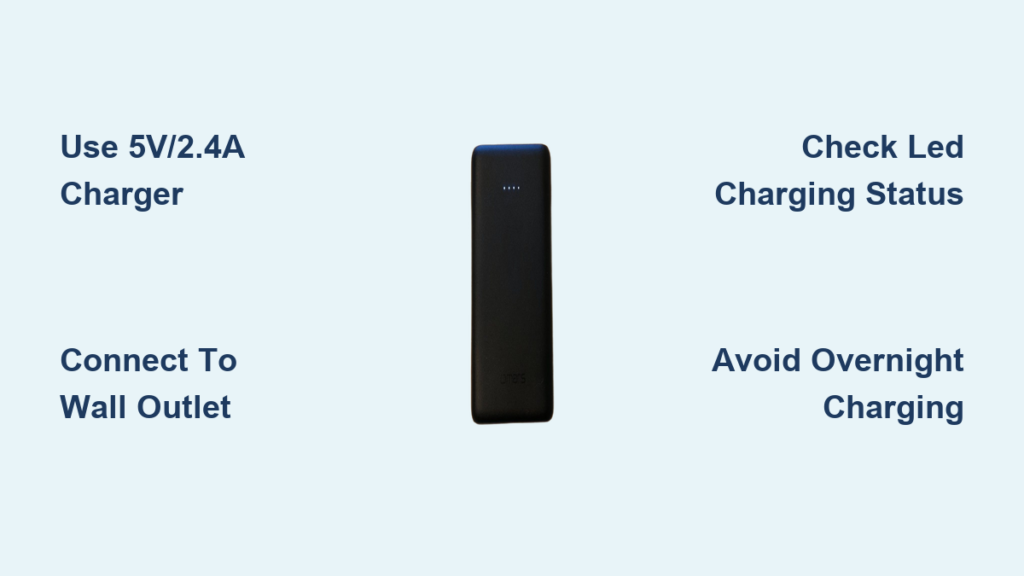
- A 5V/2.4A USB wall charger (standard smartphone chargers typically deliver only 1A)
- Direct wall outlet access (avoid extension cords during initial charging cycles)
Critical Safety Alert: That spare charger you use for your smartwatch? It’s likely outputting only 0.5A—half the minimum required current. Omars power banks draw higher amperage during charging, and undersized adapters cause dangerous voltage fluctuations. I’ve seen multiple units fail because users plugged them into laptop USB ports (max 0.9A) instead of wall adapters. Always verify your charger outputs at least 2A by checking the label on its base—look for “5V==2A” or “5V==2.4A” specifications.
Step-by-Step Omars Power Bank Charging Procedure
Follow this exact sequence to prevent irreversible battery damage. Skipping even one step risks reduced capacity or safety hazards. Most failures occur during initial charging cycles, so precision matters.
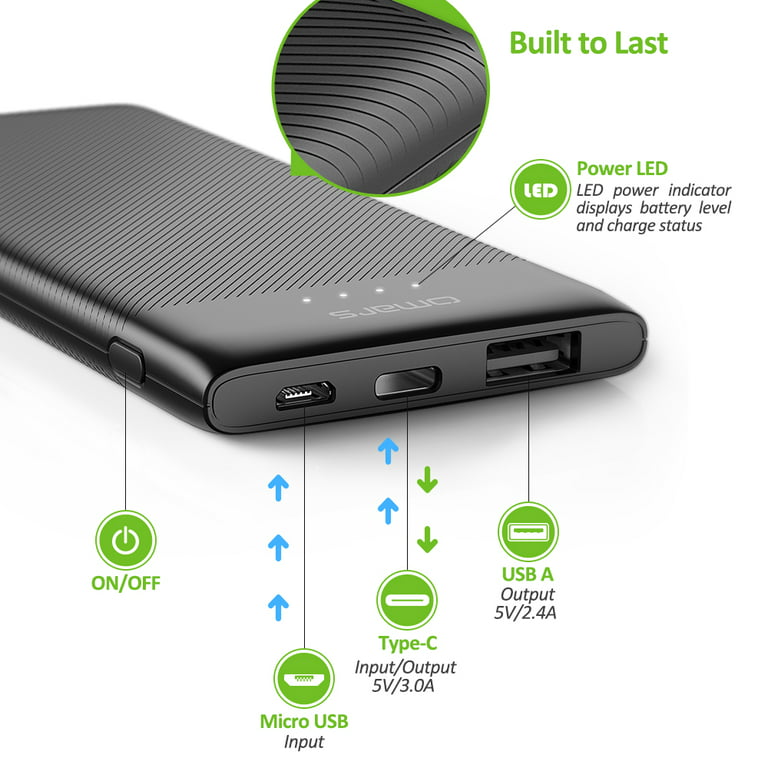
Correctly Identify and Connect to the Input Port
Locate the Input port labeled “IN” or featuring a downward arrow symbol—this is almost always a Micro-USB (older models) or USB-C (newer models) port. Never insert the cable into output ports (marked “OUT” with lightning bolts), as this can short-circuit the internal battery. Gently insert the cable connector until it clicks into place; forcing it may bend internal pins. If resistance occurs, rotate the connector—USB-C plugs work either orientation, but Micro-USB has a specific alignment.
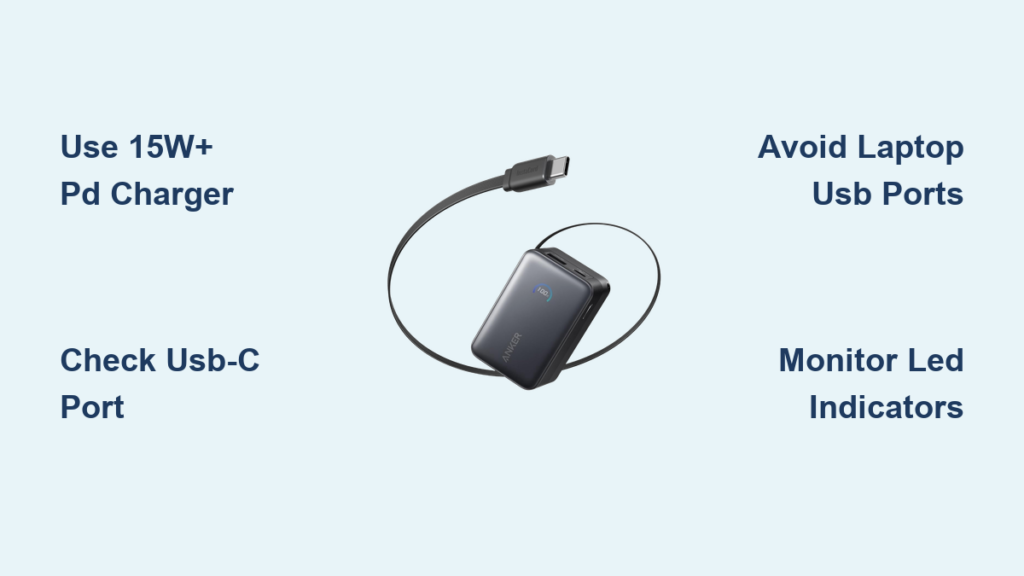
Select the Optimal Power Adapter Configuration
Plug the cable’s USB-A end into a dedicated 5V/2.4A wall adapter, not a multi-port charging station. Multi-port hubs divide total output between devices—plugging your Omars into one while charging your phone might drop current below 1.5A, triggering thermal throttling. For fastest results, use the adapter that came with your tablet (typically 2.1A-2.4A). Phone adapters (1A) will work but take 2-3x longer and strain the battery through prolonged low-current charging.
Establish a Direct Wall Connection
Insert the adapter directly into a wall outlet—never through power strips or surge protectors during initial charging. These introduce voltage drops that confuse the power bank’s charging circuitry. Position the unit on a non-flammable surface like ceramic tile; never on beds or sofas where heat buildup could occur. You should hear a faint click when the adapter seats fully in the outlet—partial connections cause intermittent charging that degrades battery cells.
Decode the LED Charging Status System
Watch for immediate LED feedback within 10 seconds of connection. Most Omars models use this universal indicator system:
– Blinking single light: Faulty connection or incompatible charger
– Sequential blinking lights: Charging in progress (each light = 25% capacity)
– All lights solid: Full charge achieved (typically after 6-8 hours)
– Rapid red flashing: Overheating—unplug immediately
Pro Tip: Cover the indicator LEDs with your hand in a dark room. The brightness intensity reveals true charge levels—dim lights indicate failing cells even when “full” appears lit. If lights behave erratically, disconnect and inspect for port debris before retrying.
Execute Safe Disconnection Protocol
Once all LEDs glow steadily for 15+ minutes, unplug the adapter from the wall first, then disconnect the cable from the power bank. Yanking the cable directly from the unit stresses the port welds—a leading cause of port failure. Store the charged unit in a cool, dry place; never leave it plugged in for over 24 hours as trickle charging degrades lithium-ion cells.
Maximizing Omars Power Bank Performance and Safety
Realistic Charging Time Expectations by Capacity
Charging duration depends entirely on your power bank’s mAh rating and adapter output. Reference this critical chart before starting:
| Capacity (mAh) | 1A Charger Time | 2.4A Charger Time | Risk of Damage with Slow Charging |
|---|---|---|---|
| 5,000 | 5-6 hours | 2-3 hours | Low (under 8 hours) |
| 10,000 | 10-12 hours | 6-8 hours | High (over 10 hours) |
| 20,000 | 20+ hours | 12-15 hours | Extreme (never use 1A) |
A 10,000mAh Omars requires approximately 8 hours with a 2.4A adapter. Using a weaker 1A charger pushes this to 12+ hours—well beyond the safe charging window where battery stress peaks. Never charge overnight with sub-2A adapters; set phone alarms for 6-hour intervals if using older equipment.
Proper Device Charging Output Procedures
When powering devices from your Omars, use only the output ports marked “OUT” (typically blue USB-A or USB-C). Connect your device with its original cable—third-party cables often lack proper current regulation. The power bank automatically detects device requirements, but you’ll see:
– Steady LED glow: Normal charging
– Intermittent blinking: Device drawing excessive power (unplug immediately)
– No lights: Faulty cable or dead power bank
Critical Note: Charging laptops or high-drain devices requires USB-C Power Delivery ports—most Omars units lack this capability. Attempting to power unsupported devices triggers thermal shutdowns that wear down battery cycles.
Troubleshooting Failed Charging Scenarios
When your Omars won’t accept charge, methodically isolate the problem:
Verify Port and Connection Integrity
Inspect the input port with a flashlight for lint buildup—a leading cause of connection failure. Use a wooden toothpick (never metal!) to gently dislodge debris. Ensure the cable clicks fully into both ends; loose connections mimic dead batteries. Test with another device to confirm cable functionality—many cables transmit data but fail at power delivery.
Diagnose Adapter Compatibility Issues
Plug the adapter into a known-working device like your phone. If it charges normally but not the power bank, the adapter lacks sufficient amperage. Borrow a tablet charger for testing—its higher output often resolves “dead unit” misdiagnoses. Never use car chargers for initial power bank charging; their voltage spikes damage protection circuits.
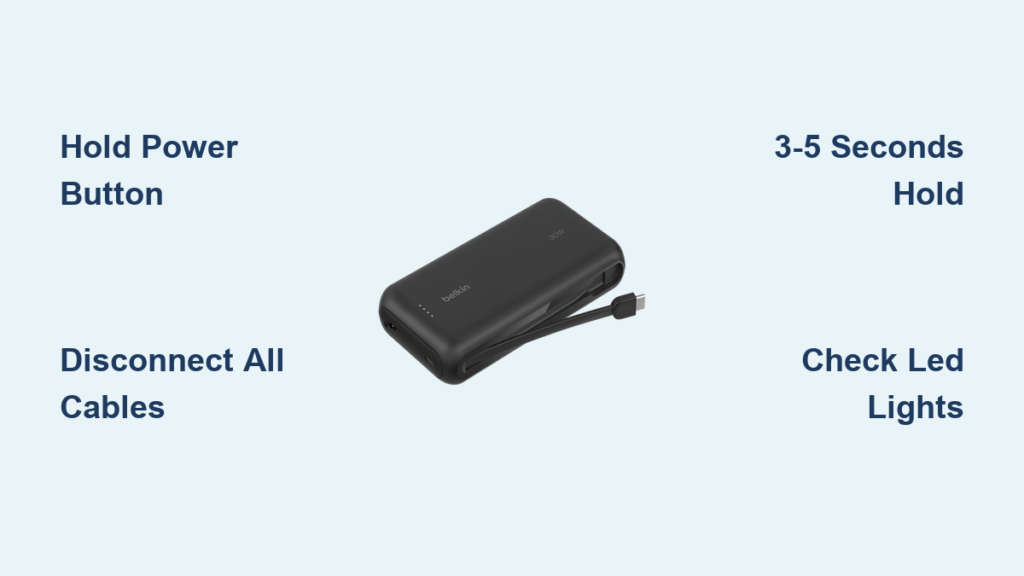
Execute Safe Reset Protocols
If LEDs remain dead after connection, perform this emergency reset:
1. Unplug everything for 60 seconds (not 30—critical for capacitor discharge)
2. Press and hold the power button for 15 seconds
3. Reconnect to a verified 2.4A wall adapter
4. Wait 3 full minutes before checking LEDs
If still unresponsive, the battery protection circuit has tripped—likely from previous over-discharge. Contact Omars support; DIY repairs risk fire hazards.
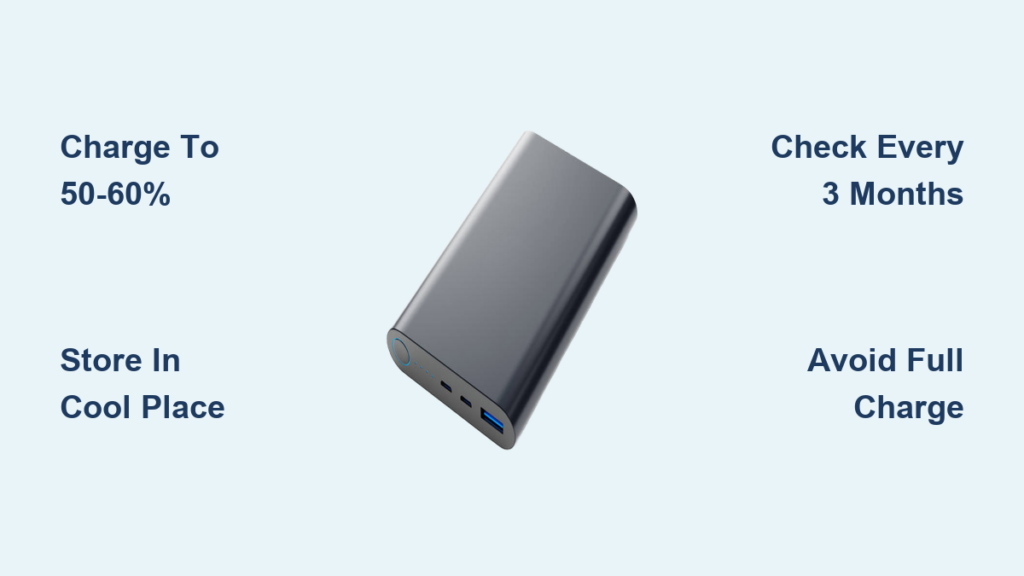
Final Maintenance Checklist: Always store your Omars at 50% charge in temperatures between 40-80°F. Avoid full discharges—recharge when two LEDs remain lit. Clean ports monthly with compressed air. Replace units showing inconsistent LED behavior or taking significantly longer to charge. Remember: proper charging doubles your power bank’s usable lifespan. Keep this guide handy for your next charging session—your devices (and wallet) will thank you when emergency power is always ready. For safe disposal of older units, visit Omars’ recycling portal where they accept end-of-life power banks at no cost.