
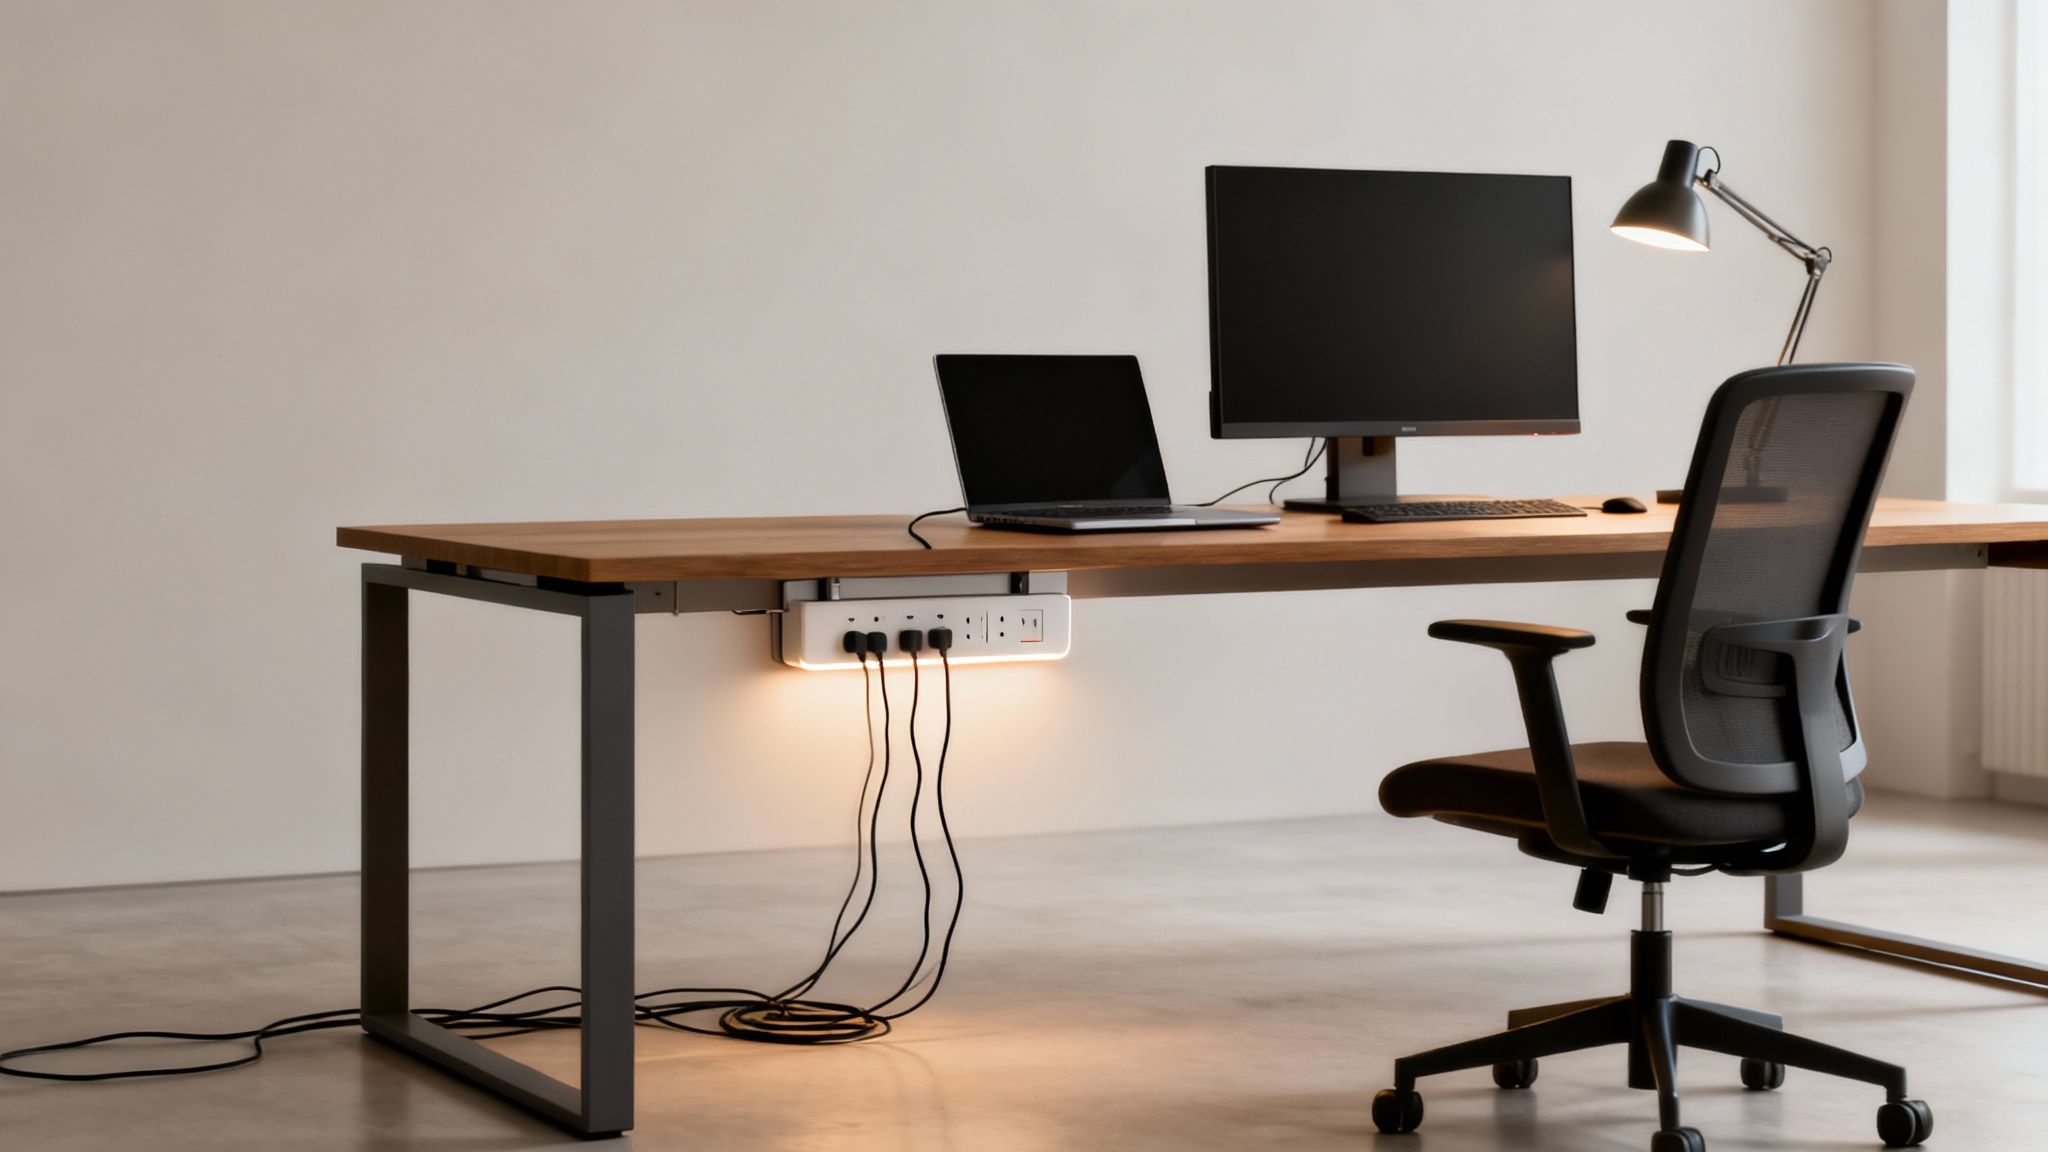
Tired of tripping over cords or staring at a jungle of cables under your desk? You’re not alone. Mounting a power strip under your desk is one of the fastest ways to clean up your workspace, improve safety, and boost productivity. But if you’ve ever tried just “sticking” one on, you know most adhesives fail within weeks. Cables pull, heat builds, and suddenly your power strip dangles by a thread.
The truth is, how to stick a power strip under desk securely isn’t just about tape. It is about matching the right method to your desk type, usage, and long-term goals. Whether you are renting, using a thin IKEA desk, or building a permanent home office, this guide gives you proven, tested, and safe solutions. You will learn what actually works, how to avoid fire risks, and how to install it in under 10 minutes without damaging your desk.
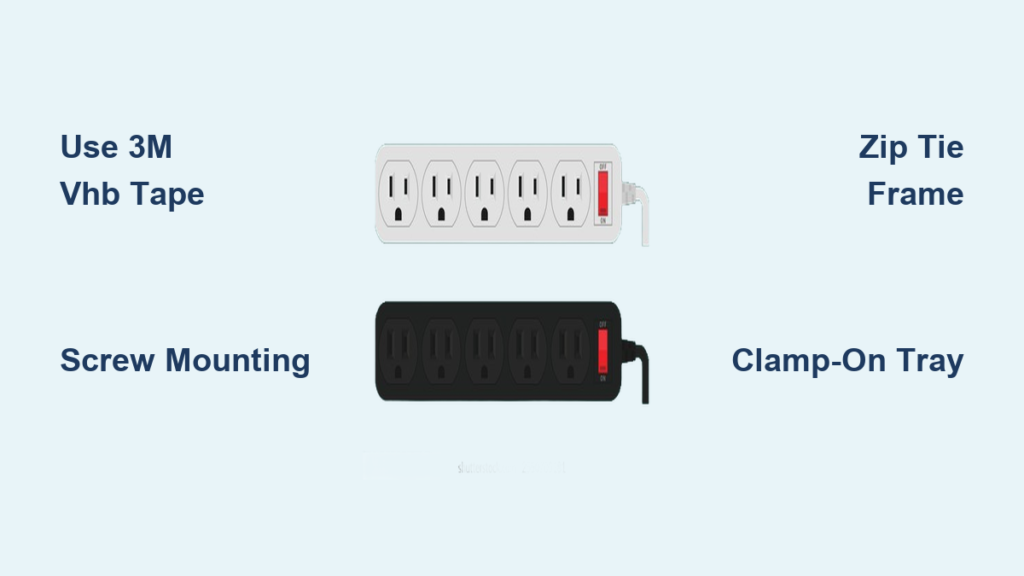
Choose the Right Mounting Method
Not all mounting methods are equal. Your choice depends on desk material, rental rules, cable load, and how long you plan to keep the setup. Here is how to pick the best one for your situation.
Match Method to Your Desk Type
Different desk materials require different approaches. Using the wrong method leads to failure or damage.
- Particleboard or MDF (common in IKEA desks): Avoid heavy adhesives that peel laminate. Use half-inch screws with pilot holes or clamp-on trays instead.
- Solid wood or laminate: Can handle 3M VHB tape or screws. Clean the surface first for best adhesion.
- Metal desks or frames: Use zip ties through support beams. This method is strong, invisible, and renter-friendly.
- Glass desks: Never drill. Use floor cable boxes or wall mounts behind the desk.
- Sit-stand desks: Avoid underside mounts that interfere with motors. Use wall-mounted strips or clamp trays.
Evaluate Your Power Load
A bare power strip weighs one to two pounds. But add six or more devices, and cable strain increases dramatically. Each plugged-in cord creates lateral pull, especially when devices are moved.
- Light load (one to three devices): 3M Command Strips may suffice.
- Medium load (four to six devices): Use Gorilla Tape, VHB, or zip ties.
- Heavy load (seven or more devices): Only screws or frame-mounted zip ties offer reliable long-term hold.
Use Heavy-Duty Adhesives Correctly
Adhesives are popular for no-drill setups, but most fail because they are applied wrong. Here is how to make them last.
Apply 3M VHB Tape for Maximum Hold
3M VHB (Very High Bond) tape is industrial-grade and can support over ten pounds when installed correctly.
Clean and Prep the Surface
Wipe the desk underside and power strip back with isopropyl alcohol. Remove dust, grease, or residue. Let the surface dry completely, because moisture kills adhesion.
Cut and Place Tape Strips
Use three full-length strips: two along the edges and one in the center. Avoid gaps because continuous contact prevents peeling. Press firmly with a credit card or roller for thirty seconds or more.
Wait 24 Hours Before Use
The bond strengthens over time. Loading the strip too soon reduces strength by up to fifty percent. Prop the strip with temporary tape or books if needed during the curing period.
Try Pre-Adhered Power Strips
Some strips, like the Anker 524, come with built-in industrial adhesive. Peel and stick with no tools needed. Press firmly for thirty seconds and wait twenty-four hours before plugging in devices. This method works best on smooth, flat surfaces, not textured or curved desks.
Avoid Weak Adhesives
Certain products simply cannot handle the job. Command Strips are rated for four to eight pounds but fail under repeated plug and unplug cycles. Basic double-sided tape is not designed for shear stress and will creep over time. Duct tape looks messy and degrades quickly.
Mount with Screws for Permanent Security

If you want zero movement and can drill small holes, screws are the gold standard.
Find Keyhole Mounting Slots
Most UL-listed power strips have rear keyhole slots. You just need to look for them. Flip the strip over and look for two narrow slots shaped like a keyhole, wide at the top and narrow at the bottom. These allow the strip to slide onto screws.
Use the Right Screws
For desks three-quarters of an inch to two centimeters thick, use #8 gauge screws that are half an inch (twelve to thirteen millimeters) long. Choose flat-head or low-profile options to avoid knee contact. Screws that are too long could poke through the desk. Screws that are too short will not hold.
Mark Holes Without Measuring
Skip the tape measure. Use this foolproof method instead.
Tape Punch Template Method
- Place painter’s tape over the keyholes on the strip.
- Align the narrow part of the slot and poke a hole with a pencil or screw.
- Position the taped strip under the desk.
- Insert screws through the tape holes.
- Remove tape and slide the power strip down onto the screws.
No misalignment, no math, done in seconds.
Paper Template Alternative
- Press paper against the strip to mark hole positions.
- Pierce the holes, hold under the desk, and mark pilot spots.
- Drill small pilot holes to prevent wood splitting.
- Insert screws halfway, alternating sides to avoid warping.
Secure Without Drilling: Clamp and Frame Methods
No drill? No problem. These methods avoid desk damage and still hold strong.
Use a Clamp-On Cable Tray
Products like the No-Screw Under Desk Cable Management Tray clamp to the desk edge. A C-clamp or G-clamp attaches to the desk, and the power strip sits inside the tray, secured with Velcro or zip ties.
This method is reusable and adjustable with no screws required. The downside is that clamps are visible and may reduce legroom. This option is also not ideal for sit-stand desks with moving parts.
Zip-Tie to Desk Frame or Legs
This method works perfectly for metal-framed desks or standing desks with support beams.
- Route zip ties through grommets, frame holes, or privacy panel openings.
- Loop around the power strip body or cord retention notches.
- Tighten and trim excess.
Use UV-resistant zip ties (black) for longevity. Combine with Velcro for redundancy, because tape fails but zip ties hold.
Try Custom and Creative Solutions
Want a clean, personalized look? These innovative options blend function and design.
Install a 3D-Printed Holder
Designer Hands-On-Katie offers a free parametric model online. This holder is adjustable to your power strip size and includes cable routing channels. It mounts with Command Strips, Velcro, or multiboard.
The limitations are that you need access to a 3D printer, and PLA plastic is strong but not indestructible. This works best for low-impact areas and aesthetic-focused setups.
Mount on the Wall Behind the Desk
This approach is ideal for glass desks or rental restrictions.
- Install a UL-listed strip on the wall behind your monitor.
- Route cables through desk grommets or monitor arm channels.
- Use adhesive clips to secure cables along the desk back.
The pros are that it keeps the underside clean and provides easy access for plugging and unplugging. The cons are that it requires longer device cables and may not suit minimalist designs.
Pick a Purpose-Built Mountable Power Strip

Why DIY when some strips are designed to mount? These options eliminate the need for third-party solutions.
Cable Matters 6-Outlet Desk Mount Surge Protector
This strip has a built-in keyhole hanger that mounts with one screw. The slim profile will not hit your knees. It is UL listed with surge protection. The price is around forty-two dollars.
Anker 524 Power Strip
This strip comes with pre-applied industrial adhesive. No tools, no mess. It requires a twenty-four-hour cure and works best on smooth surfaces. This option is ideal for renter-friendly, clean setups.
Common Features of Mountable Strips
- Rear keyhole slots
- Low-profile design
- Ventilation slots that prevent overheating
- UL certification (non-negotiable for safety)
Follow the Universal Installation Steps
No matter which method you choose, follow this sequence for success.
Step 1: Pick the Mounting Spot
Ideal location is the underside, near the back edge, centered or offset based on device layout. Avoid heat sources like vents or radiators. Avoid moisture near sinks or windows. Avoid high-traffic zones where there is tripping risk. Avoid enclosed spaces that create overheating hazard.
Step 2: Prepare the Surface
Clean with an alcohol wipe or dry cloth. Ensure the surface is dry, dust-free, and smooth. Wait for full dryness before applying adhesive or tape.
Step 3: Install the Power Strip
For adhesives, peel the backing, press firmly for thirty seconds, and support if needed with temporary tape. Wait twenty-four hours before use.
For screws, mark holes using tape or paper template, drill pilot holes to prevent splitting, insert half-inch #8 gauge screws, and slide the strip onto keyholes.
For zip ties, route through the frame or grommet, loop around the power strip, tighten, and trim.
Step 4: Test Stability
Gently tug the strip and check for movement or wobble. If it is loose, reinforce with backup Velcro or a second zip tie.
Step 5: Organize Cables
Use cable sleeves, zip ties, or adhesive clips. Route along desk edges or through grommets. Label cables with bread clips, tape, or adhesive labels.
Know What Actually Works: User-Tested Results
Real users have tried and failed many methods. Here is what stands up.
| Method | Long-Term Hold | Best For |
|---|---|---|
| 3M VHB Tape | Yes (if applied right) | Permanent, heavy load |
| Screws + Keyholes | Best | All permanent setups |
| Zip Ties to Frame | Yes | Metal desks, high load |
| Clamp-On Tray | Yes | No-drill, adjustable |
| Command Strips | No (fails in three to six months) | Light, temporary use |
| Gorilla Tape | Maybe (degrades under stress) | Budget short-term fix |
| Industrial Velcro | No (adhesive fails over time) | Supplemental only |
Follow Safety and Code Rules
A messy install is not just ugly, it can be dangerous.
Never Block Ventilation
Power strips generate heat. Never cover with fabric, paper, or enclosures. Leave space around the strip for airflow.
Avoid Daisy-Chaining
Plugging one strip into another overloads circuits. This increases fire risk and violates most building codes.
Use Only UL-Listed Strips
Look for the UL mark on packaging. Avoid cheap, unbranded strips from unknown sellers. In offices, consult facilities before permanent installs.
Optimize for Ergonomics and Aesthetics
A clean desk is not just about function, it is about feel.
Position for Comfort
Mount six to eight inches from the front edge to avoid knee hits. Keep near the back edge to reduce visibility and accidental tugs.
Hide and Color-Match
Use black strips on dark desks. Pair with black cable sleeves for a seamless look. Use adhesive raceways to hide cords along edges.
Maintain Long-Term
Inspect mounts every three to six months. Re-tighten screws or replace failing adhesives. Dust vents to prevent overheating.
Pick the Best Method for Your Situation
| Scenario | Recommended Method |
|---|---|
| Renter, no damage | 3M VHB tape or clamp-on tray |
| Permanent home office | Screw mounting with keyhole template |
| Thin desk (e.g., IKEA) | Half-inch screws with pilot holes or clamp tray |
| Frequent reconfiguration | 3D-printed holder plus Command strips |
| High cable load (six plus devices) | Screws or zip ties to frame |
| Warm room | Avoid adhesives, use screws or clamps |
| Aesthetic priority | 3D holder plus cable sleeves plus labels |
| Metal-framed desk | Zip ties through frame |
| Commercial setup | UL-listed mountable strip plus screws |
Final Tips for a Flawless Setup
Screws win for long-term reliability. Adhesives fail under cable shear stress, especially in heat. Combine methods like VHB plus zip tie for redundancy. Wait twenty-four hours for adhesive cure. Label everything. Future you will thank you. Fill screw holes with white wood filler if reselling.
Frequently Asked Questions About How to Stick Power Strip Under Desk
What is the strongest way to mount a power strip under a desk?
Screw mounting through keyhole slots provides the strongest and most permanent hold. Use half-inch #8 gauge screws with pilot holes for best results.
Can I use Command strips to mount a power strip under my desk?
Command strips work for very light loads (one to three devices) but typically fail within three to six months due to cable pull and temperature changes.
How long does 3M VHB tape take to cure?
Wait twenty-four hours before plugging in devices. The bond reaches full strength after twenty-four hours, and premature loading can reduce holding power by fifty percent or more.
Does mounting a power strip under the desk violate electrical code?
Under-desk mounting is generally acceptable if you use UL-listed strips, avoid daisy-chaining, and ensure adequate ventilation. Commercial offices should consult facilities or an electrician first.
Can I mount a power strip on a glass desk without drilling?
Yes. Use a floor cable box to hide the strip and cables, or mount the strip on the wall behind the desk and route cables through grommets.
What screws should I use for mounting a power strip on a thin desk?
Use #8 gauge screws that are half an inch (twelve to thirteen millimeters) long. This length works for desks three-quarters of an inch to two centimeters thick without poking through.
Key Takeaways for Mounting Your Power Strip
Mounting a power strip under your desk is not just about sticking. It is about smart, safe, and lasting solutions. Screws provide the most reliable long-term hold, while 3M VHB tape works well for renters who cannot drill. Always wait twenty-four hours for adhesive to cure, and never block ventilation or daisy-chain power strips. Choose a method that matches your desk material, cable load, and whether you are renting or owning. With the right approach, you can achieve a clean, safe, and organized workspace that lasts for years.


