
Opening a charger may seem like a simple fix for a frayed cable or charging issue, but it’s far from routine. Most modern chargers are permanently sealed using ultrasonic welding or industrial adhesives, making disassembly risky and irreversible. More critically, these devices contain high-voltage components that can retain lethal electrical charges long after being unplugged.
This guide walks you through exactly how to open a charger safely, including essential precautions, proven disassembly methods, repair tips, and clear warnings based on real-world experience and electrical safety standards.
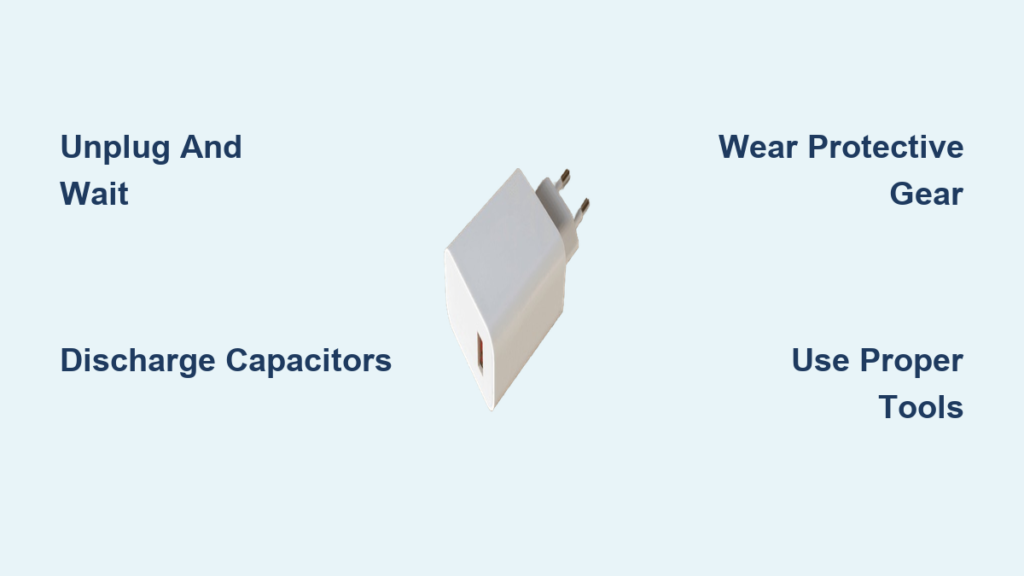
Essential Safety Precautions Before Opening a Charger
Before touching any tool, prioritize safety. Chargers store dangerous energy even when they appear dead.
Unplug and Wait 24+ Hours
Always unplug the charger from the wall before handling. Then wait at least 24 to 48 hours to allow internal capacitors to self-discharge. Never assume a dead charger is safe. High-voltage capacitors can hold a charge for days.
Discharge Capacitors Manually
Even after waiting, residual voltage may remain. Safely discharge using a 10kΩ, 5W resistor connected across capacitor terminals for 10 or more seconds. Always verify discharge using a multimeter set to DC voltage. Readings should be near zero.
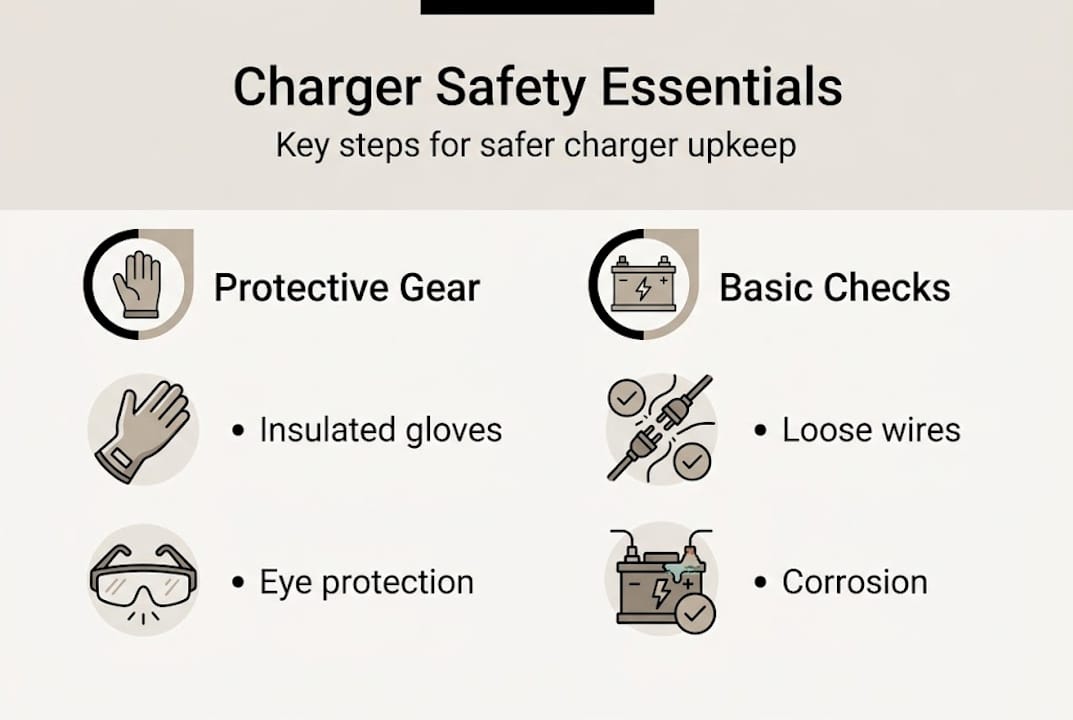
Wear Protective Gear
Wear safety glasses to protect eyes from flying plastic shards during prying. Use insulated gloves to prevent shock and cuts from sharp edges. Work on a non-conductive surface like a wooden table, never metal.
Work in a Safe Environment
Choose a dry, well-lit area away from water or flammable materials. Avoid gasoline, acetone, or open flames unless absolutely necessary and only with ventilation. Keep children and pets away from your work area.
Never open a charger with the intent to reuse it on mains power unless you are trained in electronics repair.
Identifying Your Charger’s Sealing Method
Most chargers are not meant to be opened. Knowing how yours is sealed helps choose the safest method.
Check for Hidden Screws
Some models hide screws under rubber feet, silicone plugs, or adhesive labels. Remove these carefully with a blade or tweezers. If screws appear, unscrew them before attempting force.
Ultrasonic Welding
Used in Apple chargers, USB-C bricks, and premium adapters. Plastic halves are fused at the molecular level, creating a seamless bond. The weld line is weaker than the surrounding plastic, which allows controlled separation via impact. This is the most common sealing method for modern chargers.
Industrial Adhesive Bonding
Thick glue holds the casing together, often found in laptop power supplies. This method is resistant to prying and solvents and requires heat, force, or chemical softening to break.
Tools You Need for Charger Disassembly

Use the right tools to avoid injury and damage.
The tools you will need include a thin flat-head screwdriver for inserting into seams, a small hammer for delivering controlled taps, adjustable pliers like Vise-Grip for applying squeezing force, a bench vice for even pressure to pop open cases, a utility knife or snap blade for scraping through thin weld material, a heat gun or hot air for softening plastic before cutting, a heated screwdriver for melting through adhesive and plastic, a Dremel at low speed for precision cutting, a soldering iron for repairing or replacing cables, a multimeter for testing continuity and voltage, wire strippers for preparing replacement wires, and super glue or acetone for resealing the case.
A 3mm drill bit placed between the vice jaw and charger helps concentrate pressure without crushing the housing.
Hammer and Screwdriver Tap Method
This technique works best for ultrasonically welded chargers and preserves casing integrity better than cutting.
Insert a thin flat-head screwdriver into the seam. Tap gently with a hammer along the edge. Move down the seam, repeating until the case begins to separate. The weld line will crack before the main plastic.
Many users report success with this method. One user noted they opened several HP chargers this way and they popped right open.
Vice Squeezing Technique
Controlled pressure can pop the case open cleanly without excessive damage.
Place the charger in a bench vice, aligned across the seam. Tighten slowly and evenly until you hear a pop. Stop immediately to avoid crushing internals.
For less damage, place a 3mm drill bit between one jaw and the charger to focus pressure on the seam rather than the entire housing.
Adjustable Pliers Cracking Method
Use locking pliers to propagate a crack along the seam for rectangular power bricks with long seams.
Clamp Vise-Grip or GrooveLock pliers across the seam. Squeeze repeatedly while rotating the charger. The stress will eventually split the weld line.
Users report that squeezing makes the seam crack gradually, allowing controlled separation.
Freezing and Impact Method
Cold makes plastic brittle, aiding separation for stubborn cases.
Place the charger in a freezer for 2 to 4 hours. Remove and strike sharply on a wooden block. Use a mallet or hammer and never hold the unit in your hand while striking.
Flying plastic shards are a real risk with this method. Always wear eye protection.
Cutting and Melting Techniques
These methods work but leave visible damage to the housing.
Utility Knife Scraping
Ideal for thin weld lines. Use a broken snap blade or sharp utility knife. Insert into the seam and scrape sideways to cut through fused plastic. Work slowly since this takes patience. Avoid cutting too deep and slicing internal wires.
Hot Knife or Heated Screwdriver
Melts through plastic and adhesive effectively.
Heat a screwdriver tip over a flame. Press into the seam and advance slowly. Let it cool slightly between passes to avoid melting large areas.
This method leaves burn marks but is effective for stubborn cases. Melting plastic releases toxic fumes, so work in a ventilated area.
Heat Gun Plus Utility Knife
Softening before cutting reduces cracking risk.
Apply hot air at 200 to 300°C along the seam for 30 seconds. Use a utility knife to slice through softened plastic. Repeat as needed.
Dremel or Hacksaw Precision Cutting
Use a Dremel with a cutting wheel at low speed to avoid melting. Or use a fine-tooth hacksaw for manual control. Stop when resistance changes, indicating proximity to PCB or wires.
Users warn that a Dremel will melt plastic rather than cut it unless operated at low speed.
Solvent-Based Softening Methods
Only attempt if other methods fail, and with extreme caution.
Gasoline Application
Reported to weaken industrial adhesives but is extremely dangerous.
Apply small drops of gasoline to the seam. Wait 5 to 10 minutes for absorption. Try prying with a screwdriver.
This method is not recommended. Gasoline is highly flammable, toxic, and may damage plastic. Fire risk is real.
Acetone for ABS Plastic
Acetone is more useful for reassembly than disassembly.
It will not reliably soften adhesives but can fuse broken ABS cases during resealing. Apply with a cotton swab to weld cracks.
Step-by-Step Disassembly Process
Follow this sequence to open safely and inspect the interior.
Inspect for Hidden Screws
Check under rubber feet, labels, and silicone plugs. Remove any found. If none are present, proceed to seam separation.
Begin Seam Separation
Use hammer tapping, vice squeezing, or knife scraping to break the seal. Work slowly along the full perimeter rather than forcing one spot.
Pry Open Gently
Once a gap forms, insert a screwdriver and twist carefully. Use fingers to widen the opening. Avoid snapping tabs or damaging internal wires.
Open Fully and Inspect
Lay both halves flat. Identify the PCB layout, cable entry point, capacitors, and transformer. Do not touch any components until you have confirmed no voltage remains.
Diagnosing Common Internal Issues
Now that it is open, check for failure points.
Check the DC Output Cable
Most failures stem from wire breakage near the strain relief.
Trace wires from connector to PCB. Look for frayed, broken, or desoldered ends. Use a multimeter to test continuity. Often, only the positive wire remains intact while the negative wire is severed.
Inspect Electrolytic Capacitors
Look for swollen or domed tops. They should be flat. Check for brown crusty residue at the base, which indicates electrolyte leakage.
Replace failed capacitors with the same µF rating and equal or higher voltage rating. Never replace with lower-voltage capacitors since this causes rapid failure.
Replacing a Damaged Charging Cable
If the cable is broken, repair is possible and often successful.
Remove the Old Cable
Desolder black and white wires from the PCB. Use a hand-turned drill bit to loosen tight strain relief. Pull out the old cable carefully.
Prepare the New Cable
Cut 2.5 inches from the end. Strip the outer sleeve and identify black for ground, white for positive, and blue for ID pin if used. Twist multiple black wires together. Tin all ends with solder.
Reinstall and Solder
Pass the new cable through strain relief. Apply silicone lubricant for easier insertion. Solder black to ground pad, white to positive pad, and blue to ID pin if present. Avoid solder bridges between pads.
Reassembling the Charger Safely
Resealing is critical for durability and safety.
Align both halves snugly. Apply super glue along the seam. Use masking tape to hold during curing, which takes 10 to 15 minutes. Reinforce the cable entry with extra glue if strain relief is damaged.
Do not over-glue since excess can seep into the PCB and cause shorts. For ABS plastic, use acetone welding to fuse gaps for a stronger bond.
Testing Before Use
Never plug in without thorough testing.
Continuity Check
Use a multimeter to confirm correct polarity and check for shorts between positive and ground.
Visual and Auditory Test
Plug in the charger. Watch for LED indicators. Listen for crackling, popping, or arcing. Unplug immediately if any of these sounds occur.
Load Test
Connect to a device. Confirm it powers on and charges properly. Watch for unrecognized adapter warnings.
Some laptops limit charging if the ID pin is missing or disconnected.
When Not to Open a Charger
Avoid disassembly if you lack basic electronics knowledge. Do not open chargers with burnt components, charring, or melted PCB. Never attempt to reuse on mains power without proper training. Also avoid opening units that are under warranty or still functional.
Expert advice suggests that unless you know what you are doing, a non-functional charger is best suited for recycling.
Final Safety and Repair Tips
Follow these guidelines to minimize risks.
Do open only non-functional chargers. Use PPE and proper tools. Always discharge capacitors before handling. Replace cables with correct gauge wire. Match capacitor specifications exactly when replacing.
Never open a charger without discharging capacitors first. Never use gasoline or open flame near electronics. Never reuse a repaired charger without thorough testing. Never assume polarity without verifying with a multimeter.
Frequently Asked Questions About Opening a Chargers
Is it safe to open a charger yourself?
Opening a charger involves high-voltage risks. It is safe only if you have proper electronics knowledge, the right tools, and follow safety protocols. Always discharge capacitors before touching any internal components.
How long should I wait after unplugging a charger before opening it?
Wait at least 24 to 48 hours. This allows high-voltage capacitors to self-discharge completely. Always verify with a multimeter before proceeding.
What is the easiest way to open an ultrasonically welded charger?
The hammer and screwdriver tap method works best. Insert a thin screwdriver into the seam and tap gently with a hammer along the edge. The weld line is weaker than the surrounding plastic and will crack first.
Can I repair the charging cable myself?
Yes, cable replacement has an 85% success rate. You will need basic soldering skills, a replacement cable with correct gauge, and a multimeter for testing.
Should I use gasoline to open a stuck charger?
No. Gasoline is highly flammable and toxic. The fire risk outweighs any benefit. Use mechanical methods like tapping, squeezing, or cutting instead.
When should I just replace the charger instead of repairing it?
Replace if you lack electronics knowledge, the charger is functional, or it has burnt components. For most users, replacement is safer, faster, and often just as cheap.
Key Takeaways for Safely Opening a Charger
Opening a charger safely is possible but rarely worth the risk for most users. While 85% or more of cable-only repairs succeed, the process voids safety certifications, introduces fire hazards, and requires technical skill.
If you proceed, do so with full awareness of the dangers, proper tools, and respect for high-voltage electronics. Discharge capacitors every time, wear protective gear, and test thoroughly before reuse.
For DIY enthusiasts, educators, or e-waste reducers, opening a dead charger can be rewarding. But for the average user, replacing the charger is safer, faster, and often just as cheap, especially when factoring in time and risk. Remember that a sealed charger is a safe charger. Once opened, that safety is gone forever.


